
No, this is not a joke, nor is it a new version.
This article is primarily intended for those who like Darktable’s editing features, but want to edit photo’s without using a database, library, tagging, actually just with a photo browser.
I never was a big fan of Darktable myself, I loved working with Rawtherapee or other photo editors, as long as they worked with a simple photo browser, and I didn’t have to work with collections and film rolls – the photo/folder view gets cluttered and there is no simple way to clear it.
However, Darktable is very similar to Adobe Lightroom, and the editing tools are more extensive than many other editors, sooner or later those editing tools will come in very handy. So, as much as I hated it, I somehow wanted to work with Darktable anyway.
So I searched the internet to see if there were other people like me, and for an opportunity to modify Darktable myself.
I quickly found those people, here are some statements I came across :
“Yeah, that’s kind of what I’m not into. Managing folders/catalogues/ film rolls or whatever…” – “Just need a file explorer…Rawtherapee gets it right in this regard.” – “Damn…wanted to use dark table, but catalog is a deal breaker for me.” – I was not alone !
It’s hard to say how many people would rather not use the library, and also how many people are only interested in DT history. But if you see the response in Google when you type in this question, and also on forums, you know that this is about a lot of people who would like it differently.
I think it’s fair to say that if Darktable would built in an option for this in the menu or preferences, many would be happy and they could easily double their user base.
If you dig deep into the Darktable 4.0 user manual, you will find this solution, but the article is very technical, and many users do not know how to use a command line, and certainly not how we are going to use it here .
Lack of clear information – Hence this article !
After reading this tutorial you can use Darktable in four different ways, or at the same time in one or more ways, it may sound confusing or even complicated, but I can assure you that it is actually very simple.
I do recommend that you read this article, because afterwards you may have changed your mind about how to work with Darktable.
First a warning is needed :
People who already have a version of Darktable running, applying the following steps can kill their existing database or leave it in a very disorganized state.
In other words, if you like working with Darktable on your computer as it is set up now, don’t change anything !
Also, the actual database (data.db and library.db) is never removed and should never be removed !
It’s an essential part of Darktable, but we’re going to use it in a different and more usefull way.
In Part 1, we’ll only cover adjusting Darktable to its simplest version. In part 2, I’l explain which interesting options you can add to this Light version. I’l also explain how Darktable’s database and sidecar (XMP) files work, and how you can use this information to your advantage.
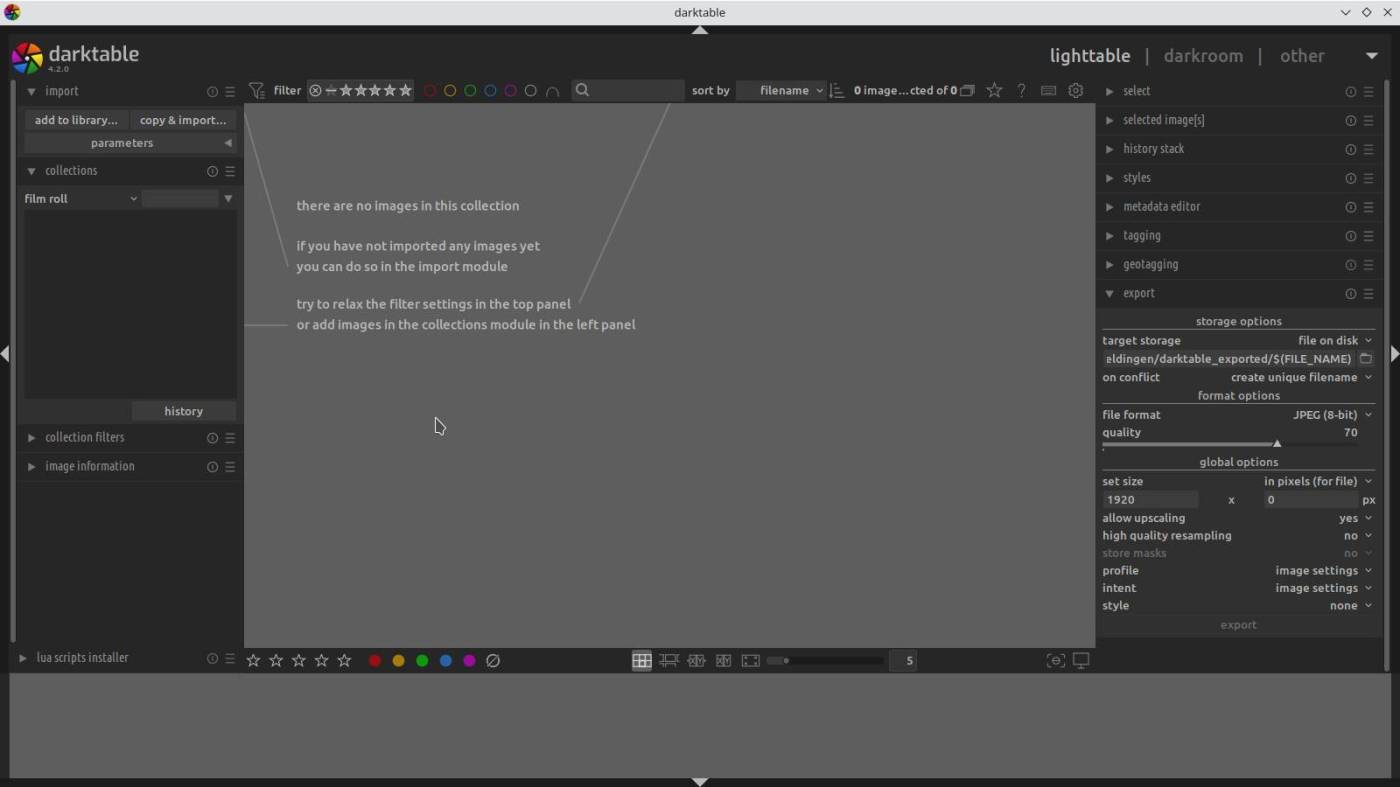
Darktable Light – The lightest version !
The lightest version of Darktable basically starts with a new installation of the program.
Then the database is empty.
However, if Darktable is already on your computer, you can still make the following settings, the existing database will not grow any further, but it will still take up more volume on your computer then needed.
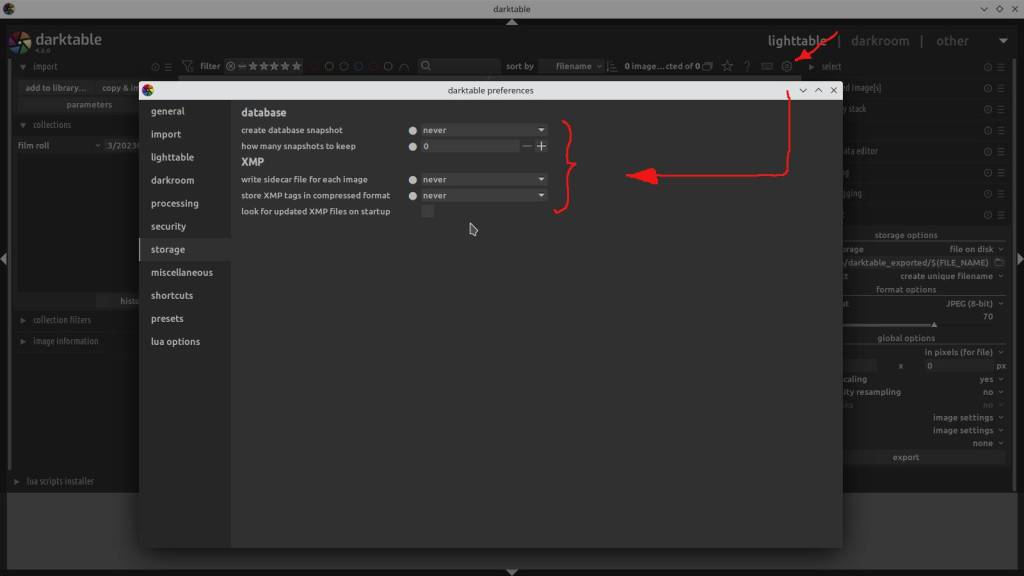
First step : Go to Darktable settings ( gears icon top right) -> on the left, go to Storage -> change following settings : database snapshot = never, snapshots to keep = 0, write sidecar each file = never, store XMP compressed = never, look up XMP on startup = uncheck.
Step two : save a new shortcut to Darktable on your Desktop, Right mouse click the Darktable icon -> choose Properties -> tab Application -> under Command -> change the command after the last backslash to :
/darktable –library :memory:
see photo examples below:
Step three : in the same tab – Application -> change Name “Darktable” to “Darktable Light” – This is just to remind you that this icon is the Light version of Darktable, you can still launch Darktable as intended by just placing a second shortcut on your desktop without the above changes, or from your program files in your computers start menu.
Due to different language, or a Windows computer, names may be different, the program path in the command line may be different and the view and tabs may be slightly different than on this Linux version. But you will see that it largely matches, the right click is the same and the properties are also very similar in Windows.
Done.
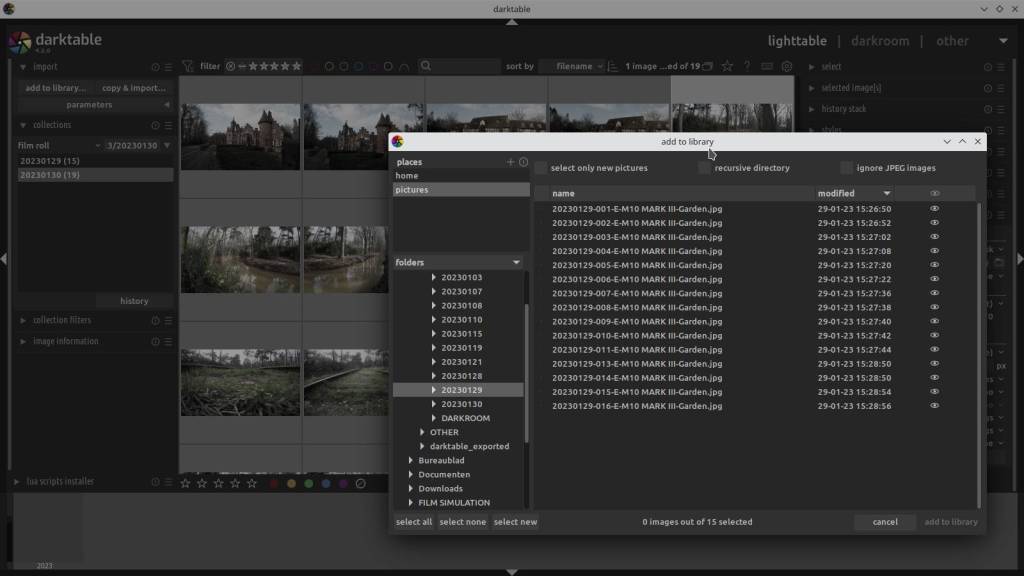
Using Darktable Light : Start Darktable Light by clicking the changed program icon -> to browse photo’s, add one or more photo folders via “add to library” -> the new folders will apear in Collections-Film Roll -> use the programs editing tools at will.
After you close Darktable and restart it, all photo’s and folders in collections and rolls will be cleared, remember also : no tagging and no history will be recorded, however…
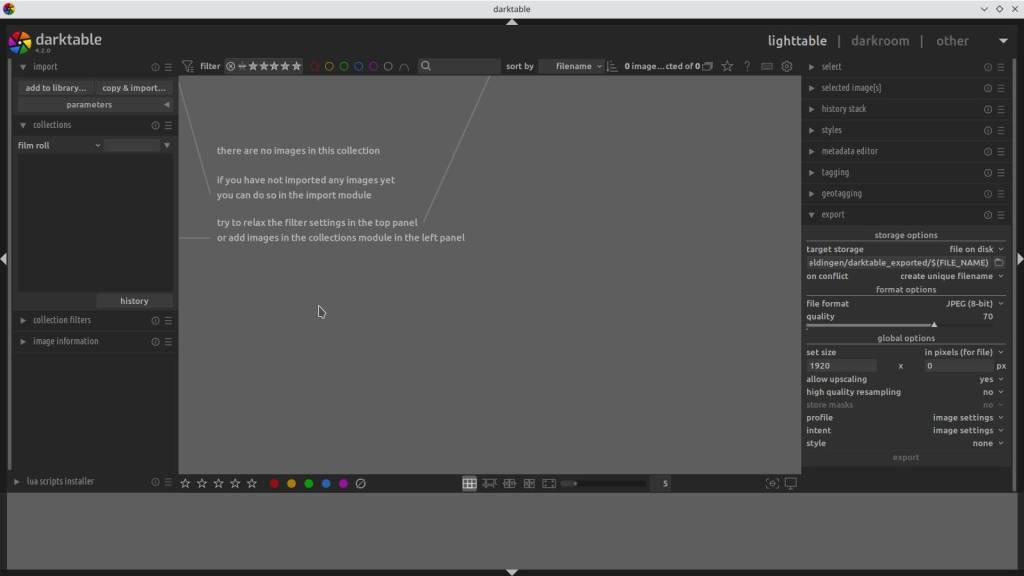
All program adjustments you make to the location of the Lut folder, default photo save location, adjustments to the appearance of Darktable etc, are always retained, and that’s a good thing !

The photo gallery of Open Source Photography, Olympus micro 4/3 system, Vintage Lens Photograpy, Film Simulation, PictureFX, HDR – Photographer : Marc R.

Discover more from Open Source Photography
Subscribe to get the latest posts sent to your email.


Great Marc! I’ll get this shared in the groups today, and linked onto my Darktable home page.
LikeLiked by 1 person
Many thanks Mark ! I hope they like it !
LikeLiked by 1 person