
Although Fujifilm Superia is not one of the standard film simulations on a Fujifilm camera, Fuji still has a “similar to” (as they say themselves) in their options, namely the Classic Negative.
For some strange reason, Fujifilm Superia was not considered a film for “Professional” use.
But after reading countless reviews, visiting chat rooms and forums, photo libraries like Flickr, it quickly became clear that Fujifilm Superia is perhaps one of the most underrated films Fuji has ever made.
Granted, the film isn’t perfect, but that’s what makes it interesting at times.
And isn’t that why we’re all so eager searching for that “imperfect analog look” from before?
Below is a summary of the overall process, if you’d rather not read this, you can scroll all the way down to download this new film simulation.
Making a film simulation is more than just sitting in front of the computer and cooking something together.
To make a film simulation properly, you have to do a lot of research to understand the target film as well as possible.
Below are some of the many links I have visited, and an overview of the entire developing process:
https://www.thecwo.com/fujifilm-superia-200 https://carlosgrphoto.com/2017/10/23/fujicolor-superia-200-review/
https://www.lomography.com/magazine/92979-amazing-expired-fuji-superia-200-film
https://www.thephoblographer.com/2017/09/18/film-review-fujifilm-superia-200-400-800-1600/
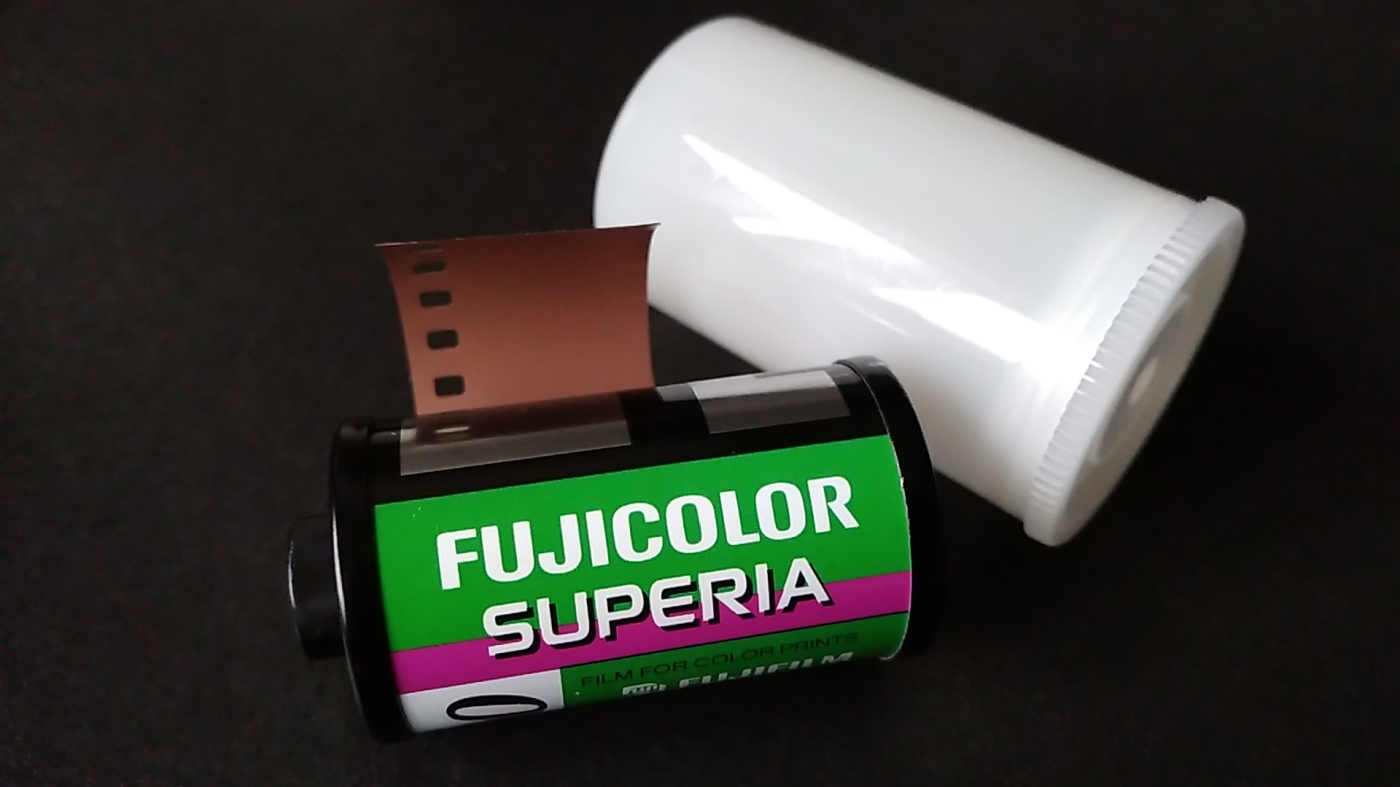
After all that research, it’s time to load your camera with film.
Before you start shooting your first photo, you already know what to look out for.
If a film has certain properties and is very sensitive to for example red and green, then you should not take beach photos.
By that I mean, you can enjoy the photography itself, but adjust your subjects and especially the colors to where the film differs from other films. The weather and light also have a major influence on how the film reacts.
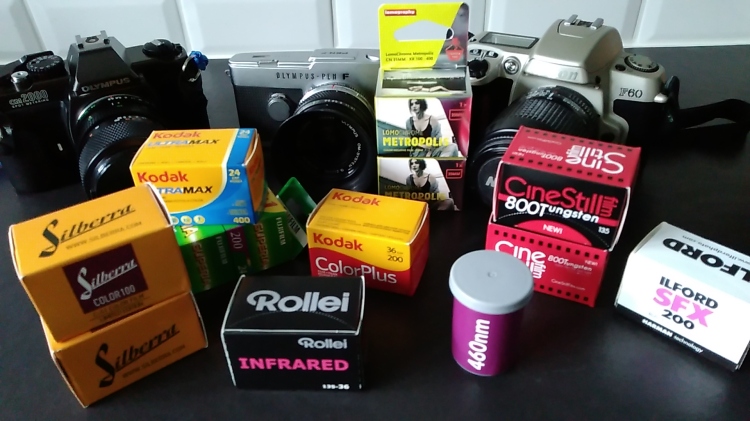
Gear:
- Olympus OM20 with Zuiko 50mm f1.4 – with Superia 200
- Fujifilm X-T10 with Meike 35mm f1.7
After photographing, development comes.
I once read somewhere : “you have no influence on the development process, it is best to leave this to the lab”.
Well, forget that.
The development has the greatest influence on the result, and this can sometimes differ from lab to lab, believe me.
Since this is about color film I did not start on it myself anymore, so I also used a lab, two to be correct.
And the result was astonishing … different!
One went to a local Fujifilm lab, with very good results.
The other via a retail chain “Kruidvat” to a lab in the Netherlands. Comparisons with many other photos taken with Superia 200 showed that the Fujifilm Lab gave the best (read most accurate) result, which was not so surprising in the end.
At both labs I also had the negatives put on CD, always handy to have an extra comparison, because besides that I also have my own Epson V600 scanner.
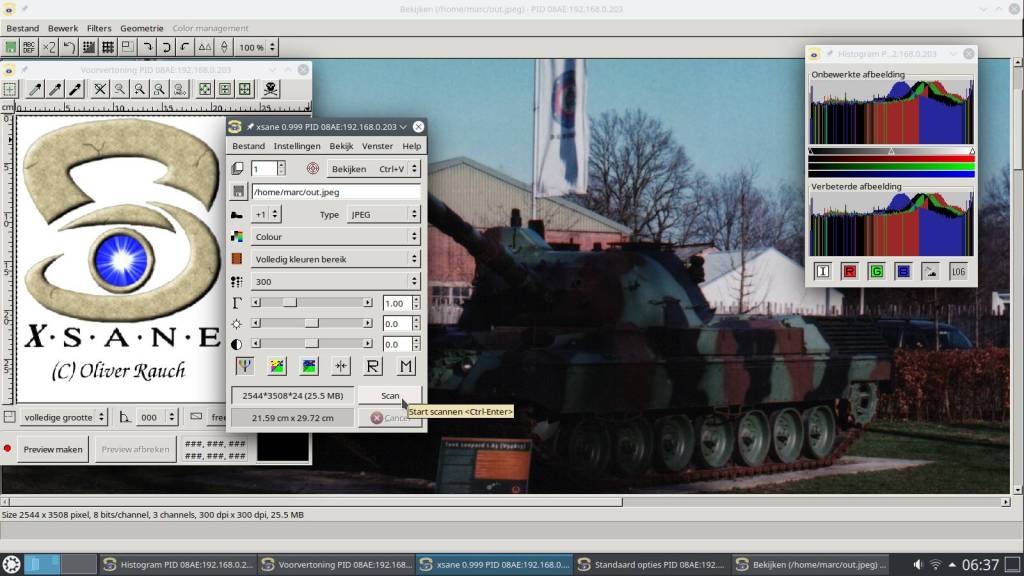
And, because I no longer work on Windows, I have to rely on alternative scanning software.
Who is interested in this, here is the link: http://www.sane-project.org/
I myself am currently working on Linux distro Kubuntu 20.04.02 LTS.
And then to work,
- scanning negatives and photos
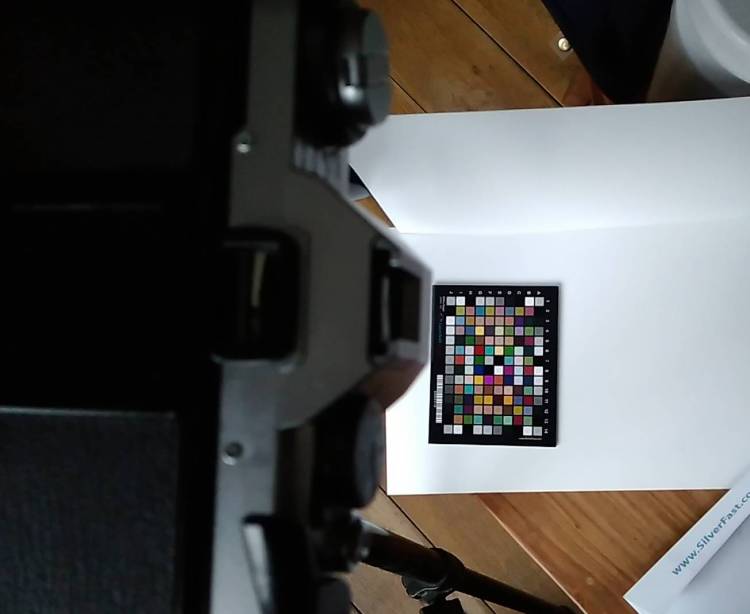
- photographing IT color target
- comparing color targets
- comparing many photos
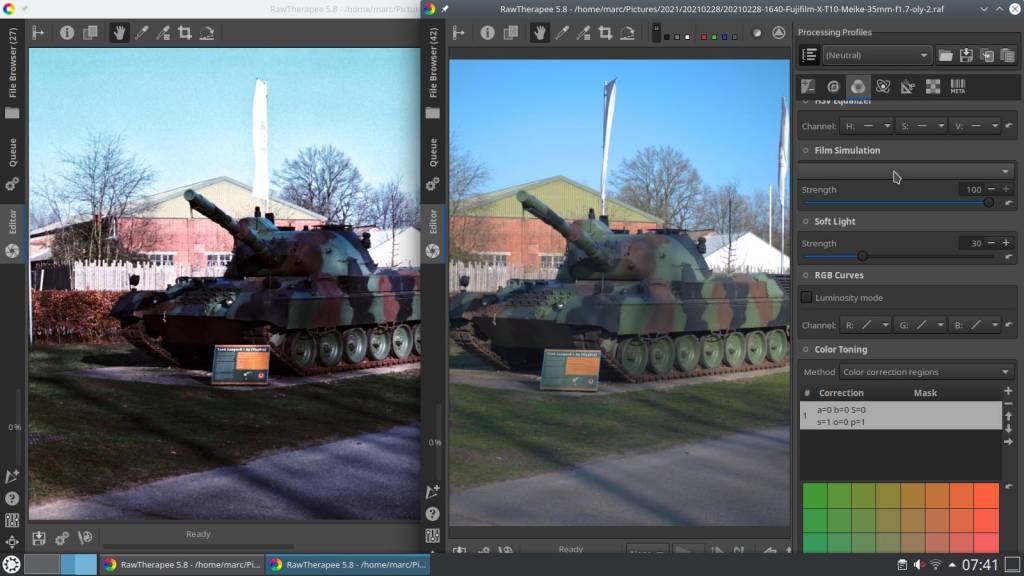
- create presets and fine tuning
- creating Lut’s and Cube’s -> testing out, and start over again
Never forget a Preset is very different from a Lut.
In a Preset you can do everything that your software package allows and everything is stored in a text file – script, which simply executes all your settings again.
The Lut, on the other hand, only stores color and tone.
A Lut cannot contain tone mapping, vignette and other special settings such as sharpening and denoising.
But even the “normal” settings that can be recorded in a Lut can easily be overdone, causing the final Lut to give strange results when applied.
Hence testing, testing, and more testing.
Sane scanning software, IT8 color target shooting, … :

and then, after many versions, the final Lut

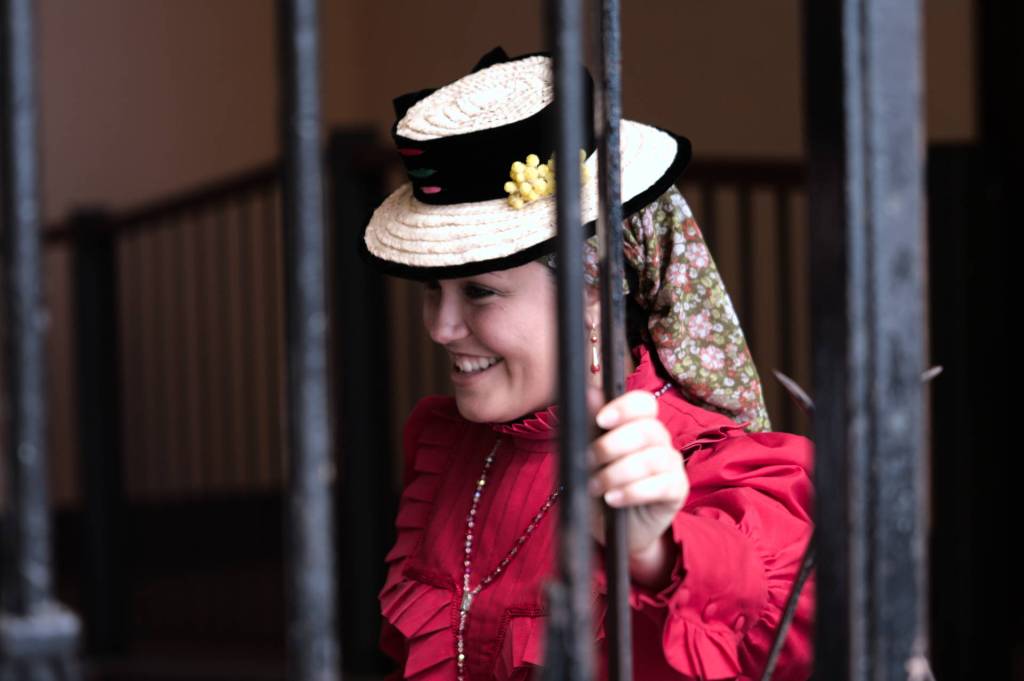
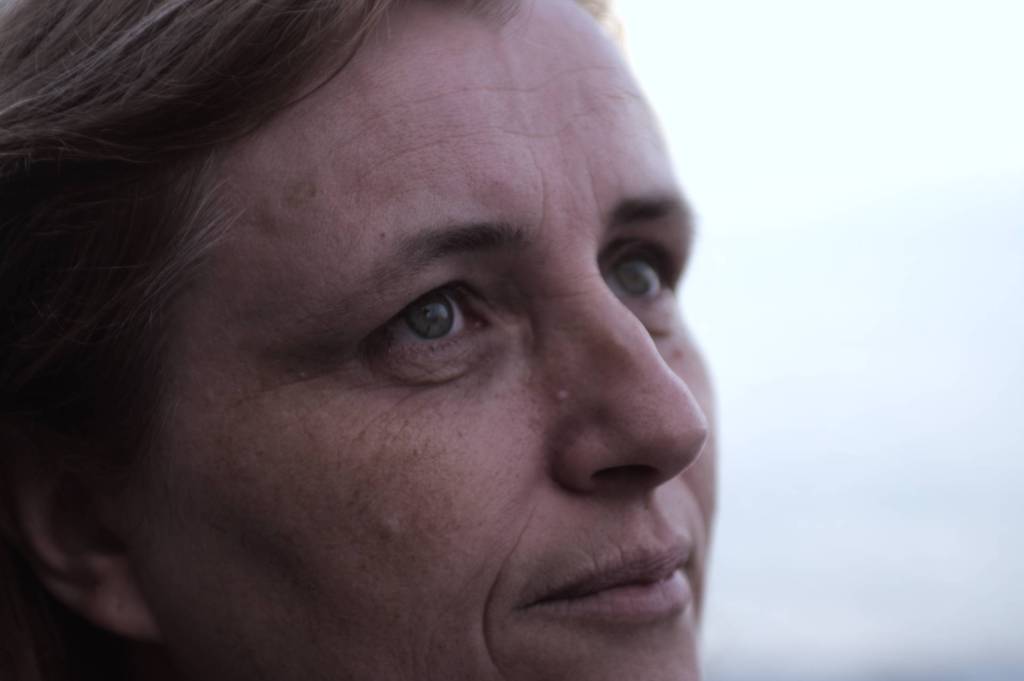
I think Carlos Garcia Rodriguez described the film best in his article about the Superia 200. The problem with real film is that it always reacts differently depending on the lighting conditions, but as he writes about using the film for portraits and slightly pinkish skin color, I can only agree because I have found many on the internet.
Anyway, I think I managed to build some of these characteristics into this film simulation.
I hope you enjoy this new film simulation.
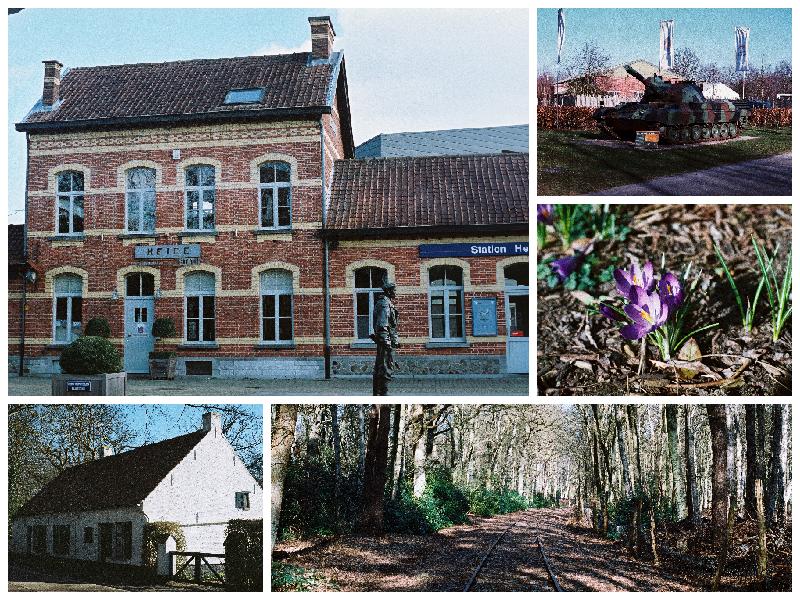
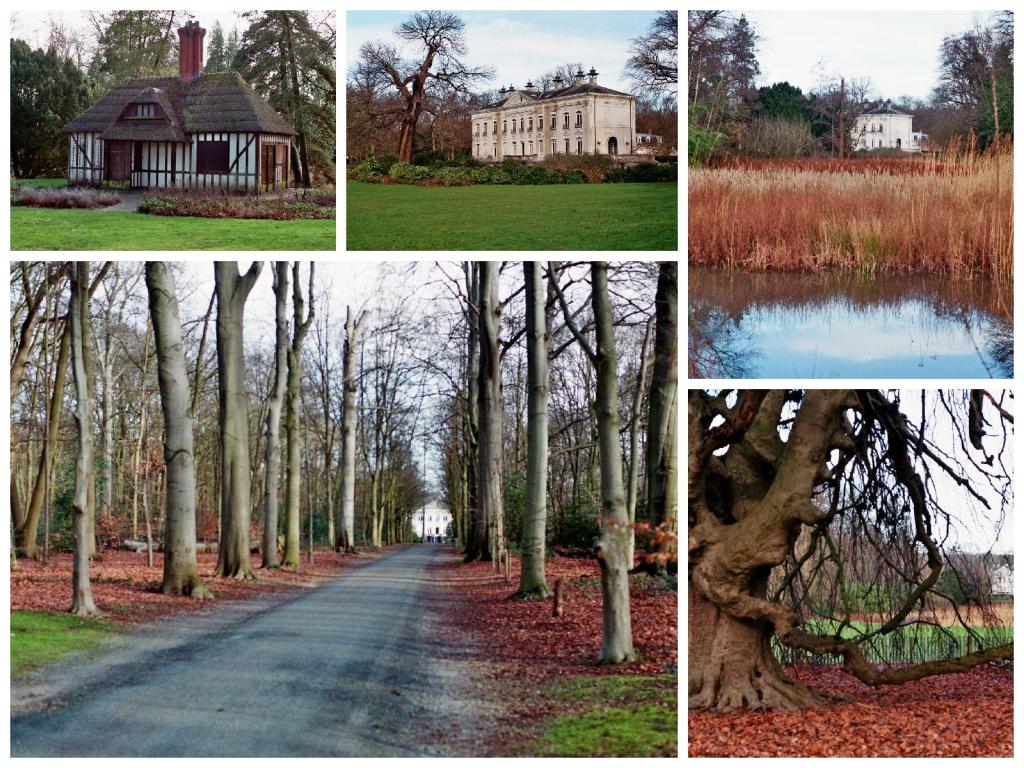
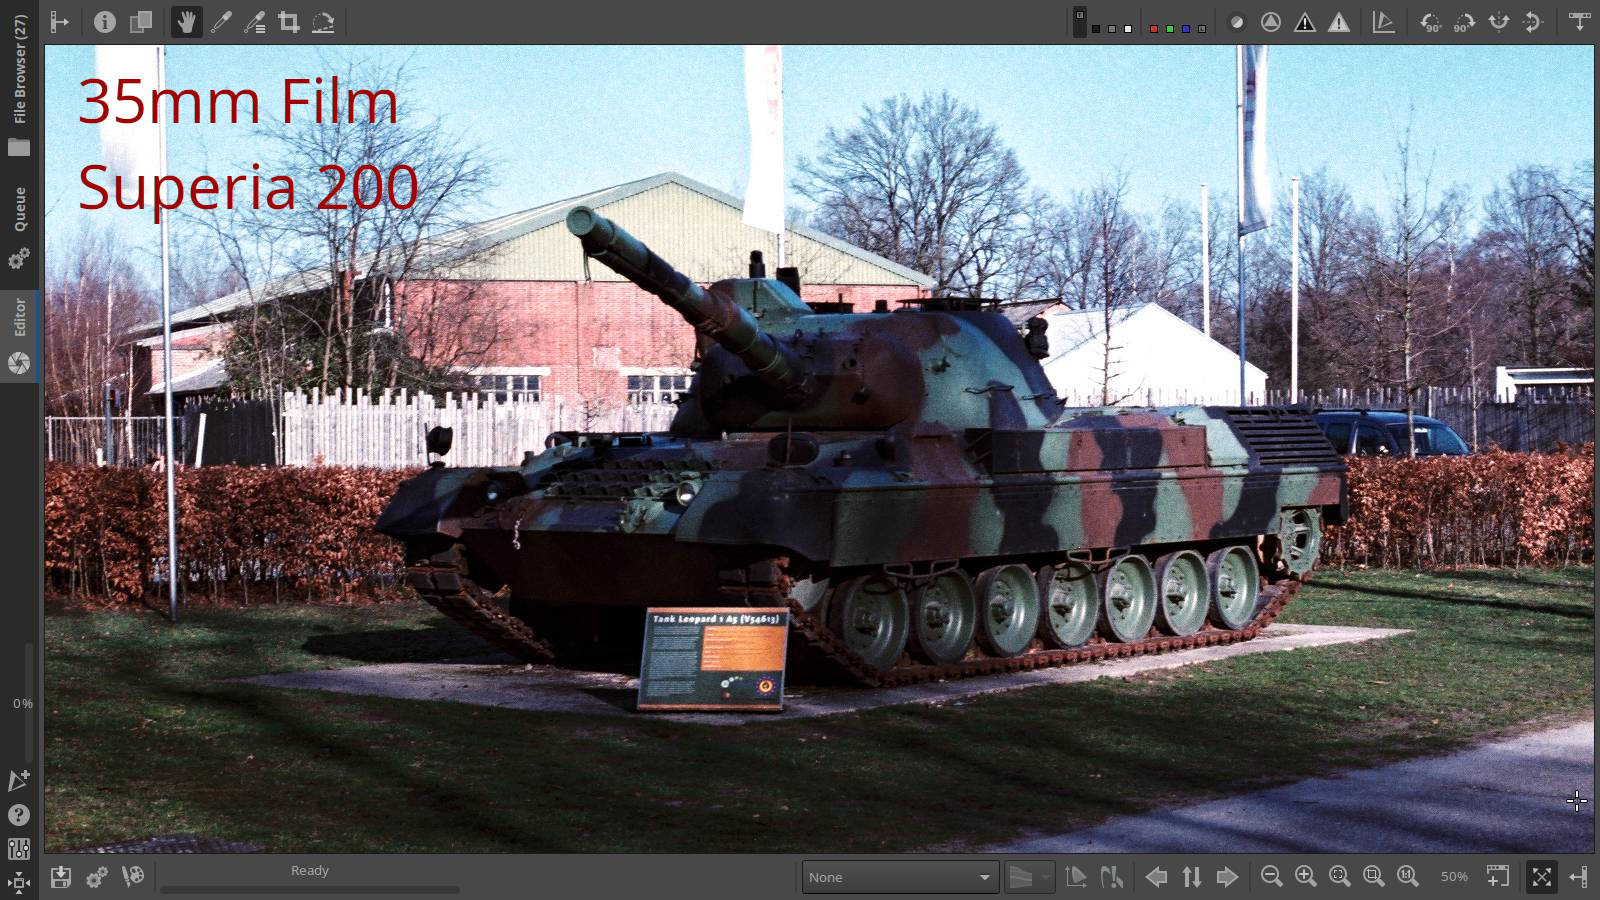
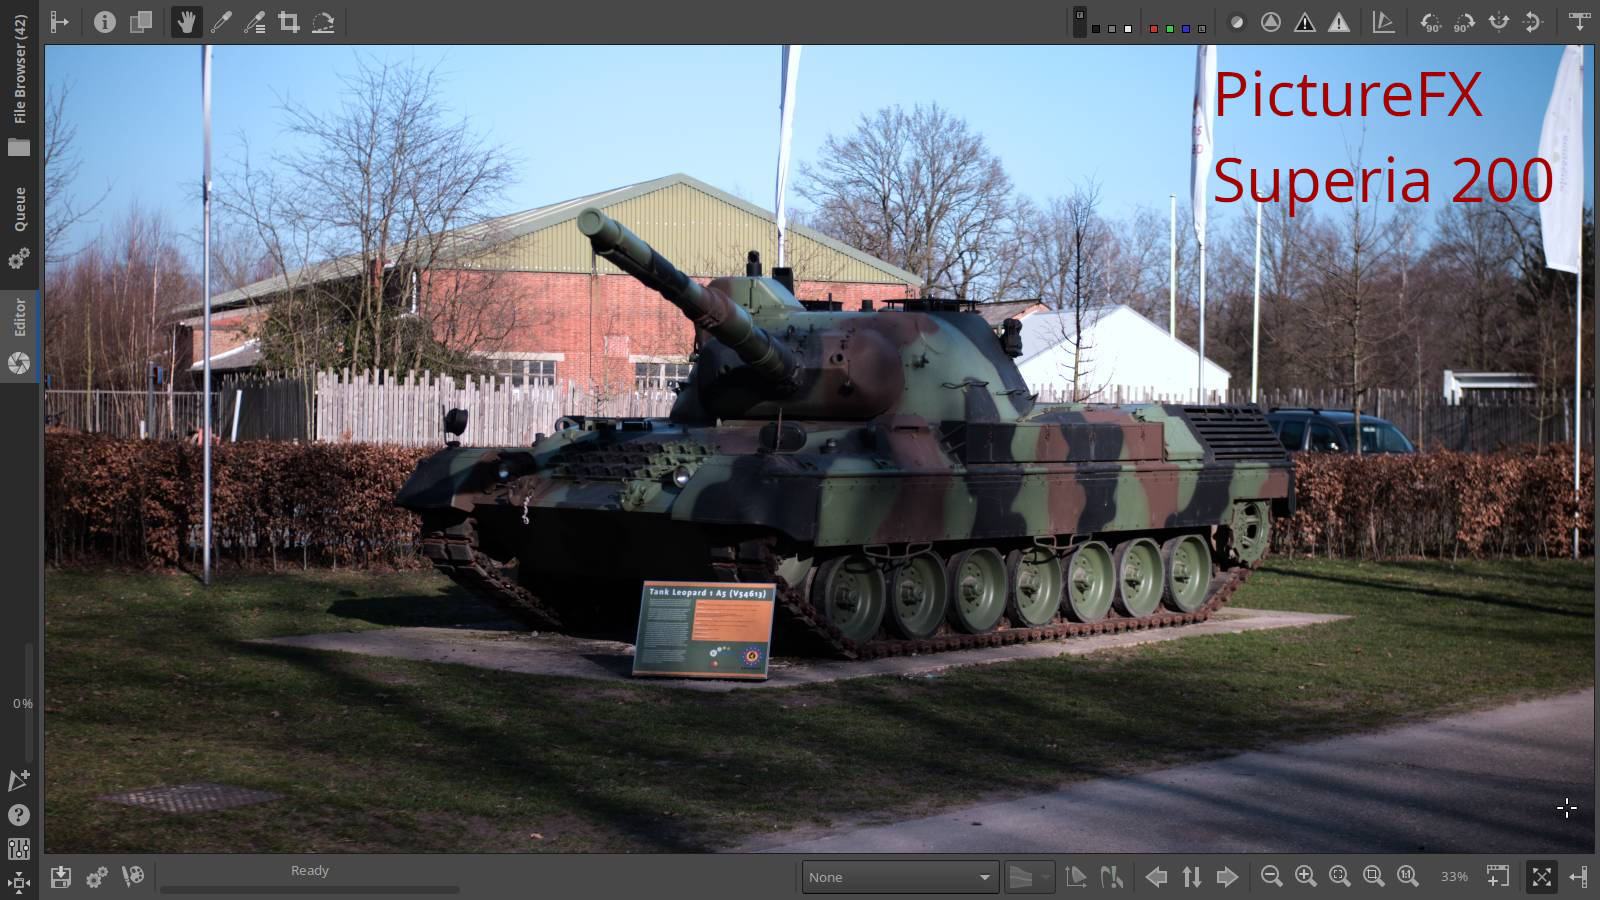
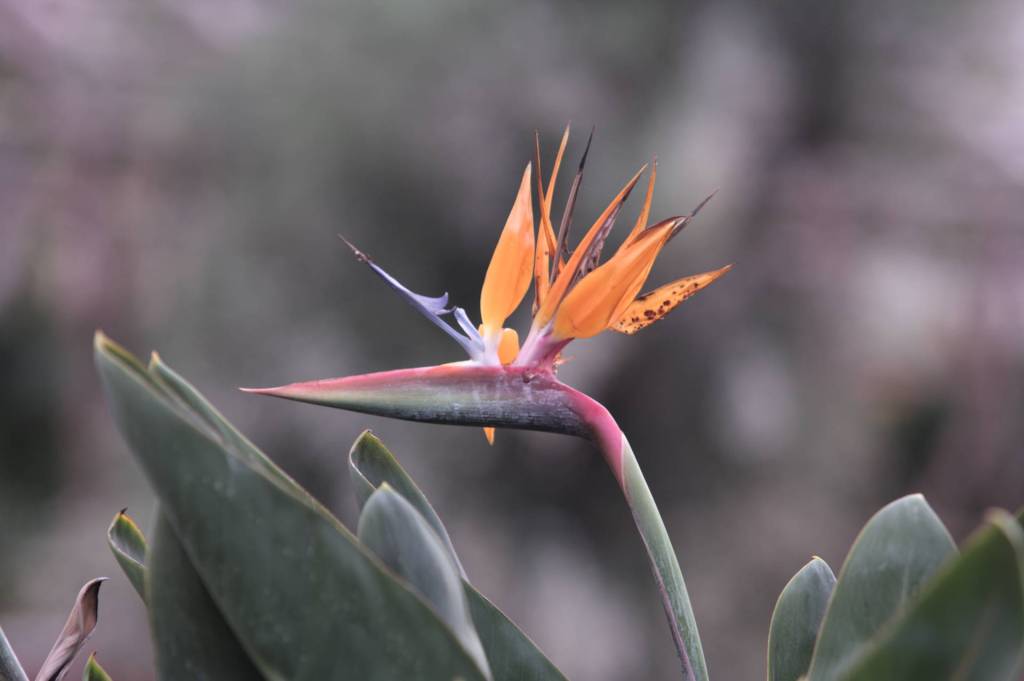
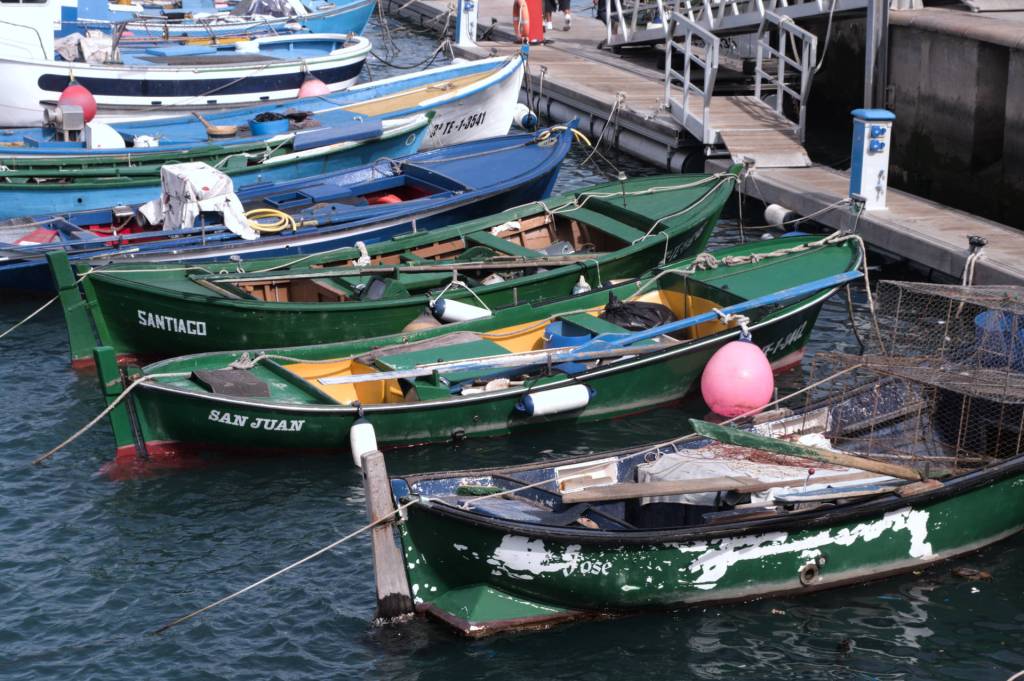
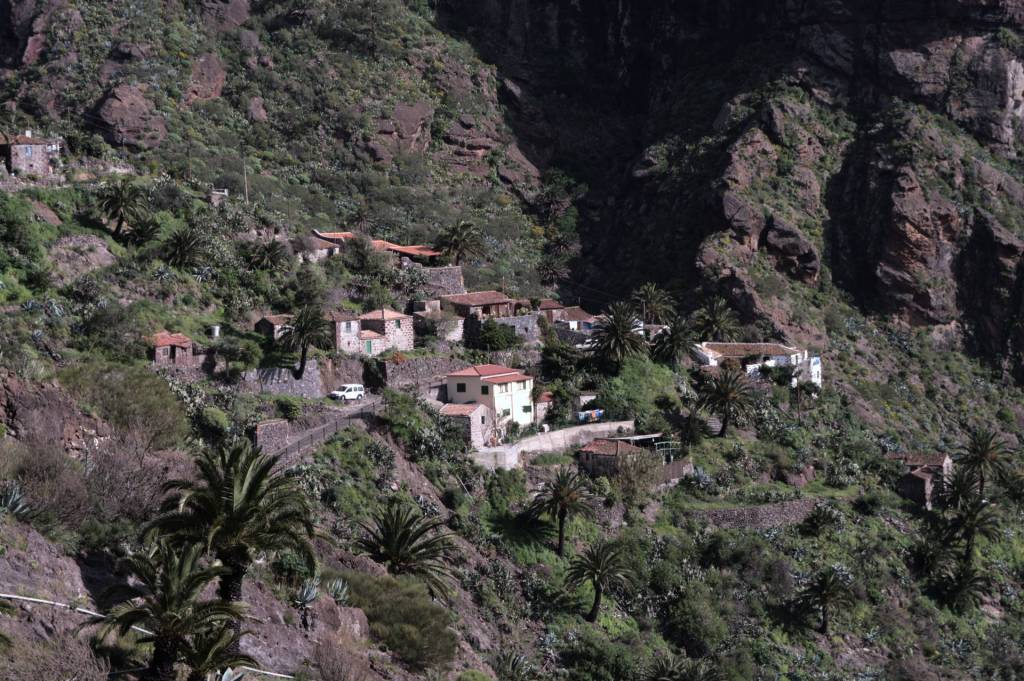
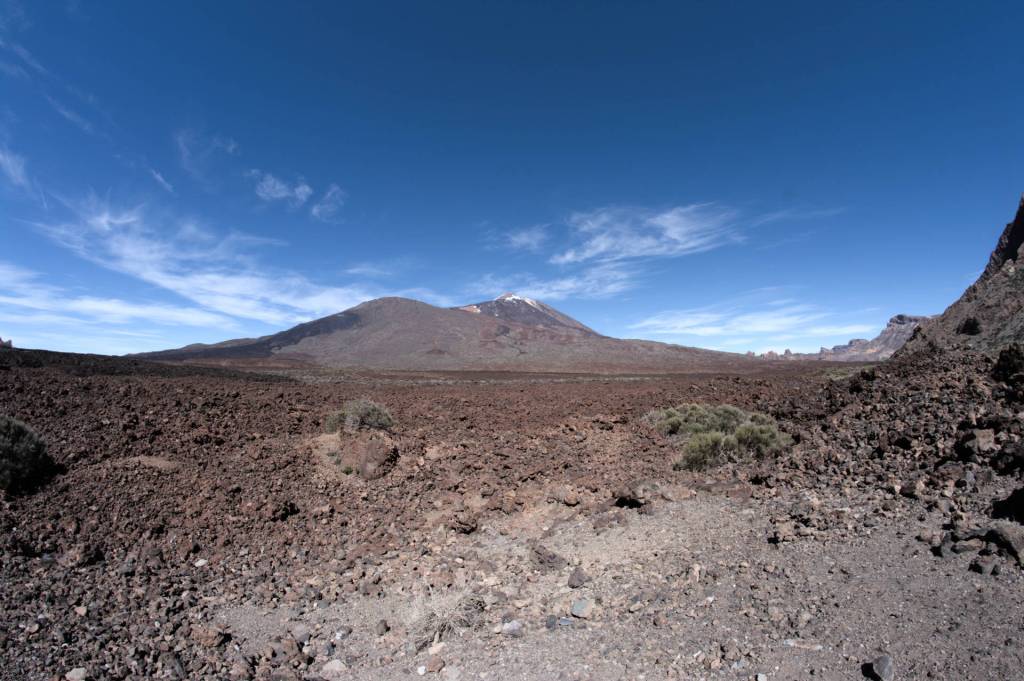
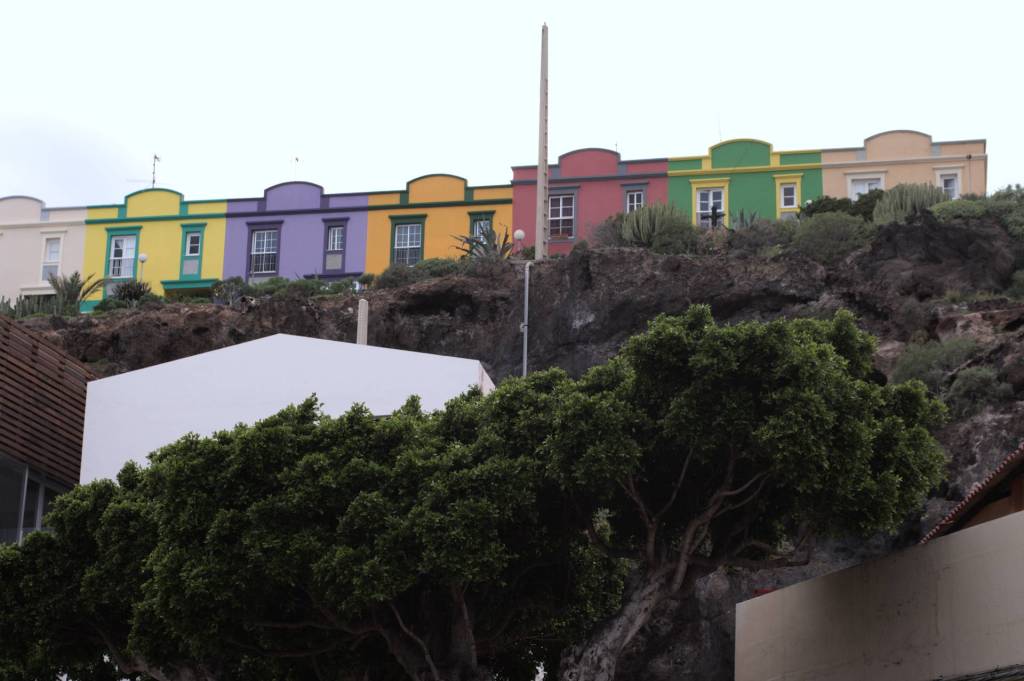
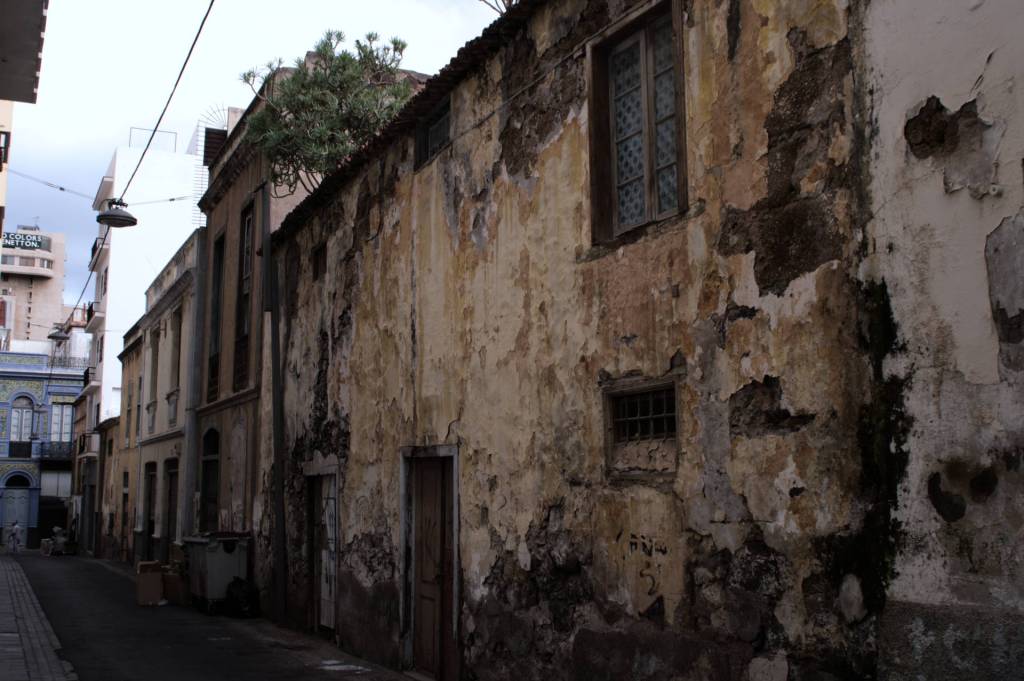
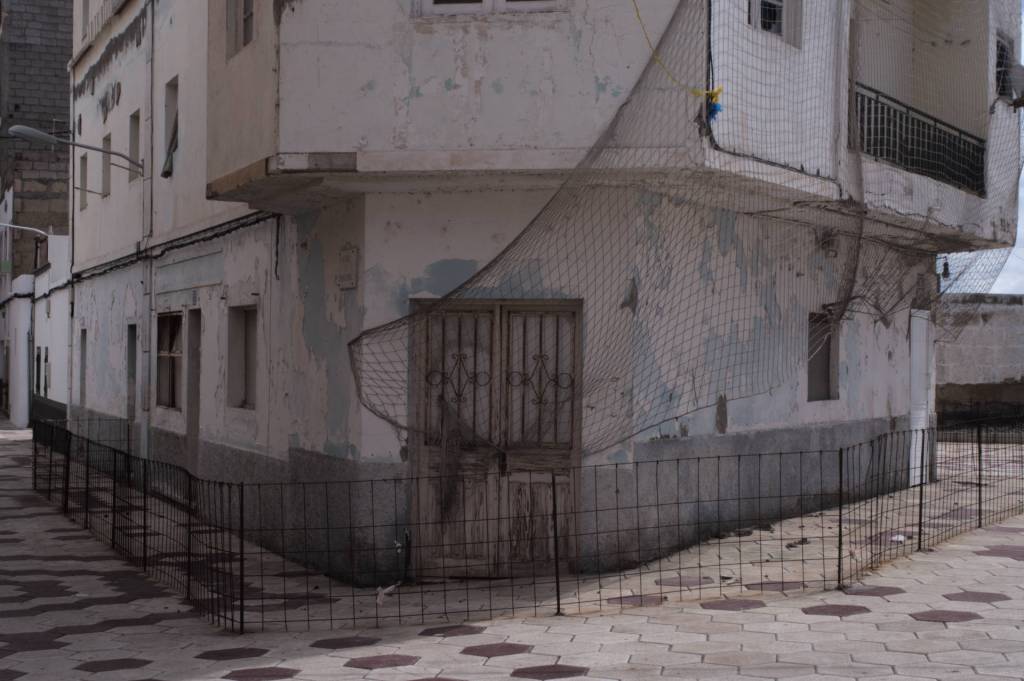
All photos in the gallery below have been developed from RAW to Superia 200 without further adjustments, except +0.5 exposure correction.


This was one of the biggest and most difficult “film simulation” projects I’ve done so far, I’m not only talking about resources, material and cost, but also development time.
In the end, I am very satisfied with the result and a little proud to make it available as a free download here, the new PictureFX Pro Fujifilm Superia 200 :
Lut for use in Rawtherapee, Artherapee , Darktable and other compatible software :

3DLut or Cube for use in Adobe Photoshop CS6 (and up ?), Darktable, Luminar AI :
- update 27/03/2021 list compatibility updated
- update 28/03/2021 although it is a cube format it does not appear to be compatible with all software – it may require a more specific conversion using the LUT as input, this can be done in GrossGrade, there may be other programs that can do this to.
To anyone who downloads this Cube film simulation. It would be nice if you could leave a message at the bottom of which software and version you used with the Cube and whether it worked.
If you do not want this public, you can also do it anonymously via the contact page.
Thanks in advance !

For the new film simulations that have yet to come, a lot will depend on the coming days/weeks, as we in Belgium are facing a new lockdown.
In the meantime I have a second Olympus OM2000 in good used condition – yes, this is such a great camera that I bought another one.
The question is, which film am I going to use now ?
I’m afraid you’ll have to wait for that.
And as always, if you are not interested in using film simulations on your computer, then recipes might be right for you ?
Click below and visit Mark G. Adams website, the place to be for “everything you ever wanted to know about recipes”, and a rich selection of the finest recipes.
Discover more from Open Source Photography
Subscribe to get the latest posts sent to your email.


Fantastic! I’ll get this up in the simulation group asap!
LikeLike
Thanks Mark !
LikeLiked by 1 person
Looks cool, but I assume there is a simple way for Lightroom to use a .cube file?
LikeLike
Hey! Thanks for stopping by. In Adobe it goes from CS6. For LR there is a workaround. Now, I am not an LR user myself, but there is a video on YouTube how you can do it : https://www.youtube.com/watch?v=Uad-OjBi2ks Hope it works for you !
LikeLike
Sorry ! I first forgot the link, but i’ve edited my comment.
And now I had to edit this one also 🙂
Seems that LR can only load xmp files – so you need to convert cube files.
I found this link : https://phlearn.com/wp-content/uploads/2019/07/LUTs-Quick-Install-Guide.pdf
Another way is to install Darktable, it uses Lut and Cube both !
LikeLiked by 1 person
I tried both Photoshop and Darktable. Darktable said it was an invalid file (importing into the 3d Lut module) and Photoshop said unable to parse.
LikeLike
Hello John,
I can only test on Rawtherapee and Darktable, and they work properly there.
A friend of mine tested them in Luminar, everything works fine there too.
You wrote something about importing?
In Darktable you have to place the .cube file in the 3DLut root folder, otherwise you will indeed get an error.
You can find the location of that folder like this:
Go to “Global Preferences” (gear icon) -> “Core Options” -> scroll down to “Miscellaneous” -> then “3D Lut Root Folder” -> “assigned folder”
Here, in the “assigned folder” you have to extract (unzip) the zip file.
Afterwards you can select the new “PictureFX …” in the module “Lut 3D”
Darktable can use both the Lut and Cube files, but they must be added in the right place.
A complete overview of how the 3DLut module works can be found here: https://www.darktable.org/2019/05/New%20module-lut3d/
I hope this helps you further.
Regarding Photoshop, unfortunately I am not familiar with that, so I hope there is a helpful reader here who has Photoshop and LR to help you with that too.
Marc.
LikeLike
Let me know if it works.
Thanks,
Marc
LikeLike
I confirm the parse error when trying to load the .cube file under Adobe Camera Raw
LikeLike
Concerning Ps/Lr
1/ Using GrossGrade (https://grossgrade.com/) I managed to get a .CUBE file that could be loaded into PhotoShop.
2/ Strangely I had a problem for the import of the .XMP in Lightroom. However after editing (thanks to Notepad++) I was able to import it and here is a link:
https://drive.google.com/file/d/1e32dMt617vHEPOBbuUwQGsbuaw6sncH3/view?usp=sharing
However, as this is the first time I use the GrossGrade software (step 1) and considering the editing (step 2), there may be more to do.
Translated with http://www.DeepL.com/Translator (free version)
LikeLike
Hello, Thanks for your contribution of the xmp conversion!
So there appears to be a problem with Adobe.
Are there any other readers who work with Adobe who have problems with the Superia cube?
Or, who can report that it works on their version?
Thanks in advance !
Bonjour, Merci pour votre contribution à la conversion xmp!
Il semble donc y avoir un problème avec Adobe.
Y a-t-il d’autres lecteurs qui travaillent avec Adobe qui ont des problèmes avec le cube Superia?
Ou, qui peut signaler que cela fonctionne sur leur version?
Merci d’avance
LikeLike
Addon : In step1, I used the .PNG file to convert it un the .CUBE file
LikeLike
That makes sense I think, which means that the Cube – although it does work in, for example, Luminar AI – is not the correct format or color space to use in Adobe Camera Raw.
I took a look at the help manual from GrossGrade, and for Cube indeed already found two different possible Cube outputs, namely Adobe Iridas Cube and DaVince Resolve cube.
That means that my Cube will only work with a few software programs.
I will have to take this into account.
Thanks for the feedback!
LikeLike
hello there and thanks a bunch (dt user here)! Superia 200 was one of my favorite films and your simulation is almost spot on! hats off man!
LikeLike
Glad you like it !
LikeLike
sorry Marc, one more thing if you don’t mind me asking: when you post process a raw with dt I suppose you’ve disabled both filmic rgb and base curve modules, right?
LikeLike
No problem. Well, to be honest I use RT as my default post processing program – and yes, always from a completely neutral starting point – no curves, no exposure corrections – nothing.
I use darktable more to test my cube files.
But in the rare cases when I use DT to develop a picture it is indeed completely from scratch, no base curves etc.
LikeLike
By the way, I visited your photo blog, great pictures! you are also a fan of Fuji, Olympus and “real film”, I have seen.
I will definitely visit the site again when I have more time, because you have a lot of pictures! Great!
LikeLike