
To avoid confusion, let’s clear this up first: HaldCluts, Halds, Cluts, Luts, Cubes, and so on are all Color Look-Up Tables or LUTs. However, many photographers on sites and YouTube casually use terms like Preset, Profile, or even Style for the same thing, even though these are usually not “real” LUTs, but rather a collection of settings bundled into a kind of text file — much like a Lightroom preset (.xmp) or RawTherapee profile (.pp3).
Just to make things even more complicated, there’s also the 3D LUT. Briefly put: a regular LUT is simple — color in → color out. A 3D LUT, on the other hand, maps colors in all directions at once and can guide color much more subtly.
That said, what we’ll be focusing on here is a LUT type known in RawTherapee as a HaldClut — a PNG image file.
One of RawTherapee’s most overlooked but incredibly powerful tools is the humble HaldClut — a color lookup table disguised as a weird-looking PNG. If that sounds technical, don’t worry, you’re not alone. But once you get the hang of it, it opens up a whole world of creative and practical possibilities.
Think of HaldClut’s in RawTherapee as the equivalent of LUTs in .cube format used by Lightroom, DaVinci Resolve, Darktable, and other software. They’re essentially the same thing – a way to remap one set of colors to another, usually to simulate the look of a specific film stock, apply a creative effect, or build your own consistent color profile.
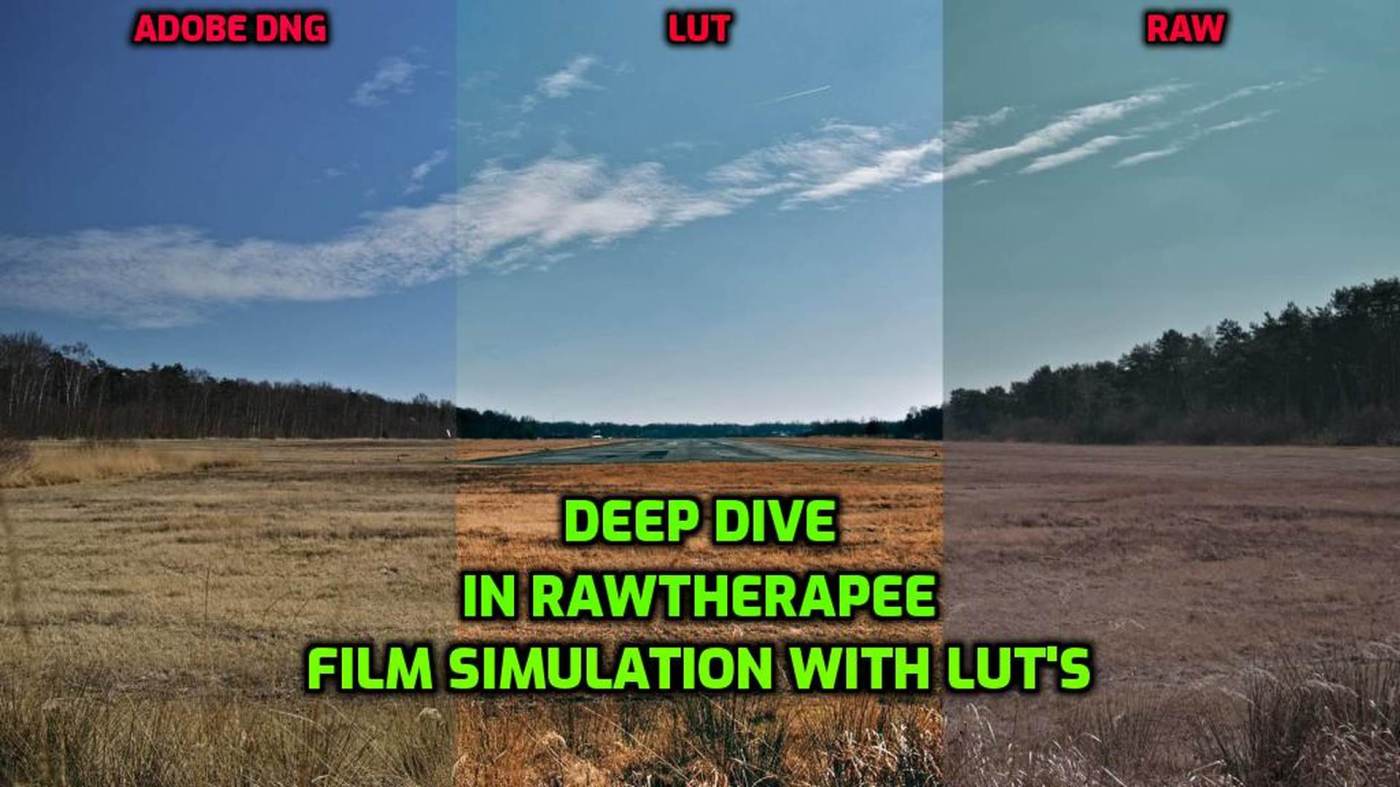
I use HaldClut’s in several ways. First, for classic film simulations – think Kodak Portra, Fujifilm Velvia, or Ilford HP5 – perfect for injecting some nostalgia into your digital files. I’ve even developed some of my own, like PictureFX’s Cinestill 800T simulation, which adds that unmistakable cinematic glow. But it doesn’t stop there.
You can also use CLUTs for more stylized effects: infrared-style looks like my PictureFX Faux Infrared 2024 mod, sunset tone boosters – PictureFX Perfect Sunset, moody blue-hour vibes or dawn – PictureFX Paris by Dawn, you name it. In fact, you can build a HaldClut from any processed image: just feed a neutral HALD PNG through your editing process, save the result, and voilà – instant custom color profile, reusable anytime.
You could even convert camera profiles, like Adobe DNG Camera Profiles, into a LUT. But it gets even better: if you’ve created your own unique Look, you can also convert that into a LUT. Styles, as used in Darktable, can be turned into LUTs too, allowing you to apply them over and over again via Film Simulation — recreating that exact Look whenever you want.
And let’s be honest: a truly distinctive LOOK can be priceless.
The only restriction: apply only global color and tone adjustments — no tone mapping, sharpening, denoising, lens corrections, etc.
HaldClut’s offer a lightweight, non-destructive way to build your own look library. They’re like PP3 profiles, but stripped down to only color transformations – portable, stackable, and perfect for consistent batch editing. Whether you’re aiming to simulate analog film, unify your camera output, or simply experiment with bold color grading, CLUTs in RawTherapee are an underrated gem.
Next up: how to generate your own HaldClut’s and use them in RawTherapee like a pro. Spoiler: it’s easier than it sounds – and a lot more fun than tweaking sliders for hours.
Creating and Using Your Own HaldClut’s in RawTherapee
So how do you get started with film simulation in RawTherapee using HaldClut’s?
Let’s break it down:
1. Get Some LUTs
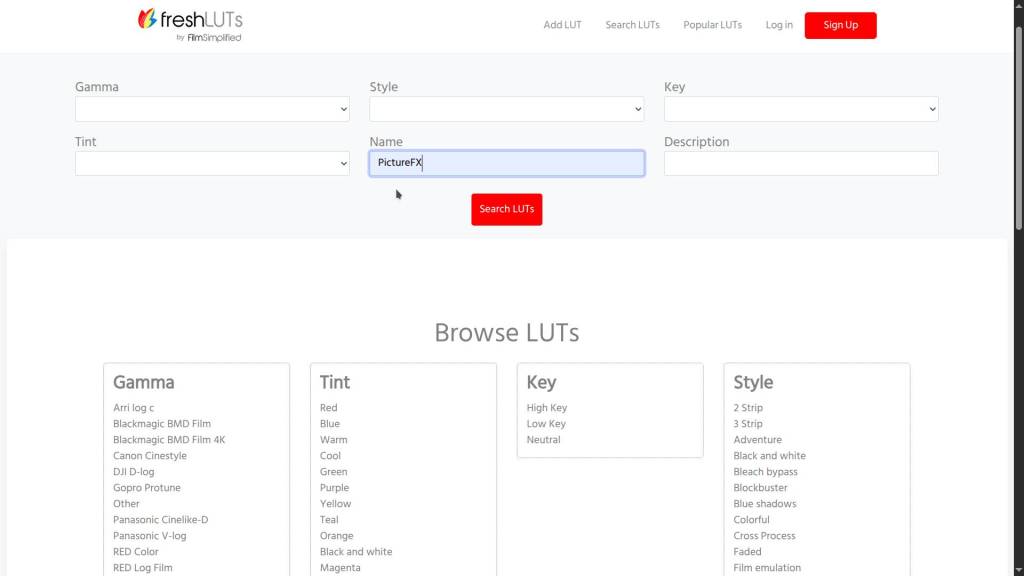
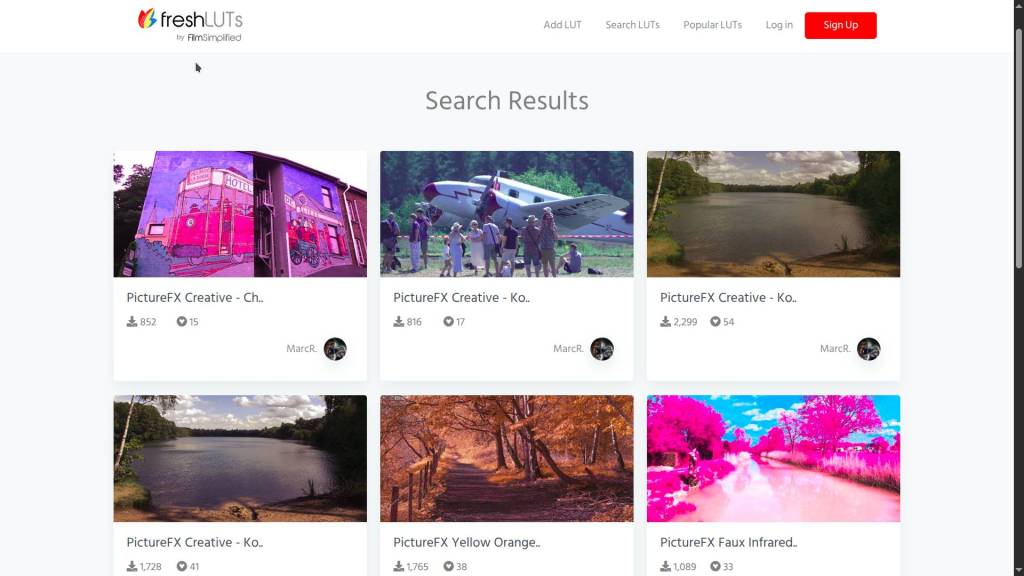
If you want a head start, I recommend exploring my own FREE collection: PictureFX, a custom-made set of LUTs covering everything from vintage film simulations to infrared and special color effects. You can find them on FreshLUTs – they’re in .cube format, but don’t worry, we’ll convert those in the next step.
You’ll also find a broader selection of free LUTs and HaldClut’s (including my own creations) on my site:
👉 The Largest Collection of Film Simulation HALDCLUTs
And don’t forget the classic: the original RawTherapee Film Simulation Collection, still a great resource, though quite large (~400MB).
📦 RawTherapee Film Simulation Collection (Sometimes it doesn’t work through the Google browser; in that case, use Firefox or your operating system’s default, like Edge or Safari).
2. Convert .CUBE to HaldClut PNG
RawTherapee doesn’t support .cube files directly, but converting them is easy. Just use Vertopal, a handy free online converter. Upload your .cube, select PNG, and it’ll spit out a HaldClut PNG that’s ready to use.
3. Apply in RawTherapee
Once you’ve got your HaldClut PNG file:
- Drop it in an appropriate folder like
'Film-Simulation‘ or ‘Luts’ folder, then go to ‘Preferences’ in RT -> Image Processing -> Directories -> HaldClut directories -> click in the folder field and navigate to the above used folder and restart RT. - Open a photo in RawTherapee, go to the Color tab → Film Simulation tool.
- Choose your HaldClut from the dropdown.
- Boom. Instant mood, no sliders required (You can still tweak the strength anywhere between 0 and 100 or adjust other settings)
4. Create Your Own HaldClut’s
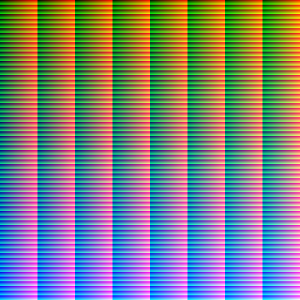
Want to make your own look from scratch? Easy. Start with the official neutral identity file: 🧪 Download the 900px HALD Identity 12 PNG
Here’s the trick:
Open a photo in RawTherapee and apply only global color and tone adjustments (saturation, white balance, brightness, contrast etc) — (NO tone mapping, sharpening, noise reduction, or anything like that).
Save these editing options — in RT, that’s ‘Save Current Profile’ (.pp3) or ‘Copy Current Processing Profile’.
Next, open that ‘identity image’ in your photo editor (could be RawTherapee, GIMP, Lr & PS, Darktable or any other).
Apply your desired color edits (paste clipboard or open .pp3 profile), just like you would when processing a regular photo.
Save the edited result — make sure you keep the same dimensions and PNG format!
And that’s it — you’ve just created your own HaldClut. Drop it into your RawTherapee’s Film Simulation folder, and you’re ready to apply your custom look to any image.
This method is a brilliant way to:
- Create your own consistent style across photos.
- Simulate camera-specific color profiles.
- Save and share creative color grading looks.
Think of it as a stripped-down PP3 preset – focused purely on color transformations. Clean, fast, portable.
This article was written by Marc R.
While I primarily speak Dutch and have some knowledge of English and a little French, ChatGPT helps ensure my writing is grammatically correct. I often mix Dutch and English in my drafts, and ChatGPT steps in to translate and correct.
I don’t have any Sponsoring Companies, Patreon support, or Follower Donations.
I don’t drink Coffee, well, I do … but not the financial form you sometimes find on other websites, like ‘buy me a coffee’ 😊
However, what I truly need to keep going is Motivation, and the best part is, it won’t cost you a thing. You can offer it for free – just hit the Like button and Subscribe !
Discover more from Open Source Photography
Subscribe to get the latest posts sent to your email.

