
If you haven’t seen the photo series in La Gallerie yet, it might be best to check it out first and then come back here for the technical details.
5 minutes reading time.
“Ok, here we go!” – The Only Line I Spoke in the Video
At 2:19 in the video, you’ll hear my only spoken line: “Ok, here we go!” I thought it would be fun to include this little moment because I actually said it just before wading through the water. In reality, though, I ended up saying it multiple times—not for dramatic effect, but because of some rather annoying technical issues.
My Olympus Tough TG-5 kept shutting down due to weak batteries, and my Panasonic TZ80 struggled with focus. To make things worse, also my Oly Tracker camera (an Olympus Action Camcorder type camera) would just completely power off. After several failed attempts, I finally managed to squeeze enough life out of one of my a battery’s to complete the shoot.
So, yes—I crossed that water multiple times, back and forth, before I finally got everything right! 😅
Actually, I first went out filming on a Saturday, but I went back on Monday to reshoot a few parts—especially the ones recorded with the Zhiyun Weebill, as I wasn’t happy with the results. To quickly fix the exposure issues, I simply switched to the Olympus 12-45mm f/4 PRO lens, allowing the camera to automatically adjust the aperture in video mode.
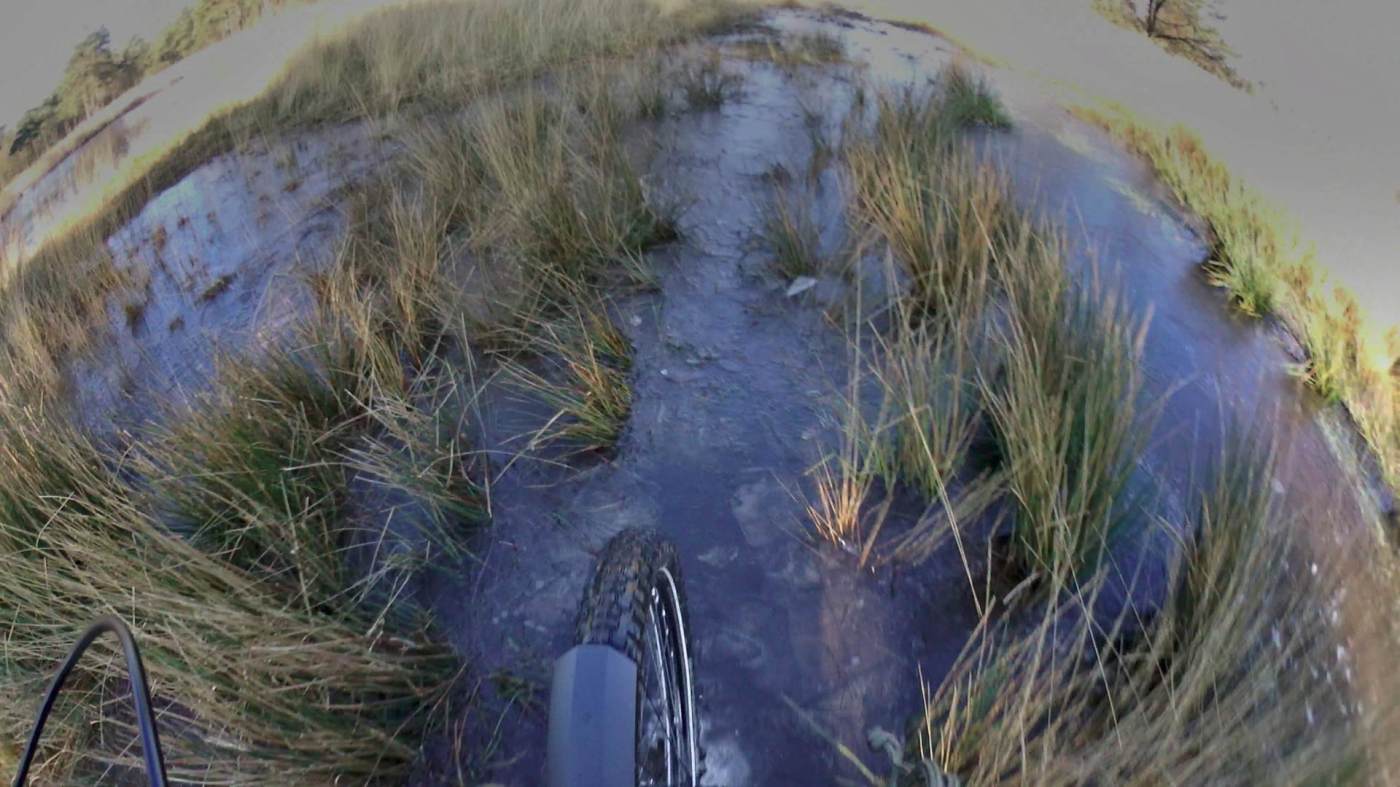
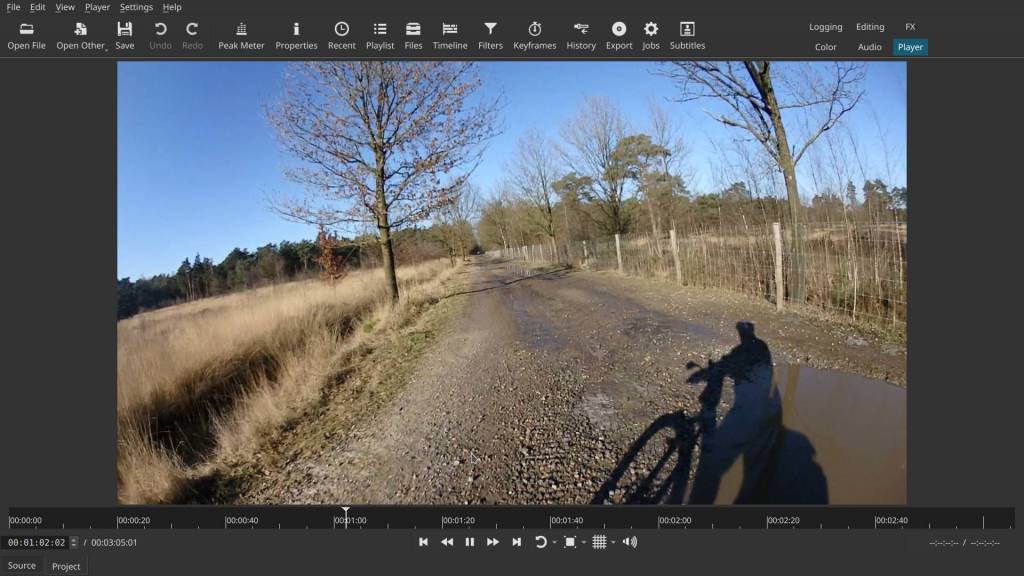
Additionally, I mounted the Olympus TG Tracker facing downward so that water, ice, or the spinning wheel would be clearly visible :
Creating a Short Sound Clip with Audacity
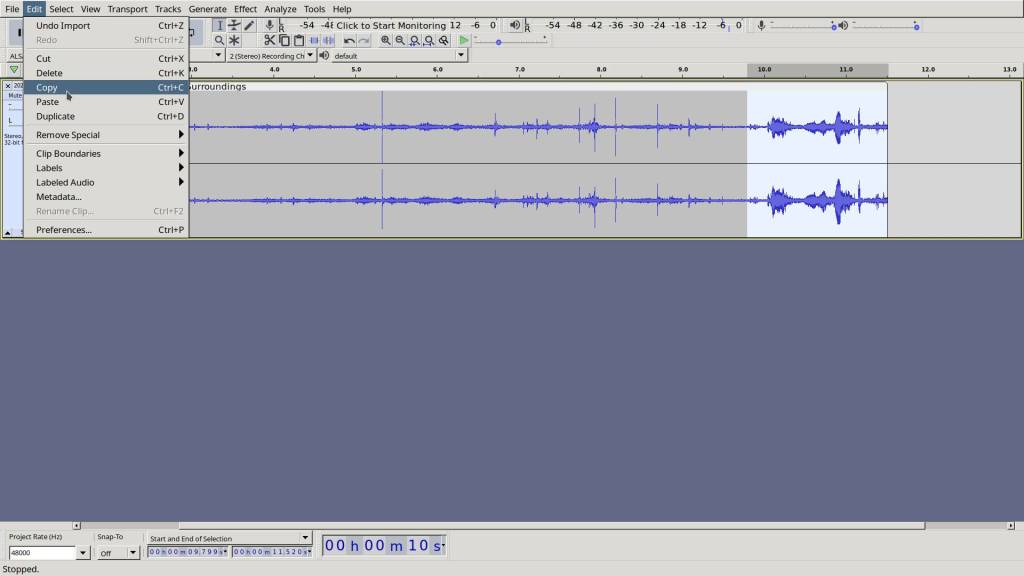
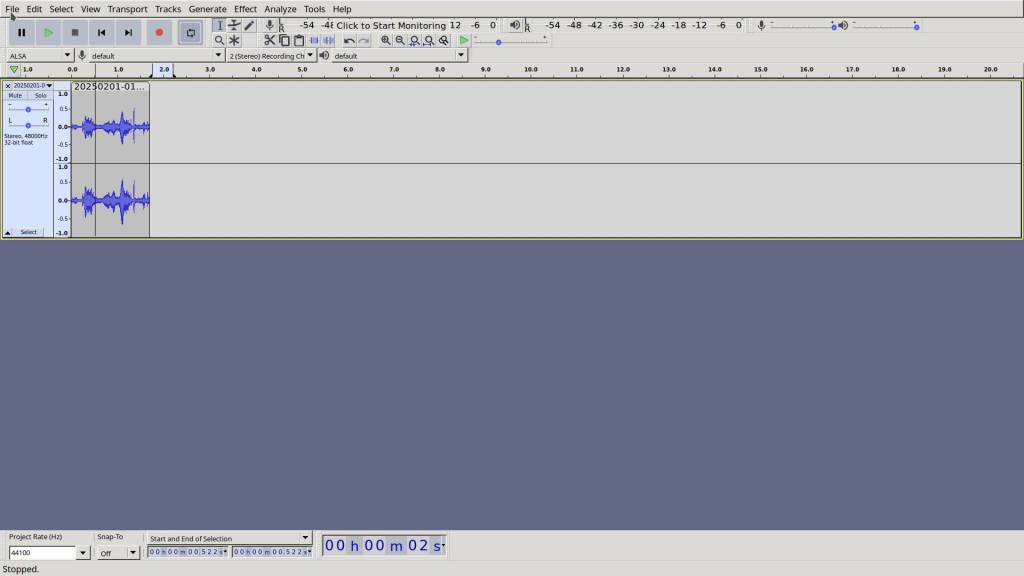
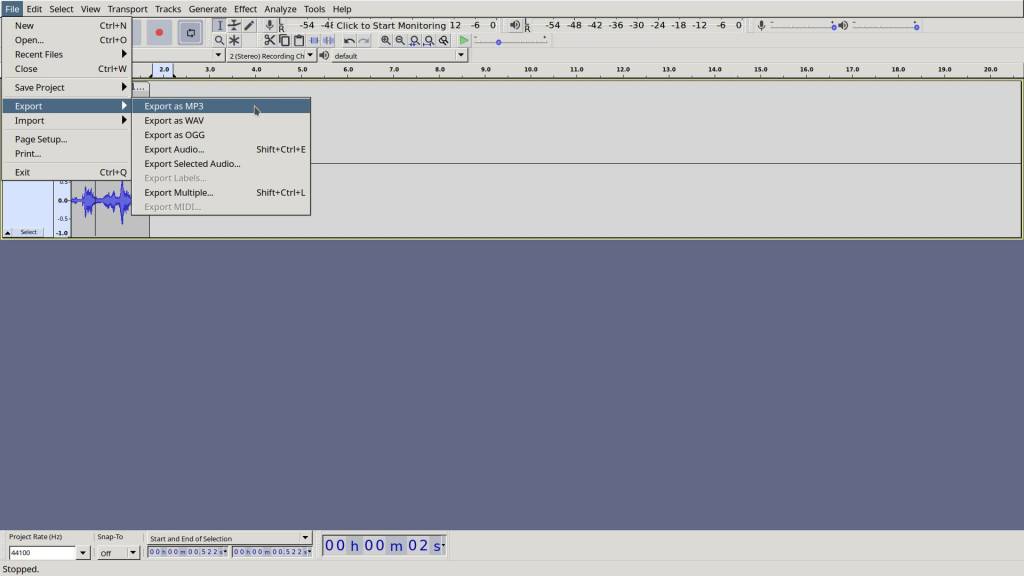
For the “Ok, here we go!” super short sound clip, I used Audacity 3.1.3—a free, open-source, and cross-platform software for recording and editing audio. It works on Windows, macOS, and Linux, making it a versatile tool for anyone working with sound.
The process was incredibly simple. All I had to do was find a good “Ok, here we go!” from my footage. Here’s how I did it:
- Load the video clip into Audacity.
- Find the right sequence in the audio track.
- Select -> copy, and paste the snippet into a new track.
- Export as MP3—done!
A quick and easy task, but one that’s incredibly useful when editing soundtracks. If you create videos, Audacity is an essential tool that can help you create sound effects and fine-tune your audio effortlessly.
Creating the Video – My Editing Process with Shotcut
Now that everything is prepared, it’s time to put the video together! For editing, I use Shotcut—a free and open-source video editor packed with powerful tools. It’s available for Windows, macOS, and Linux, making it a versatile choice for anyone looking to edit videos without breaking the bank.
Shotcut supports a wide range of formats, offers numerous filters and effects, and provides a flexible timeline-based editing system. Whether you’re a beginner or a more experienced editor, Shotcut has the tools you need to create professional-looking videos.
In the next steps, I’ll walk you through how I use Shotcut to bring my footage to life. Stay tuned!
A Simple Guide to Editing Videos with Shotcut
Editing videos becomes much easier when you have a clear idea of what you want to achieve beforehand. As part of my preparation, I first review all the footage I’ve recorded and select a suitable soundtrack. For this, I use https://www.chosic.com/, which offers a wide selection of free-to-use music (as long as you give credit). When you download a track, you also get a prepared text file for adding proper credits—very convenient!
Step 1: Start Shotcut and Save Your Project
Open Shotcut and immediately save your new project with an appropriate name. The project will be saved as an XML file.
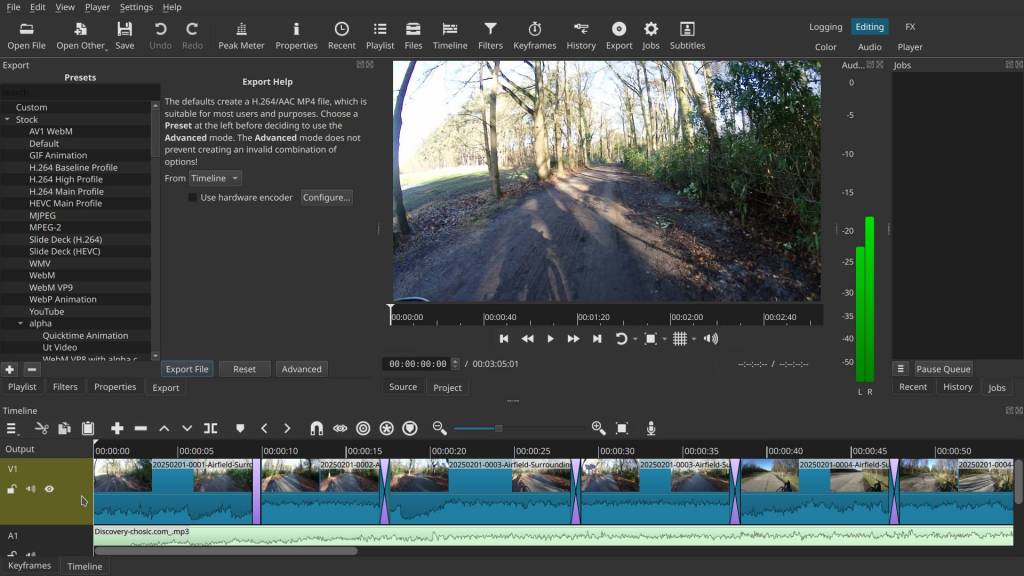
Step 2: Add Your First Video Clip
Drag the video clip you want to start with onto the timeline (track V1). After a few seconds, the video will appear, and you can play, pause, or fast-forward it.
Step 3: Cutting Clips
If you need to cut a section from your clip:
- Click on the timeline above the clip.
- Click on the ninth icon (‘Split at Playhead’).
- Your clip is now divided into two parts. You can move the unwanted section aside or delete it by selecting it and pressing Delete on your keyboard.
Step 4: Continue Editing
- Keep playing the video and stop where you need to cut again.
- Repeat Step 3 until you have refined your clip.
- Move all remaining parts to the starting point.
- Click on the magnet icon if you want clips to snap together automatically.
- If you want smooth transitions, slightly overlap the clips for an automatic fade effect.
Step 5: Adding More Video Clips
If needed, add more video clips and repeat the same steps as above.
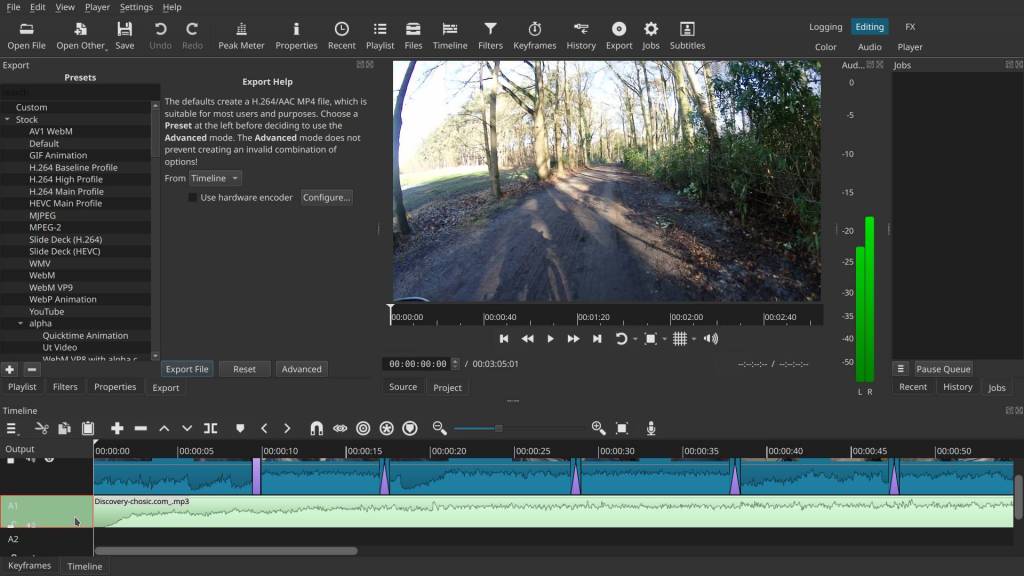
Step 6: Adding an Audio Track
- Click on the three-line menu (top of the timeline).
- Go to Track Operations and select Add Audio Track.
- Drag your chosen audio file onto the new track.
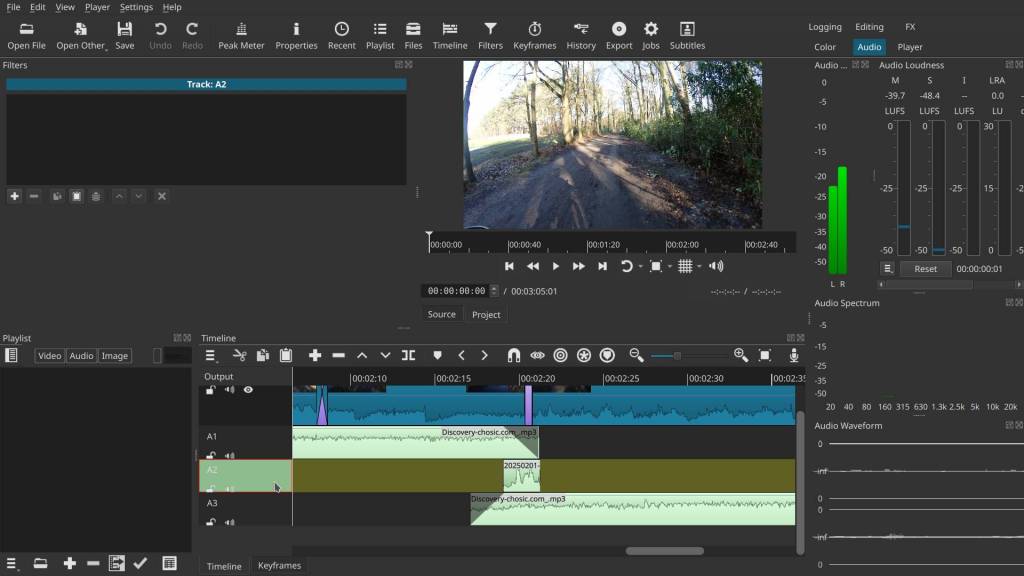
Step 7: Editing Audio
- You can edit audio just like video: split, cut, and adjust.
- If you’re using multiple audio tracks, you can fade one out before introducing another.
- For example, I added a first soundtrack, then faded it out using filters before adding a second audio clip (‘Here We Go’) and a third clip on another track.
Step 8: Preview Video
- You can preview your created video in ‘Player’ top right
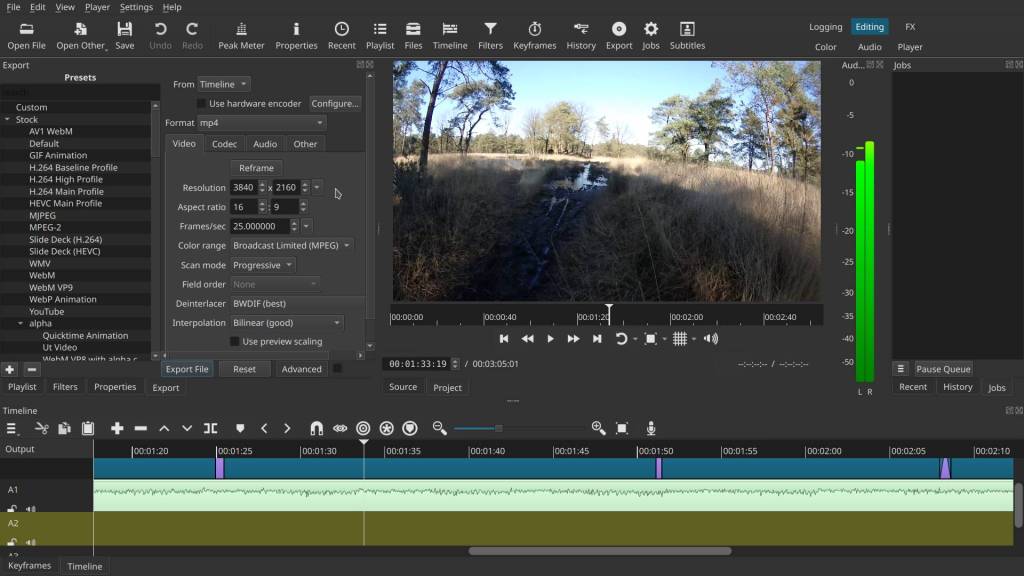
Step 9: Exporting Your Final Video
- Go to Settings (Advanced) to adjust the output.
- I chose 4K, 25p, and the highest quality output.
- Click Export, name your video, and choose where to save it.
- Click Save—and you’re done!
With these simple steps, you can create polished and professional-looking videos using Shotcut. Enjoy editing!
So, that’s it for today! If all goes well, I’ll be publishing a new review on Monday. This time, the Zihun Weebill S has been tested with the Olympus E-M10 Mark III, paired with the Kamlan 15mm f/2 and the Olympus 12-45mm f/4 Pro. Stay tuned!
I don’t have any Sponsoring Companies, Patreon support, or Follower Donations.
I don’t drink Coffee, well, I do … but not the financial form you sometimes find on other websites, like ‘buy me a coffee’ 😊
However, what I truly need to keep going is Motivation, and the best part is, it won’t cost you a thing. You can offer it for free – just hit the Like button and Subscribe !
Discover more from Open Source Photography
Subscribe to get the latest posts sent to your email.


Very nice, thank you. Yes looking forward to your test of Zihun Weebill S. 🙂 Ah … and yes, did you work with DaVinci Resolve for video editing (well obviously)? Thank you.
LikeLiked by 1 person
Well, Sergei, I did dabble in video editing in the past, but that was a lifetime ago. The software was completely different back then, and I was still using Windows. After leaving the IT world, I quickly abandoned Windows and switched to Linux—where everything works differently, and most Windows programs aren’t compatible.
So no, I can’t say I have experience with DaVinci Resolve. I don’t even think it existed back in my Windows days. Sorry!
LikeLike
Goed bericht! Leuke video door een fraai stukje landschap. Het deel waar je achter je schaduw aan fietst vond ik wel amusant. Audacity gebruiken we wel eens met de band waar ik bas in speel om onderling te communiceren; werkt prima! Van shortcut had ik nog niet gehoord; ik ga kijken of het wat voor me is. Dank je, Marc en een goed weekend!
LikeLiked by 1 person
Bedankt Harrie, altijd fijn om te horen ! ja, dat van die schaduw vond ik ook wel leuk – er zijn stukken die beter konden, maar na lang alleen maar te fotograferen is het nu allemaal weer wat nieuw en moeten we nog bijleren 🙂 Er zijn waarschijnlijk betere video editors dan Shotcut, maar op Linux zit je wat beperkter in keuze en deze werkt voor nieuwkomers zoals ik intuitief en goed. Nogmaals bedankt en zeker ook een fijn – en hopelijk wat zonniger – weekend !
LikeLike