
Here’s a breakdown of Olympus/OM System and Panasonic micro four-thirds (MFT) lenses suitable for bird and wildlife photography. These lenses are evaluated with their key strengths and weaknesses, along with an average new price/second-hand sorted table.
The pros and cons listed here are sourced from well-known review sites, but I don’t always agree with them. If I own or have used a particular lens, I’ll occasionally share my personal perspective as well.
Why MFT ?
The advantage of Micro Four Thirds (MFT) for photographing birds and wildlife compared to larger brands like Nikon and Canon lies primarily in the system’s portability and crop factor. The smaller and lighter MFT lenses and bodies make it easier to carry and handle, especially during long wildlife expeditions. Additionally, the 2x crop factor effectively doubles the focal length of lenses, allowing photographers to achieve higher magnification without the weight and cost associated with larger full-frame or APS-C systems. This makes MFT an excellent choice for capturing distant wildlife with compact gear.
The image quality of a Micro Four Thirds (MFT) sensor is remarkably good and has improved significantly over the years. While full-frame and APS-C sensors may offer advantages in dynamic range and low-light performance due to their larger size, MFT sensors excel in delivering impressive results in a more compact and portable package.
For most photography situations, the difference in quality is minimal, and MFT systems often provide all the performance you need, along with the added benefit of lightweight, travel-friendly gear. It’s a matter of prioritizing: if portability and versatility are important to you, MFT is an excellent choice without sacrificing much in terms of image quality.
In the overview table down below, lenses are sorted by their average new and used prices. This makes it easy to find options that fit within your specific budget.
The final table highlights which lenses are compatible with teleconverters. Teleconverters often get a bad reputation—mainly due to outdated experiences, past designs, or issues with other brands. However, modern teleconverters have come a long way and are now fine-tuned for use with compatible lenses. I’ll dive deeper into this topic later in the article.
A Personal Take on Image Stabilization:
When reading reviews or comparing pros and cons, you often come across discussions about different types of lens stabilization and their compatibility with specific camera models or brands like Olympus or Panasonic. On paper, these differences can seem significant, and manufacturers and reviewers may show charts and statistics to back up their claims. However, based on my personal experience, I think the importance of these differences is often exaggerated—especially when combined with an Olympus camera, which I find has excellent stabilization.
For example, when I first started with the Micro Four Thirds system, I used an older Olympus E-M10 paired with a vintage OM Zuiko 300mm f/4.5 lens. This old lens had no stabilization, yet when mounted on the E-M10, it felt like a giant hand was holding the lens steady as I shot. My point is that Olympus’ in-body stabilization is fantastic. If you’re using a Panasonic lens on an Olympus camera, try switching between the camera’s stabilization and the lens stabilization to see which feels better for you.
Don’t get too caught up in technical details. Choose a Panasonic or Olympus camera because you prefer it, and pick whichever lens from either brand suits you best. Sure, some nitpickers might notice slight differences when comparing directly, but in practice, the stabilization will be more than enough.
Lenses for Bird, Insects and Wildlife Photography
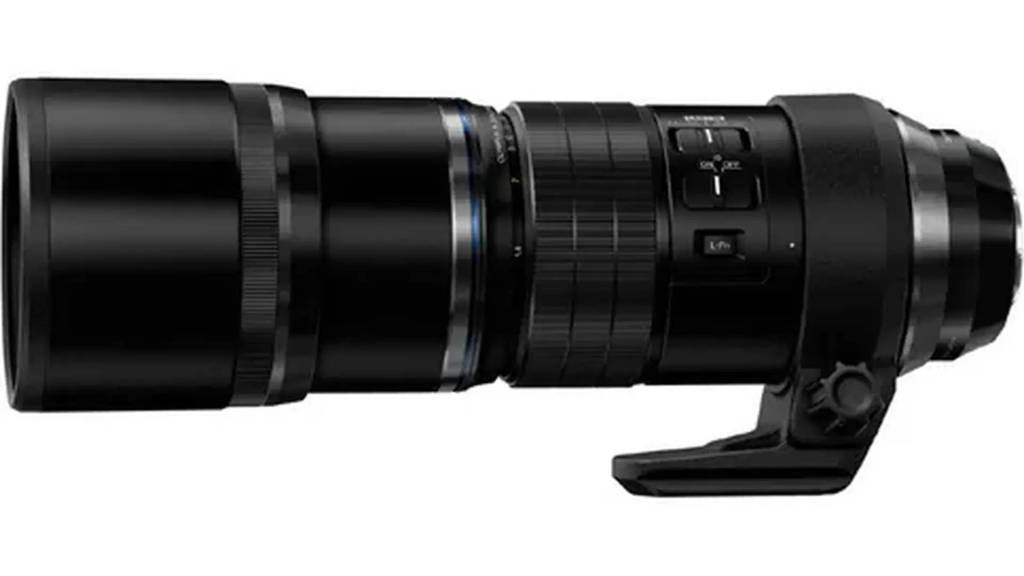
Olympus M.Zuiko Digital ED 300mm f/4 IS PRO
- Pros:
- Superb sharpness and resolution.
- Built-in image stabilization that syncs with Olympus/OM System cameras.
- Weather-sealed for outdoor use.
- Lightweight compared to full-frame equivalents.
- Teleconverter Compatible
- Cons:
- High price for an MFT lens.
- Fixed focal length may limit versatility.
The Olympus 300mm f/4 PRO was the lens I purchased after the Leica 100-400mm. My decision was heavily influenced by glowing reviews and high praise from photographers like Tesni Ward and Brooke Bartleson. They described it as exceptional, leading me to believe it would make a dramatic difference in my photography.
And to be fair, it is sharper—noticeably so—even wide open at f/4. When paired with 1.4x or 2.0x teleconverters, the reach is extended significantly without a noticeable loss in sharpness, and the lens still maintains a relatively fast aperture. It also feels incredibly premium in build quality, with better weather resistance claimed compared to the Leica or Olympus 100-400mm lenses. Of course, verifying weather resistance is tricky in practice.
However, this premium quality comes at a premium price. It’s significantly more expensive than standard 100-400mm lenses. And as a prime lens, it has the obvious drawback of lacking zoom versatility.
At the time, I also considered the Olympus 150-400mm f/4.5 PRO (the big white), but it was nearly three times the price. Based on comparisons, the 300mm f/4 PRO seemed like the more practical investment.
Looking back, though, with the knowledge I have now—and the release of the OM System 150-600mm—I’am not shure I would make the same choice today. While the 300mm f/4 PRO is an outstanding lens in every respect, I’m hesitating to recommend it, considering the alternatives now available.
Specs:
Dimensions: 3.64 inches (92.5 mm) in diameter and 8.94 inches (227 mm) in length
Weight: 3.25 lbs (1475 g)

Olympus M.Zuiko Digital ED 100-400mm f/5.0-6.3 IS
- Pros:
- Versatile zoom range (200-800mm full-frame equivalent).
- Compact and lightweight for a super-telephoto lens.
- Weather-sealed.
- Built-in image stabilization.
- Teleconverter Compatible
- Cons:
- Slower aperture (f/5.0-6.3) limits low-light performance.
- Slower autofocus than PRO lenses.
With the Leica 100-400mm f4-6.3 and the Olympus 300mm f4 Pro in my collection, I already had a maximum focal length equivalent to a 1200mm full-frame field of view. However, there were moments when I wished for just a little more reach. That’s when I saw this lens available for a bargain price on a secondhand website, in good condition. I had already purchased Olympus teleconverters (MC-14 and MC-20) for the 300mm Pro, so with the addition of this lens, I could reach up to 1600mm full-frame equivalent — an opportunity I couldn’t pass up.
In terms of image quality, the lens performs excellently, even with the teleconverters. The relatively small investment I made for this lens was more than justified by the extra 400mm of reach I gained. However, if I were to compare these two lenses without using the teleconverters, I would undoubtedly choose the Leica DG 100-400mm.
The build quality of the Leica is outstanding and premium, far surpassing the plastic construction of the Olympus. The difference in weight and size is significant, with the Leica feeling more solid and field-ready, as if it was designed for rough terrain and heavy use. Additionally, the Leica is slightly cheaper than the Olympus. Keep in mind that there is also a Mark II version of the Leica 100-400mm, which is compatible with teleconverters and has the same size and weight as the Mark I version.
If you don’t need the Olympus teleconverters for other Olympus lenses, I believe the Leica DG 100-400mm Mark II is the better choice — and possibly even otherwise.
Specs:
Dimensions: 205.7mm x 86.5mm (8.1 inches x 3.41 inches) – when the lens is set to 100mm and without the hood.
Weight: 1,120g (2.5 lbs) – excluding the tripod adapter and lens hood.
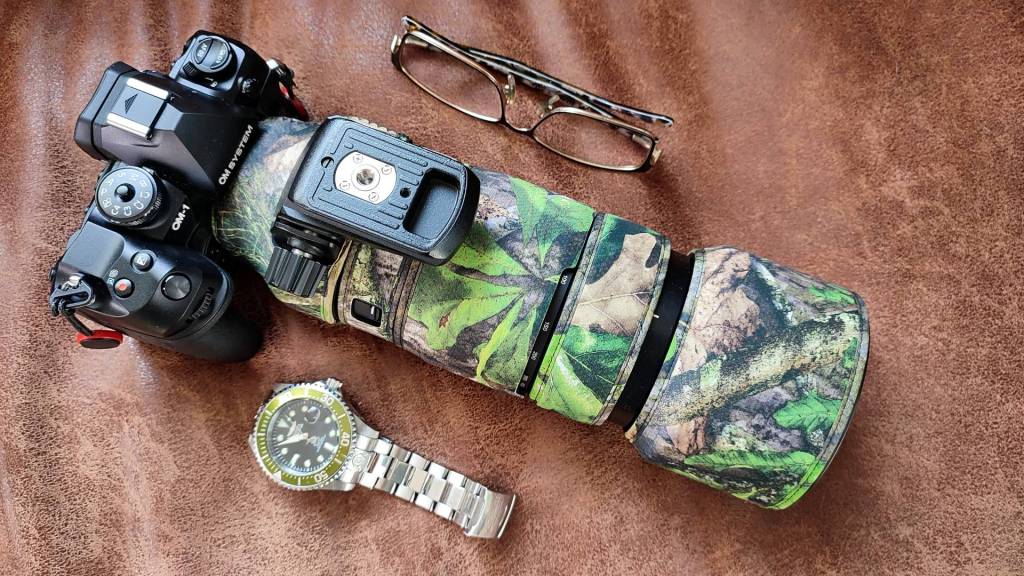

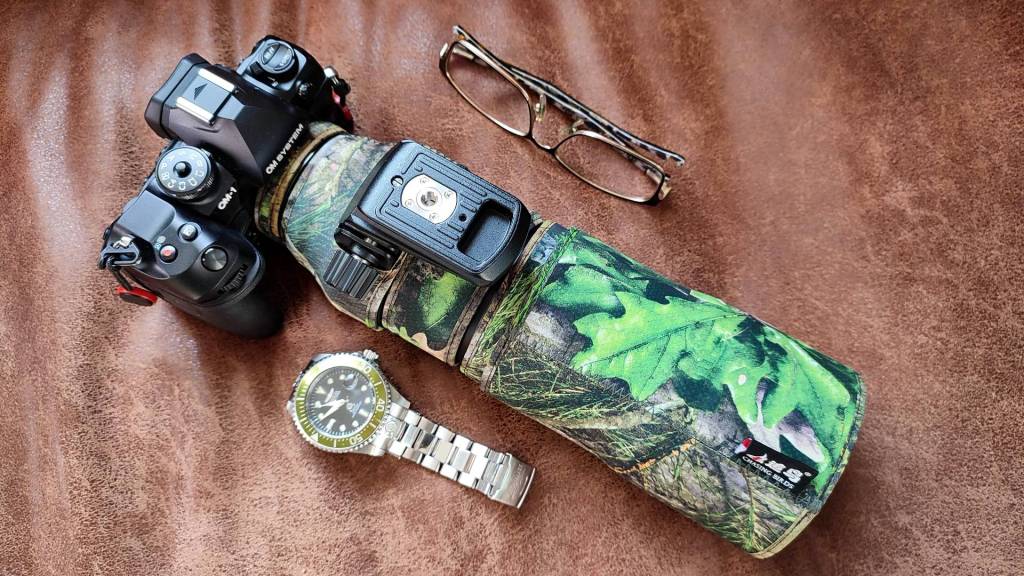
Panasonic Leica DG Vario-Elmar 100-400mm f/4-6.3 ASPH Power O.I.S.
- Pros:
- Extreme Compact super-telephoto zoom (200-800mm equivalent – 400-1600mm eq. for Mark II version with Teleconveter).
- Sharp optics with Leica branding.
- Effective image stabilization that pairs well with Panasonic bodies.
- Cons:
- Slower autofocus compared to Olympus PRO lenses.
- Slower aperture limits low-light use.
The Lens That Started It All: My Favorite for Bird and Wildlife Photography
When I first ventured into bird and wildlife photography, this was the lens I chose to begin with. Over time, I’ve added two more lenses to my collection, but this one remains my favorite and most-used. Why? Its compact size, lightweight build, and impressive image quality make it a standout choice.
It’s nearly perfect, with just one small drawback: the zoom mechanism is a bit stiff. However, compared to my Olympus 100-400mm, it’s not significantly worse in this regard. If you’re searching for the best combination of image quality, reach, and portability, the Lumix Leica 100-400mm is undoubtedly a top recommendation.
Pros and Cons
In my experience, the autofocus performance of this lens is on par with the Olympus 100-400mm. As for its low-light limitations, modern cameras handle high ISO levels remarkably well, so the occasional low-light scenario is hardly a dealbreaker. The percentage of situations where you’ll truly need low-light capability is minimal, making this lens’s slightly slower aperture less of a concern.
Update: The Mark II Advantage
The original Leica DG Vario-Elmar 100-400mm f/4-6.3 is not compatible with teleconverters. However, the Mark II version of this lens introduces a game-changing feature: compatibility with Panasonic’s 2x teleconverter. This update expands the lens’s reach to an astounding 1600mm equivalent when paired with a 2x teleconverter, making it an even more versatile tool for wildlife enthusiasts. Teleconverters available : 1.4x (DMW-TC14 no longer in production today – only second-hand ! ) or the expensive 2x (DMW-TC20 – about €600)
Specs:
Dimensions and Weight:
Weight: 985 g
Length: 171.5 mm
Diameter: 83 mm
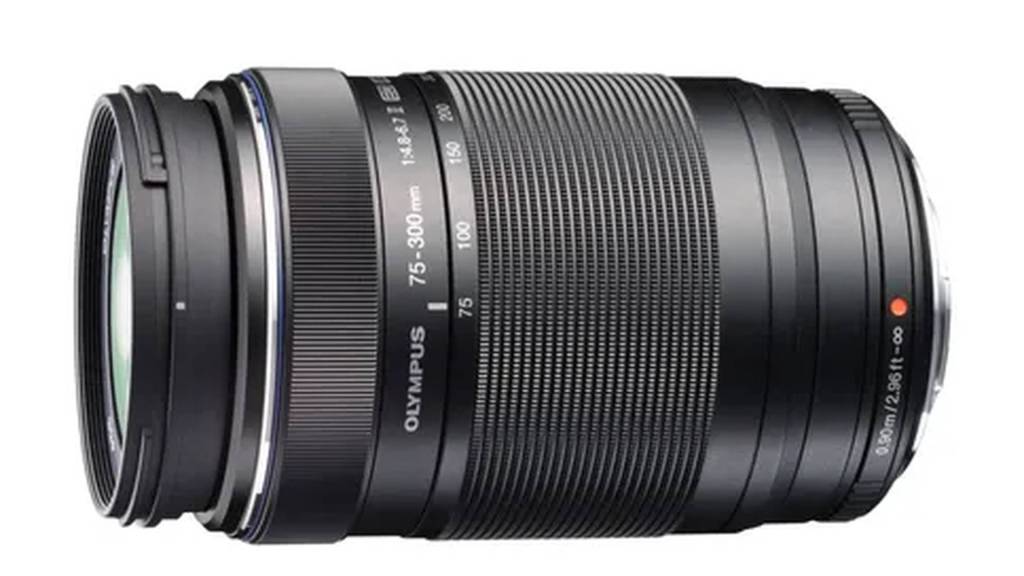
Olympus M.Zuiko Digital ED 75-300mm f/4.8-6.7 II
- Pros:
- Budget-friendly option for wildlife photography.
- Lightweight and compact.
- Long focal range (150-600mm equivalent).
- Cons:
- No image stabilization in the lens.
- Slower aperture affects low-light performance and depth of field.
I don’t own this lens, so I can’t say if it’s as good as the Panasonic version. The slightly wider reach of 75mm might make it more versatile in certain situations. However, it lacks stabilization, and most reviews favor the Panasonic 100-300mm for overall performance.
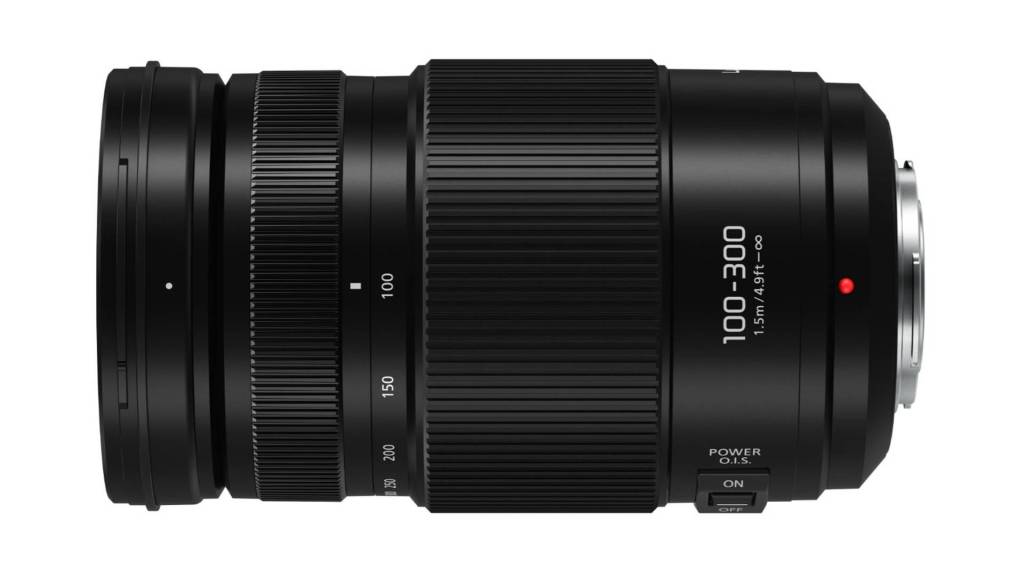
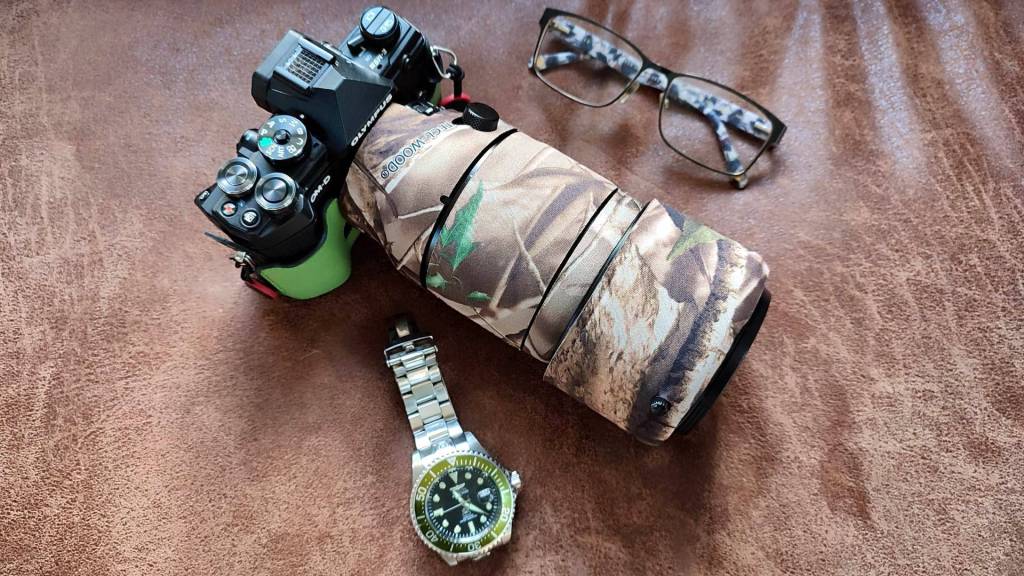
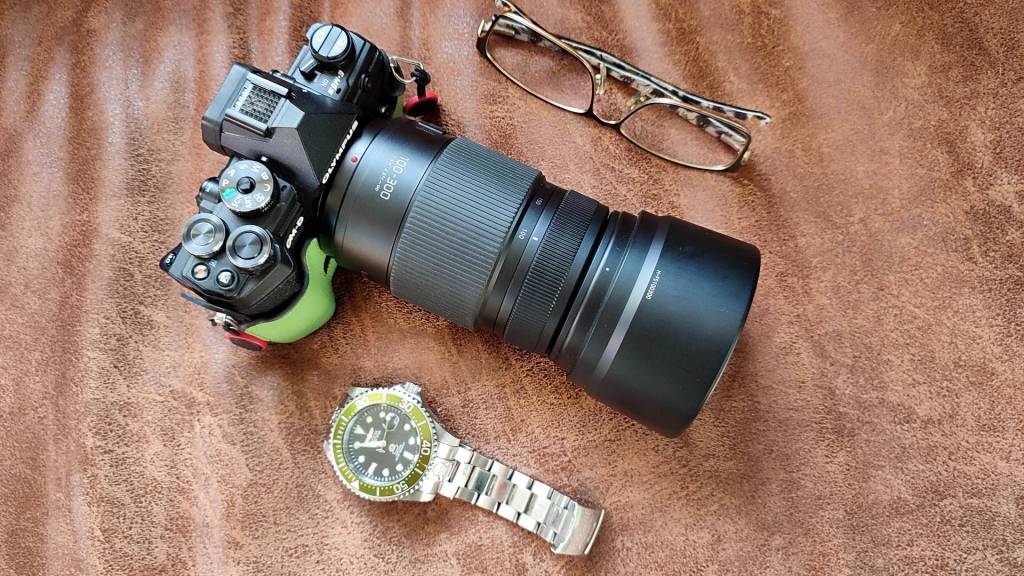
Panasonic Lumix G Vario 100-300mm f/4.0-5.6 II
- Pros:
- Affordable for its focal range (200-600mm equivalent).
- Lightweight and portable for a telephoto zoom.
- Optical image stabilization works well with Panasonic bodies.
- Cons:
- Slower autofocus compared to higher-end options.
- Sharpness falls off slightly at the longer end of the zoom.
Earlier, I mentioned that the Leica DG 100-400mm was the lens that kickstarted my bird and wildlife photography journey. That’s true, but technically, it was this little gem—the Lumix 100-300mm MKI—that was my first real wildlife lens. I’ve captured countless photos of herons, other birds, and even deer with it!
Why? Because at 300mm, you get a 600mm full-frame equivalent field of view. That’s no small feat. While the build quality isn’t on par with something like the Olympus 100-400mm (this isn’t a lens you’d want to take into bad weather), it has its strengths.
It’s incredibly affordable, super compact, and lightweight. Pair it with a smaller Olympus camera—like the E-M10 MKIV—and you’ve got a combination perfect for backpack adventures or a small camera bag. Add something like an Olympus 12-45mm or Lumix 12-60mm, and you’re ready for just about anything.
300mm is the minimum for bird and wildlife photography, but this lens makes an excellent budget-friendly option or a first lens to get started.
Now, about Version 2: from what I’ve read, it offers similar image quality to the original but with better build quality and improved weather resistance. It might be the better pick today. That said, you can likely find the MKI for a great price second-hand, making it a steal for those on a budget.
Specs:
Dimensions: 126mm (length) x 73.6mm (diameter) / 4.96 inches x 2.90 inches
Weight: 520g / 18.3 oz

OM System M.Zuiko Digital ED 150-600mm f/5.0-6.3 IS
- Pros:
- Exceptional reach (300-1200mm equivalent), ideal for birding and distant wildlife.
- Image stabilization helps with handheld shooting.
- Weather-sealed, rugged build for professional use.
- Maintains good sharpness throughout the range.
- Cons:
- Large and heavy for an MFT lens.
- High price point.
- Slower aperture limits low-light capability.
Well, I don’t own this lens either, but I’d still like to share a personal note. A 600mm lens (or 1200mm full-frame equivalent field of view) is an impressive super-telephoto. Pair it with a 2x teleconverter, and you’re looking at a staggering 2400mm maximum full-frame equivalent field of view. That’s extreme!
That said, this lens comes with its own price—not just the monetary cost, but also its size and weight. It’s no longer in the realm of compact Micro Four Thirds gear. The lens is long, thick, and heavy. While I’m sure it’s fantastic to shoot with, the real question is: are you willing to carry this “bazooka” around when you’ve chosen a compact, lightweight camera system?
To be honest, I’ve been tempted for a long time (and still am, thanks to my GAS—Gear Acquisition Syndrome 🙂 ). But after careful consideration, I asked myself: how often do I actually need a focal length beyond 1600mm? The answer was: almost never.
Ultimately, the choice is yours!
Specs:
Dimensions: 4.3 inches (diameter) x 10.4 inches (length) / 109.4 mm x 264.4 mm
Weight: 4.55 lbs / 2.06 kg
MFT Lens Table: Ordered by Price
| Lens | Focal Length | Aperture | Avg. Price or Second-Hand (€) | Key Feature |
|---|---|---|---|---|
| Olympus M.Zuiko Digital ED 75-300mm II | 75-300mm (150-600mm) | f/4.8-6.7 | 600 – 300 | Affordable wildlife lens |
| Panasonic Lumix G Vario 100-300mm II | 100-300mm (200-600mm) | f/4.0-5.6 | 650 – 350/400 | Lightweight telephoto |
| Olympus M.Zuiko Digital ED 100-400mm | 100-400mm (200-800mm) | f/5.0-6.3 | 1300 – 950 | Compact super-telephoto |
| Panasonic Leica DG Vario-Elmar 100-400mm | 100-400mm (200-800mm) | f/4-6.3 | 1200 – 800 | Superb Leica optics, light and compact |
| OM System M.Zuiko Digital ED 150-600mm IS | 150-600mm (300-1200mm) | f/5.0-6.3 | 2600 – 2100 | Ultimate reach, professional build |
| Olympus M.Zuiko Digital ED 300mm f/4 PRO | 300mm (600mm) | f/4 | 2999 – 1950 | Professional prime telephoto |
Recommendations
- For extreme reach: The OM System 150-600mm is unparalleled for distant birding but requires a higher budget and tripod support.
- For lightweight portability: The Panasonic 100-300mm II is an affordable and compact alternative.
- For versatility: The Lumix Leica 100-400mm and the Olympus 100-400mm balances reach, performance, and price – With a slight preference for the Leica lens.
- For best optical quality: The Olympus 300mm f/4 PRO delivers prime-lens sharpness and speed.
Here are not all lenses suitable for bird and wildlife photography, but rather the most important and well-suited options.
Some lenses that could also work include the Olympus 40-150mm f/2.8 PRO, which lacks image stabilization but is compatible with teleconverters. Another example is the Panasonic Leica DG Vario-Elmarit 50-200mm f/2.8-4.0 ASPH Power OIS or the Panasonic MFT 200mm f/2.8 Power OIS Leica DG Elmarit, which comes with a 1.4x teleconverter included.
I left these out of the comparison because they don’t fully meet the criteria for an ideal bird and wildlife lens—whether due to : too limited in terms of field of view. the lack of stabilization, excessive weight, or high cost compared to other options, like the €7500 Olympus M.Zuiko Digital ED 150-400mm f/4.5 TC1.25X IS Pro (Big White). However, they might suit your setup, so it’s worth keeping them in mind!
Teleconverter Compatibility
Compatible Lenses with Teleconverters
Only some of these Olympus/OM System lenses support teleconverters. Specifically:
- Olympus M.Zuiko Digital ED 300mm f/4 IS PRO
- OM System M.Zuiko Digital ED 150-600mm f/5.0-6.3 IS
- Olympus M.Zuiko Digital ED 100-400mm f/5.0-6.3 IS
The Olympus MC-14 (1.4x) and Olympus MC-20 (2.0x) teleconverters are compatible with these lenses.
Lenses NOT Compatible with Teleconverters
- Panasonic Leica DG 100-400mm – Except for the new Leica DG 100-400mm Mark II !
- Olympus M.Zuiko 75-300mm f/4.8-6.7 II
- Panasonic Lumix G Vario 100-300mm f/4.0-5.6 II
Final Effective Reach and Aperture with Teleconverters
| Lens | Focal Length | Teleconverter | Effective Reach (FF Eq.) | Resulting Aperture | Avg. Price (€/$) |
|---|---|---|---|---|---|
| Olympus 300mm f/4 IS PRO | 300mm (600mm) | None | 600mm | f/4 | 2999 |
| 1.4x | 420mm (840mm) | f/5.6 | |||
| 2.0x | 600mm (1200mm) | f/8 | |||
| OM System 150-600mm f/5.0-6.3 IS | 150-600mm (300-1200mm) | None | 300-1200mm | f/5.0-6.3 | 2600 |
| 1.4x | 210-840mm (420-1680mm) | f/7.1-8.9 | |||
| 2.0x | 300-1200mm (600-2400mm) | f/10-12.6 | |||
| Olympus 100-400mm f/5.0-6.3 IS | 100-400mm (200-800mm) | None | 200-800mm | f/5.0-6.3 | 1300 |
| 1.4x | 140-560mm (280-1120mm) | f/7.1-8.9 | |||
| 2.0x | 200-800mm (400-1600mm) | f/10-12.6 |
Understanding the Aperture Changes
- 1.4x Teleconverter: Reduces light by 1 stop (e.g., f/4 → f/5.6).
- 2.0x Teleconverter: Reduces light by 2 stops (e.g., f/4 → f/8).
- Slower lenses (like f/5.0-6.3) can become very limited in low light when paired with a teleconverter.
Recommendations
- Bright conditions: Use teleconverters with lenses like the Olympus 300mm f/4 PRO, which maintains usable apertures (f/5.6 or f/8).
- Difficult lighting: Avoid 2.0x teleconverters with slower zooms (f/6.3 max) unless used with a tripod and high ISO settings.
- Extreme reach needs: Pair the OM System 150-600mm with the 1.4x converter for up to 1680mm with acceptable aperture performance (f/8.9 max).
Teleconverters: A Delicate Topic
Do you have strong opinions about teleconverters? Or perhaps you’ve watched countless YouTube videos and heard influencers weigh in on the subject? Let me tell you this upfront: in the past, using a teleconverter was often a worse choice than simply investing in a lens with a longer focal range. Why? The market was flooded with teleconverters, including a vast number of cheap, low-quality options. Those subpar converters shaped the negative perception many still hold today.
This topic deserves its own dedicated article—one that provides honest, unbiased information. Not opinions swayed by sponsorships or influencers, but the real facts.
Nowadays, teleconverters are few and far between. The ones you do find are expensive and designed specifically for certain lenses. This is for technical reasons and to ensure they’re perfectly optimized for the paired lens. These modern teleconverters are top-tier. Do they come without image quality loss? No—but the loss is minimal, especially compared to the vintage M42 teleconverters that could fit almost any lens, often with disappointing results.
There’s much more to say on this topic, and I’ll dive deeper in an upcoming article.
I hope this overview helps you in making an informed choice!
I don’t have any Sponsoring Companies, Patreon support, or Follower Donations.
I don’t drink Coffee, well, I do … but not the financial form you sometimes find on other websites, like ‘buy me a coffee’ 😊
However, what I truly need to keep going is Motivation, and the best part is, it won’t cost you a thing. You can offer it for free – just hit the Like button and Subscribe !
Bonus Tips and Links:
It seems I’m not quite finished yet!
Aside from a few questions about good tutorials for RawTherapee on site, I surprisingly received many private emails asking how to sharpen and denoise images using RawTherapee—wondering if it works as well as modern paid alternatives and whether it’s difficult to use.
Apparently, there’s a real interest in RawTherapee as an alternative to software like Adobe Lightroom. At first, I couldn’t think of any great tutorials, but then I realized I’d already written a few articles on the subject—Alzheimer’s moment?
Anyway, below are relevant links to help you develop and edit your photos using RawTherapee, especially if you’ve used one of the beautiful lenses mentioned above. As is often the case with Open Source Photography, my approach might be slightly different from most tutorials. I hope you find what you’re looking for. If not, I’m considering writing a full article on the entire workflow, from raw photo to final JPG product.
Discover more from Open Source Photography
Subscribe to get the latest posts sent to your email.


That’s a great guide, and nice to see those lenses. I cannot imagine how big a decent 1200mm lens would be for full frame! This write-up really shows the advantage of M43 for wildlife!
LikeLiked by 1 person
Hey Mark, thank you! Well, every system has its advantages, and you know that better than anyone. Otherwise, you wouldn’t have switched to full frame. You instinctively know what suits your style of photography best. Thanks again and all the best, Mark!
LikeLiked by 1 person
Excellent article. Covers all the key options and I appreciate the pro/con details. As you know this is my ‘bread and butter’ 🤣🤣. You pointed me to the Leica 100-400 correctly, and thanks again.
Another consideration with any wildlife gear is the environment you work in. I have used the Sigma 150-600 since the release (OM 150-600). Great quality, big as a bus, and broke my body parts hiking all day with it. I say this because most all you hear is the distance you can reach. However, the further you try to reach the more the atmosphere plays a part. Heat, glare, breeze, whatever is greatly increased. Especially if you shoot in warmer climates, humidity, or just wet. In an extreme example think looking down a hot road in the summer sun, the air almost dances. Even a little of this makes an image less acceptable.
Just a thought, thanks again for the work you do like this.
LikeLiked by 1 person
Hey Ted,
Thanks ! You know I’m always happy to help.
About those atmospheric conditions—you’re absolutely right. You don’t even need to live in an extreme climate to experience them; I’ve encountered similar issues right here.
Last year, I was trying to photograph roe deer in a cornfield. The plants were still small, maybe half a meter tall. It was about an hour or so after a rain shower, and the sun was blazing again. That’s when I noticed the air seemed to be moving, like the heat shimmer you see above asphalt on a highway in the distance. The deer were quite far away, and I just couldn’t get a sharp image.
So yes, I completely understand what you mean. The greater the distance, the more atmospheric conditions can interfere with sharpness. I even mentioned this phenomenon in an article I wrote about the Olympus 300mm PRO lens while photographing at a local airfield. It’s a well-known issue, and honestly, it makes me question whether such large, heavy lenses make sense on a Micro Four Thirds system.
Anyway, excellent point, Ted! Definitely something not to overlook.
Thanks again!
Marc.
LikeLiked by 1 person
The mantra for the manufacturers is ‘extra reach’. And I will take all I can get out where we shoot. However, it’s not everything. For most wildlife photogs out here, weight is the biggest issue. Personally I have a titanium neck, top to bottom, that most likely came from big packs and holding up 10 pounds of camera/lens. MFT fits my style perfectly, and it’s showing up out in the field here too.
Again, thanks for all the great articles. Thoroughly enjoy them.
LikeLiked by 1 person
Ted, you just made my day—thank you 🙏
LikeLiked by 1 person