

For quite a while, I had been shooting in both Raw and Jpg. It seemed like a smart approach – capturing images in both formats provided flexibility, allowing me to have the high-quality Raw files for editing and the more readily accessible Jpg’s for quick sharing or viewing. However, as time passed, I began to notice a pattern: only a small fraction of my Jpg’s were actually being utilized directly for my website or picture gallery.
Despite having a script in place to assist with managing both Raw and Jpg files, the process of sorting through and handling the pictures became increasingly cumbersome, particularly when it came to determining which Raw files were worth keeping. This was especially evident during periods of intense photography, such as when capturing shots of birds or animals in continuous shooting mode. Many of these pictures ended up remaining untouched and unseen, resulting in a surplus of unused data – both Raw and Jpg.
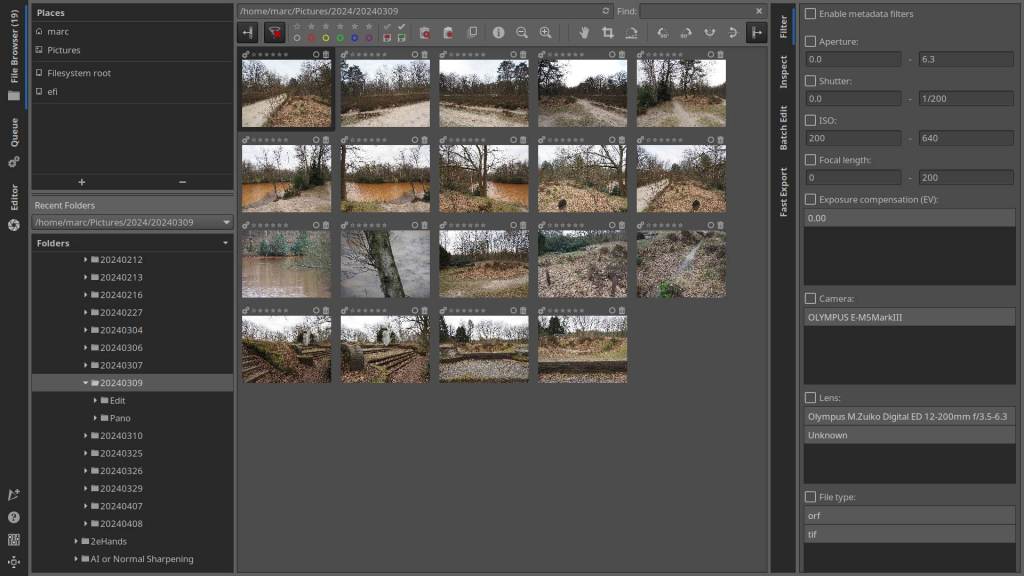
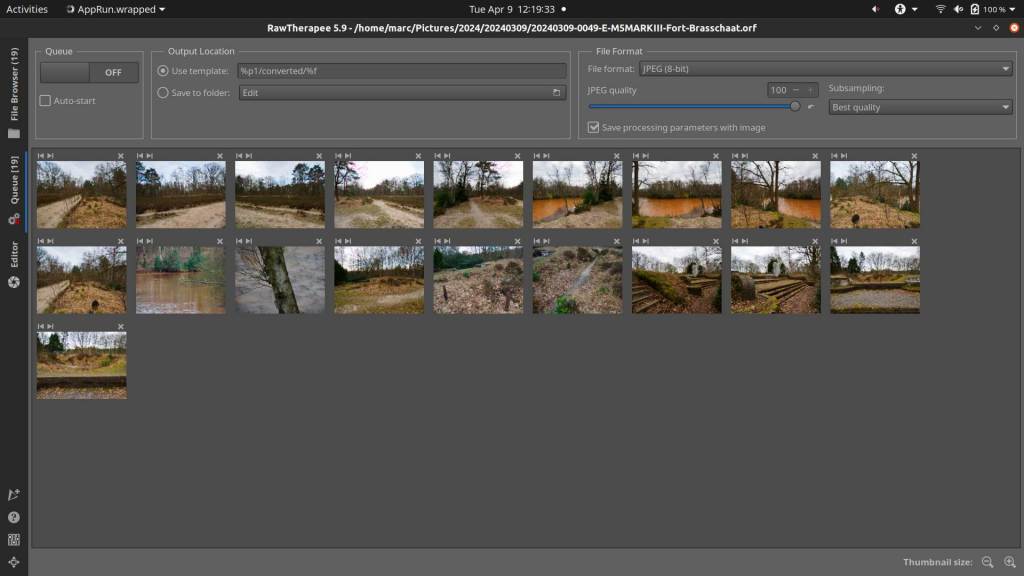
In complete contrast, and where I gradually switched to, almost without realizing it, was my workflow with Raw files. This workflow underwent a significant transformation. Thanks to the efficiency of RawTherapee, processing Raw pictures became remarkably streamlined. Upon returning home from a photo shoot, I could swiftly transform a few or a large batch of Raw images into usable Jpg’s within a matter of seconds – minutes. What’s more, these Jpg’s were made ready for use on web, converted to “out-of-camera Jpg” using Adobe camera profiles, color graded with LUTs, or edited using simple “Processing Profiles“. The only thing that was left, was an optional crop, because composition and exact size had to be done manually.
The greatest benefit was that I no longer needed to store any Jpg’s, as I could regenerate them whenever necessary. Only the pictures shared publicly or family pictures are organized in a separate folder (automatically generated by RawTherapee) for quick access or for showing them to others. It feels just like in the old days : a paper envelope for pictures, with the original negatives now replaced by Raw files, kept in a separate compartment.
The idea behind this is quite simple. Imagine you’re photographing a wedding, covering an airshow, capturing racecars at a racing event, or taking photos of birds from a hide. You often end up using only a fraction of the photos you take, so managing a large number of Jpg’s and Raw’s isn’t necessary. It’s easier to sort through Raw files in one go, discarding poor-quality ones while keeping the better ones for potential editing.
As a result, I find it much easier to organize my photos, without worrying about excessive unnecessary data. I’ve also noticed that I’m becoming increasingly relaxed, much like the guy pictured here below – although my garden doesn’t boast exotic flowers and palm trees; instead, it’s more moss and mud than white beach sand, with umbrellas for rain rather than sun. Nonetheless, the resemblance is striking ! 🙂

Well, there was one more thing I wanted to mention, and that’s when I switched all cameras to Raw only, it had an impact – in the way I let data be written on cameras with dual cards, but also on cameras with single cards – and that is speed ! Especially when shooting continuously, you notice the difference; the buffer has more breathing room and it probably also affects battery consumption, although the latter is likely to be limited. Additionally, I’ve also replaced my trusty Olympus TG-3 with the TG-4, the first model that also shoots Raw, so I can now say that my workflow is completely Raw.
RawTherapee and Raw processing :
Many photographers often fear the transition to a new image editing package, believing it will take a lot of time to get accustomed to all the new settings. However, with RawTherapee, that’s certainly not the case. RawTherapee is extremely user-friendly, and its structure is very logical and easy to navigate. That’s actually one of the reasons why I enjoy using it.
One of the simplest ways to develop a picture is as follows: Open RawTherapee, load the target picture, ensure the picture is set to neutral in the top right corner, then click on the “Auto Levels” button on the right side – finally, click on the diskette icon at the bottom left to save -> done.
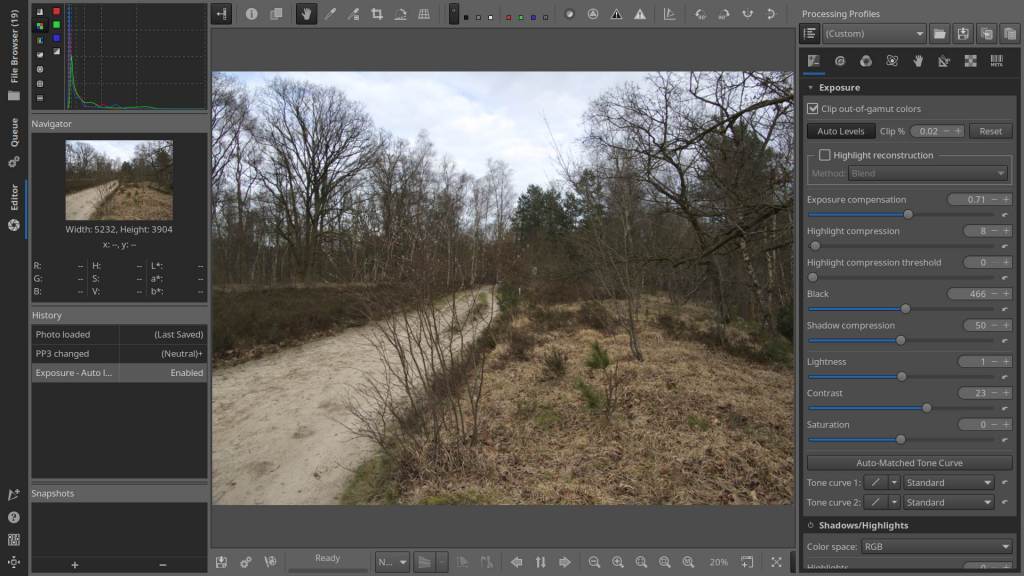
You can also utilize the “Auto-Matched Tone Curve” button :
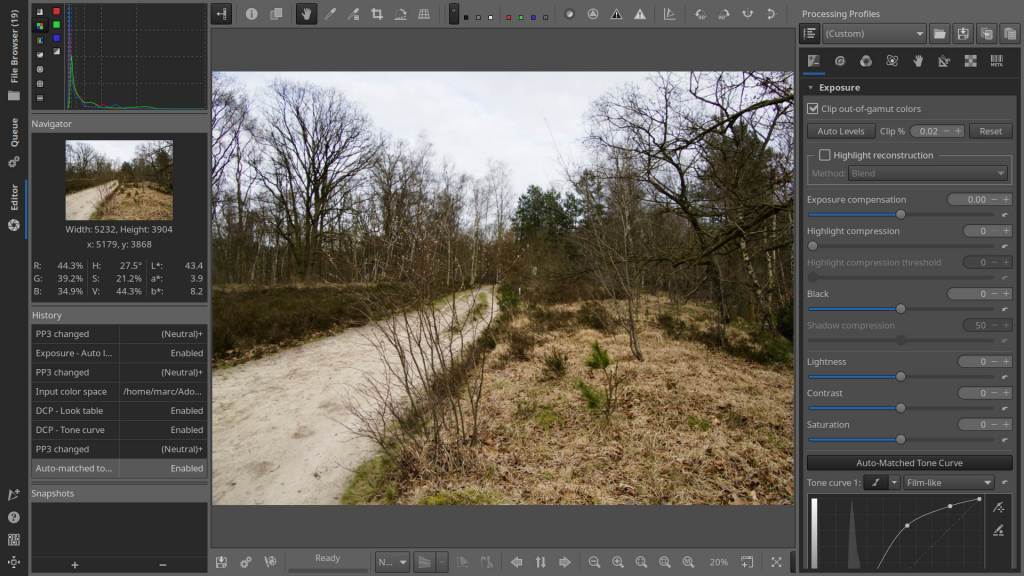
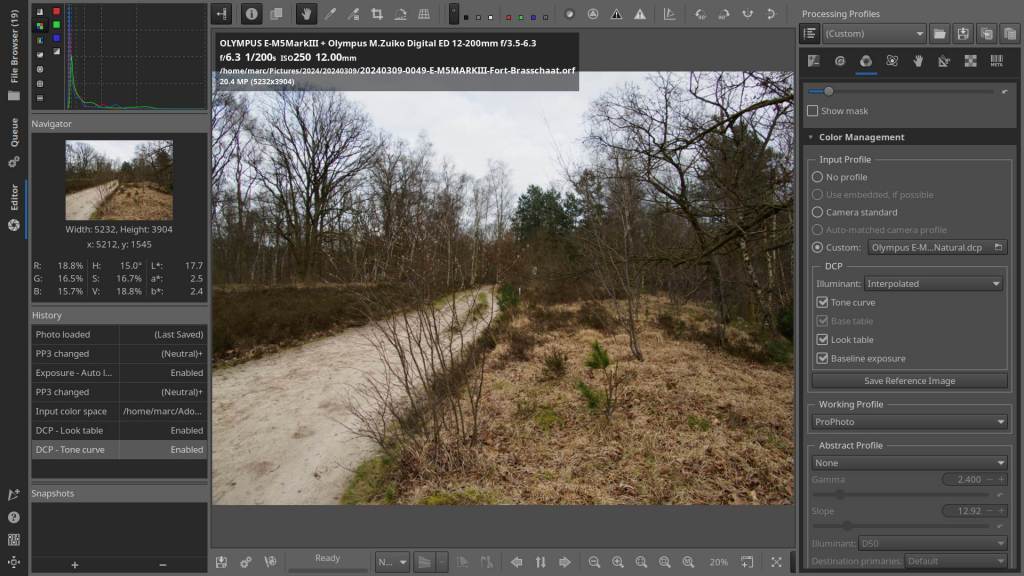
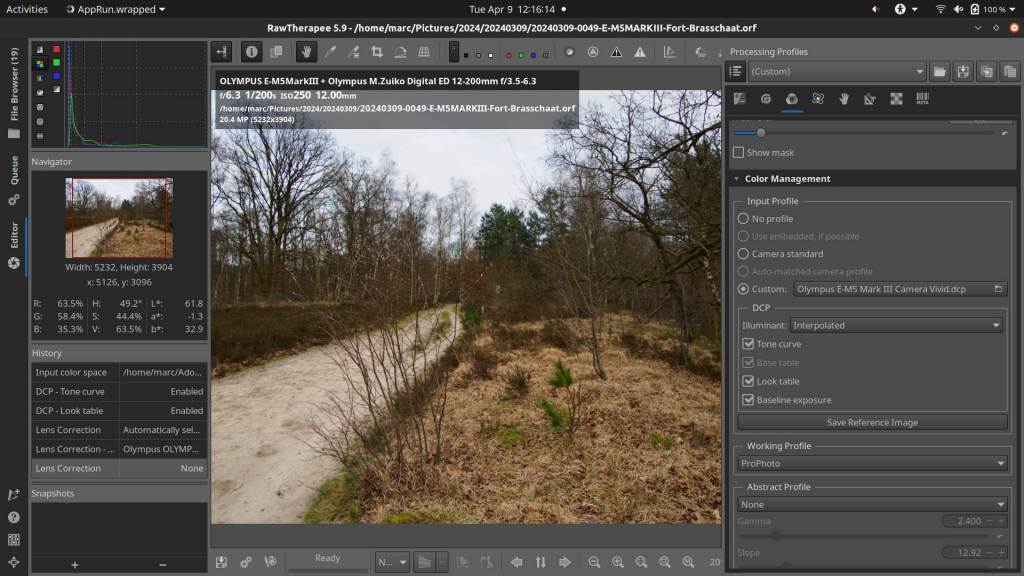
Alternatively, you can utilize the Adobe Camera Color Profiles :
Now, let’s delve into automation through Processing Profiles:
In RawTherapee, processing profiles represent pre-defined configurations of editing parameters. These profiles, typically stored as text files with the extension .pp3, encapsulate the series of editing steps performed within RawTherapee. For instance, adjustments like exposure settings, LUT utilization, sharpening, and noise reduction levels are all encoded within these profiles.
Utilizing processing profiles streamlines the editing workflow, especially when dealing with a large batch of images. Instead of manually applying the same edits to each photo individually, you can simply load a processing profile onto all the images simultaneously. This not only saves time but also ensures consistency across the entire set of pictures.
By leveraging processing profiles, repetitive tasks become automated, allowing you to focus more on creative decisions rather than mundane adjustments. Additionally, as these profiles are reusable and editable in a standard text editor, you can maintain a consistent aesthetic across multiple projects or batches of images, enhancing efficiency and productivity in your workflow.
An example :

Steps :
- Open a picture – go to the Color tab – go to Color Management – Open a matching Adobe Color Profile
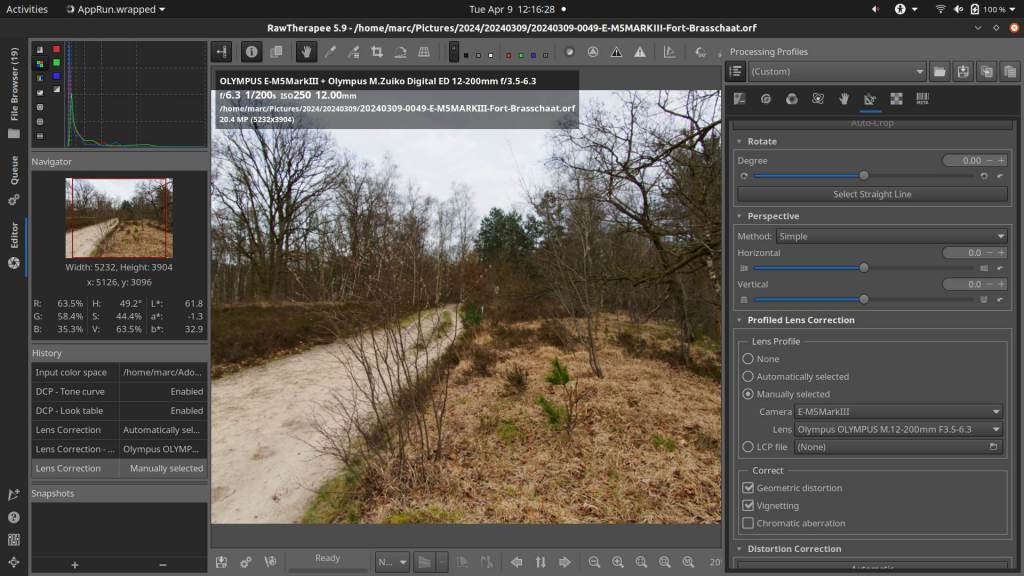
- Go to the Transform tab – go to Profiled Lens Correction – open the profile that matches the lens used
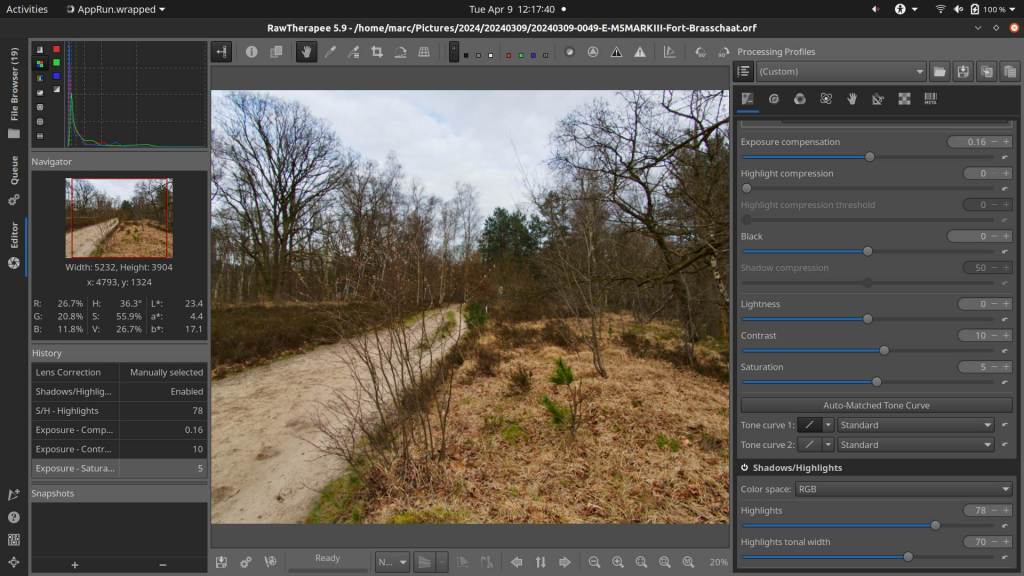
- Back in the Exposure tab, make any adjustments – contrast, saturation, highlights…
- Then at the top right, click on the icon “Copy Current Processing Profile to Clipboard”
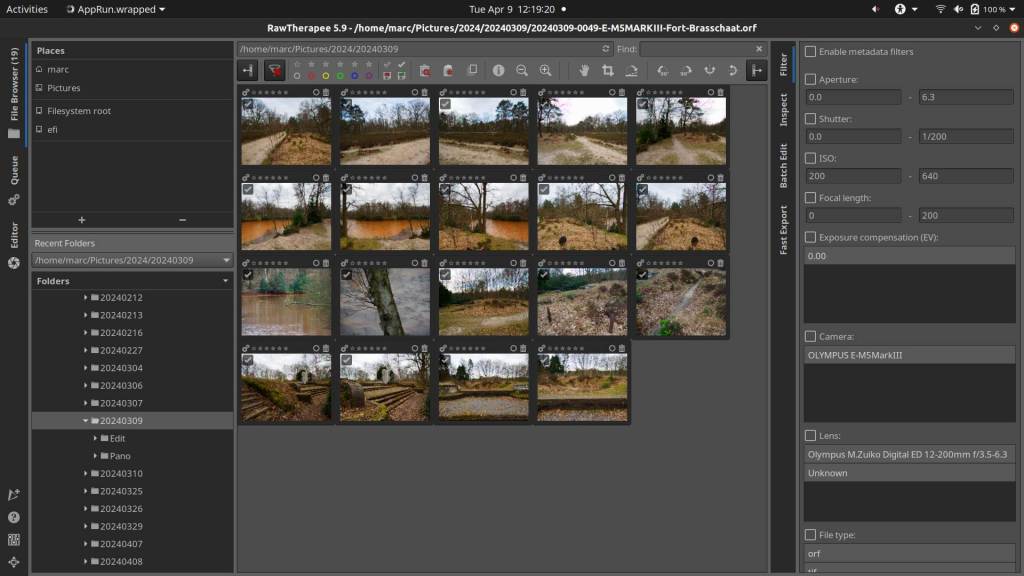
- Then on the left, go to the “File Browser” and select all or part you want to process – right click on one of the pictures – scroll down to “Processing Profile Operations” – click “Paste” – then bottom left, then right click again on one of the pictures and click “Put into queue”
- All you have to do now is click the “Start Processing Queue” button – the pictures will automatically be placed in a folder “Converted” – or folder or folder name of your choice.
You can easily create processing profiles for various purposes and label them for easy identification. This allows you to create different profiles for sharpening, denoising, specific cameras, and so on. These profiles can all be applied collectively or individually as desired.
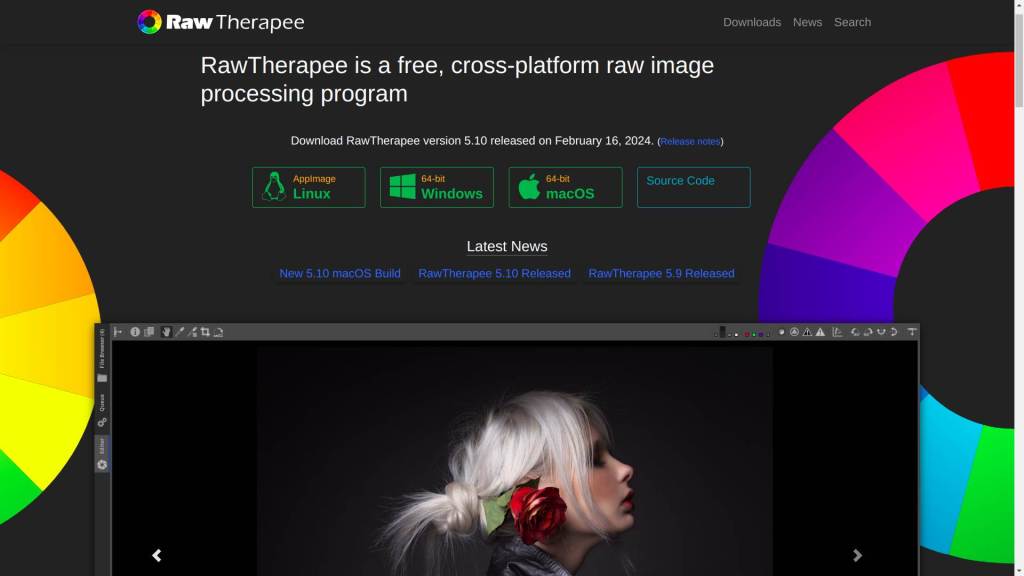
RawTherapee is designed to develop Raw images into Jpg’s quickly and efficiently. You can utilize presets, LUTs, Adobe Color Profiles, and have an effective set of tools at your disposal to finalize your images.
If you are also interested in RawTherapee, click here to go to the home page and the downloads: https://www.rawtherapee.com/
RawTherapee or Darktable :
Ah, that’s a common inquiry I receive. Personally, I employ both RawTherapee and Darktable in my workflow. RawTherapee serves me well for straightforward Raw to Jpg conversions with minimal adjustments. Its simplicity and clarity make it my go-to choice, as it usually suffices for my needs. However, when I require more extensive editing features, I turn to Darktable or even Gimp. Although, I find myself relying on Darktable less frequently, as RawTherapee typically meets my requirements.
However, should you seek a more thorough understanding of the variances, I’ve provided a concise summary here :
Both RawTherapee and Darktable are powerful open-source editors for processing Raw images, and both are capable of converting Raw files to Jpg. The choice between them ultimately depends on your personal preferences, workflow, and the specific features you prioritize. Here’s a brief comparison to help you decide:
- User Interface (UI):
- RawTherapee: Known for its simple and straightforward interface, which some users find easier to navigate, especially for beginners.
- Darktable: Offers a more sophisticated interface with a modular design, providing extensive customization options. It might have a steeper learning curve initially, but it can be more powerful once mastered.
- Features:
- RawTherapee: Focuses on providing essential editing tools, including exposure adjustments, color correction, sharpening, noise reduction, and lens correction. It also offers advanced features like wavelet denoising and local adjustments.
- Darktable: Offers a wide range of editing tools, similar to RawTherapee, but its feature set is more extensive, with additional modules for tasks such as retouching, tethered shooting, and printing.
- Performance:
- RawTherapee: Generally known for its speed and efficiency in processing Raw files, especially on lower-end hardware.
- Darktable: Can be resource-intensive, particularly when working with complex edits or large Raw files, but its performance has improved significantly over recent updates.
- Community and Support:
- Both RawTherapee and Darktable have active communities of users and developers who provide support, tutorials, and documentation. However, Darktable might have a slightly larger user base and more extensive resources available online.
- Customizability:
- Darktable offers more customization options due to its modular design, allowing users to tailor the interface and workflow to their preferences.
- RawTherapee’s interface is simpler and less customizable but might be more intuitive for some users.
For a straightforward Raw to Jpg conversion without delving deep into extensive editing, both RawTherapee and Darktable are capable choices. If you prefer a simpler interface and faster performance, RawTherapee might be more suitable. However, if you’re looking for a more comprehensive editing suite with advanced features and don’t mind investing time in learning a slightly more complex interface, Darktable could be the better option. Ultimately, you may want to try both and see which one aligns better with your workflow and preferences.
For those who, after reading the above, would rather choose Darktable (or both), I also have the link here to go to the home page and the downloads: https://www.darktable.org/

And before I forget, RawTherapee is available for Windows – MacOS and various Linux flavors.
Embracing Raw may seem daunting, but the creative benefits and long-term advantages make it a worthwhile investment in your photography journey.
Some pictures are created with AI using Dall-E
This article was written by Marc R.
While I primarily speak Dutch and have some knowledge of English and a little French, ChatGPT helps ensure my writing is grammatically correct. I often mix Dutch and English in my drafts, and ChatGPT steps in to translate and correct.
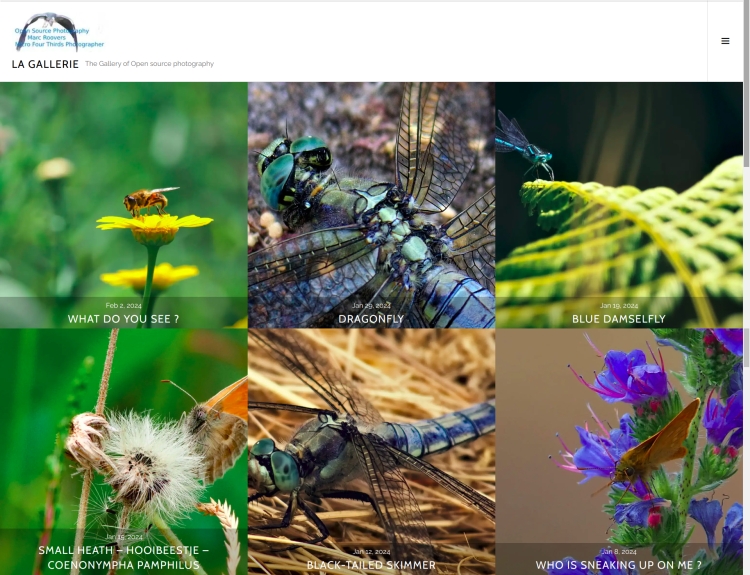
The photo gallery of Open Source Photography, Olympus micro 4/3 system, Vintage Lens Photograpy, Film Simulation, PictureFX, HDR – Photographer : Marc R.
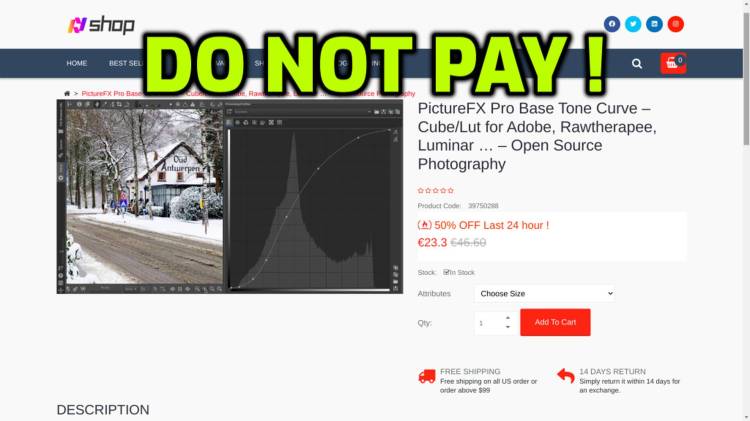
Don’t Pay for PictureFX !
There are sites selling PictureFX Luts for money, Do Not Pay ! PictureFX is free !
All PictureFX Luts are FREE an can be downloaded FREE @ Open Source Photography & FreshLuts
PictureFX is licensed under CC BY-NC 4.0
Discover more from Open Source Photography
Subscribe to get the latest posts sent to your email.


That is a nice write-up your process, I enjoyed reading it. For me, I’ve always shot raw + jpeg for one reason alone… The jpegs are my untouched (by me) archives that take up little space and go straight into backup (the cloud, my network and a separate hard drive).
These days though, like you, I almost exclusively edit the raw files, so once everything is backed up, I only have these to contend with in my workflow, and the edited raws are saved next to their untouched jpegs. When printing family photos, I almost exclusively use the cameras jpegs, when printing artistically, it’s usually the raw images.
Again, a fascinating, well written document Marc. I commend your writing, knowledge and output you deliver every week.
LikeLiked by 1 person
Thanks for your compliment Mark,
that really makes me happy.
It makes all the difference to know that what you write is also appreciated, thanks Mark!
I have to add that AI is a great help to me,
even if everything comes out of my head,
writing in English and sentence structure is not easy for anyone
who does not speak or use English every day or every week,
and for that, AI is a big help.
Have a great weekend with your family !
LikeLiked by 1 person
Een zeer interessante analyse Mark, ook ik gebruik Raw Therapee (en ook Photoshop).
LikeLiked by 1 person
Dankjewel Rudi, wel, dat is een logische combinatie. Puur als Raw editor bekeken vindt ik RawTherapee zeker niet onderdoen voor een betalend product, de mogelijkheden zijn misschien iets beperkter, maar in veel gevallen heb je eigenlijk toch niet meer nodig dan wat het kan. En dat het gratis is, is ook meegenomen hé 🙂 Fijn weekend Rudi !
LikeLiked by 1 person
interssant om dit te lezen Marc
fotograferen in RAW doe ik eerder zelden
prettig weekend
LikeLike
Alles heeft zijn voordelen, of Jpg alleen, of Raw of allebei tegelijk – iedereen is anders. Ook een heel fijn weekend Willy !
LikeLike