
A while ago, I reviewed Robert May’s settings for bird and wildlife photography and some general tips from Rachel Bigsby. Today, we will continue with a comparison between the techniques of Rob Trek and Steven Ingram.
Rob Trek is a photographer and YouTube content creator specializing in Olympus cameras. He runs a popular YouTube channel where he provides in-depth tutorials, live stream events, and various tips on photography, particularly with Olympus equipment. Rob started his photography journey in the 1980s but only seriously returned to it around 2012. His channel aims to make photography accessible and enjoyable, offering guidance from basic camera setup to advanced shooting techniques.
Stephen Ingraham is also a YouTube content creator who focuses on photography. His channel features a variety of videos related to photography tips, gear reviews, and techniques. He provides practical advice and shares his experiences to help viewers improve their photography skills. Stephen’s content is geared towards both beginners and seasoned photographers, making complex concepts more understandable and accessible.
Now lets get into it, but before I do that, I want to write this first: You might approach things differently, and that’s okay. Maybe the settings they use don’t seem right for you. The truth is, everyone has their own preferences, and it’s not always about a specific brand or camera. I’ve learned that the “Best Settings” people seek can vary widely from one photographer to another. Some prefer shooting only in RAW, while others stick to JPG or use both, and this applies to everything else as well. So, if you’re new to bird and wildlife photography, try different options. If you’re more experienced, use what works for you or stay tuned for future articles for new insights on settings.
Okay, below I have a table with settings, in the first column the settings Rob uses on his camera, and in the second column, you’ll find Steven Ingram’s settings. Following that, I have two tables for each with settings that don’t have a comparison point. At the end of this article, I’ll make a short personal summary of what I definitely recommend or what I would do differently than Rob or Steven.
| Setting | Rob Trek | Steven Ingram |
|---|---|---|
| Mode | Shutter Priority (S) | Program Auto |
| Shutter Speed | 1/2000s (default), 1/1000s, 1/4000s | 1/500s (lowest for birds and wildlife), 1/1600s (birds in flight), 1/4000s (hummingbirds) |
| ISO Range | 200 – 102400 | 200 – 12800 |
| ISO Auto | Yes | Yes |
| Picture Profile | Standard (Natural) | Natural (Picture Mode 3) |
| White Balance | Auto | Auto, Keep Warm Color On |
| Noise Filter | Off | Standard |
| Noise Reduction | Off | Auto |
| Drive Mode | Sequential (20 fps) | Silent Sequential (5 fps, 15 fps for birds in flight) |
| Image Stabilization Priority | IS Priority | IS Priority |
| Subject Detection | Birds | Birds (basic), Animals (wildlife) |
| Exposure Compensation Steps | 1 EV | Not Specified |
| Metering | ESP | Subject Aware, Backlit Aware AI Enhanced (1) |
(1) Metering specific to OM-1 Mark II :
Subject Aware Metering:
Subject Aware metering utilizes AI to recognize the main subject in the frame and adjust the exposure accordingly. This helps to ensure that the subject is well-exposed even in challenging lighting conditions.
Backlit Aware Metering:
Backlit Aware metering specifically addresses scenarios where the subject is backlit. In such cases, the camera adjusts the exposure to prevent the subject from appearing too dark against a bright background.
AI Enhanced Metering:
AI Enhanced metering combines various intelligent algorithms to optimize exposure settings dynamically. It takes into account factors such as the position, size, and movement of the subject, as well as lighting conditions.
Additional settings :
Rob Trek
| Setting | Value |
|---|---|
| AF Target Mode | All Points |
| Flash | Irrelevant |
| Sequential Shooting | 20 fps |
| AF Mode | CAF (Continuous AF) |
| Release Priority | Off |
| AF Illuminator | Off |
| AF Area Pointer | On (Solid White Box) |
| AF Sensitivity | +2 |
| AF Limiter | Off |
| AF Scanner | On |
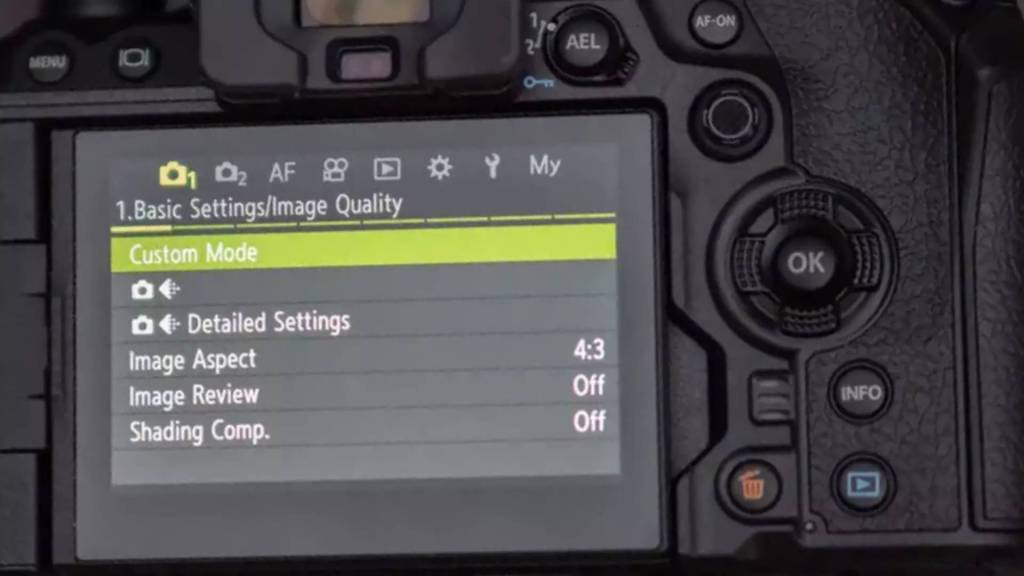
| Custom Mode | C2 |
| Image Stabilizer in EVF | On |
| Drive Priority | On |
| Shading Compensation | Off |
| CAF Sensitivity | +2 |
| EV Steps | 1 EV |
| Sequential Shooting Settings | SH1 for Pro Capture |
| Anti-Shock Settings | Off |
| Silent Settings | Speaker On for Focus Confirmation |
| Function Lever Settings | Mode 2 for Target Point Change |
| Card Slot Settings | Save to Both Cards |
Steven Ingram
| Setting | Value |
|---|---|
| Image Quality | Large Super Fine |
| Aspect Ratio | 4/3 |
| Shading Composition | On |
| Sharpening | +1 |
| Gradiation | Auto |
| Low ISO Processing | Detail Priority |
| Metering During A | Auto |
| Continuous AF Metering | Yes |
| Handheld Assist | Off |
| Lens Priority | Off |
| AF Manual Focus Engaged | Yes |
| AF Release Priority | Shutter Button: Subject Detection Priority, AF-ON Button: Target Area Priority |
| Eye Detection Frame | Off |
| AF Sensitivity | 0 |
| AF Target Mode Settings | Single Point |
| Orientation Linked | Target Mode and Target Point |
| Custom Mode | Memory 1, Memory 3 (for wildlife) |
| Function Lever Settings | Mode 2 for AF switch |
| ISO Button | Brings up ISO Menu |
| HDR Control | Exposure Compensation Button |
| 2x Extender | Recording Button |
| Subject Detection Control | Top Button: On/Off, Bottom Button: Multi-Subject Detection |
| Multi Selector Settings | Center Button: Home Point |
Summary and Conclusion :
Both Rob Trek and Steven Ingram have shared their settings for optimizing the OM System OM-1 Mark II for bird and wildlife photography. Despite their different approaches and preferences, several settings are consistent across their configurations, highlighting the effectiveness and necessity of these settings for achieving high-quality images in challenging conditions.
Matching Settings:
- ISO Auto: Both photographers use Auto ISO, allowing the camera to adjust ISO based on lighting conditions while keeping the manual control over the aperture and shutter speed.
- Agree, I would recommend iso 6400 to 12800 maximum
- Picture Profile: Rob and Steven both uses ‘Natural’, which provide balanced color and contrast suitable for wildlife photography.
- Agree, If you plan to use some Color Grading or Film Simulation and you are shooting JPG, consider “Muted” as the profile.
- Continuous Autofocus (CAF): Both prefer using Continuous Autofocus, ensuring the camera keeps moving subjects in focus.
- Agree, however, I use Single AF in many cases, in fact, I would only use C-AF with birds in flight
- Silent Sequential Mode: Both utilize the silent shooting mode to avoid startling wildlife, with Rob at 20 fps and Steven at 5 fps (stationary birds) or 15 fps (birds in flight).
- Agree, I prefer to use the Continuous L setting, with a low frame rate, such as 5fps to maximum 10fps, because you don’t want to be stuck with hundreds of pictures to review
- Subject Detection: Both photographers set their subject detection to ‘Birds’
- Agree
- Image Stabilization Priority: Both emphasize the importance of stabilization, crucial for handheld wildlife photography.
- Agree
- Shading Compensation: Both have shading compensation enabled to correct any lens vignetting in JPEGs.
- I don’t use this option
These common settings form a solid foundation for effective bird and wildlife photography with the OM-1 and OM-1 Mark II. The adjustments are geared toward maximizing image quality while ensuring the camera’s performance remains reliable and efficient in dynamic environments.
Back Button Focus
Another critical setting that both photographers agree upon, but has yet to be detailed, is “Back Button Focus.” This setting separates the focus mechanism from the shutter button, allowing photographers to lock focus with a button on the back of the camera and then release the shutter independently. This technique enhances focusing accuracy and speed, particularly in fast-paced wildlife photography.
In a forthcoming article, I will provide a step-by-step guide on how to set up and effectively use Back Button Focus, ensuring you can take full advantage of this powerful feature.
Conclusion
Both Rob Trek and Steven Ingram offer valuable insights into configuring the OM System OM-1 and OM-1 Mark II for bird and wildlife photography. The overlapping settings between their configurations highlight essential adjustments that can significantly improve your photographic results. By incorporating these settings and looking forward to integrating Back Button Focus, photographers can expect to capture stunning, well-focused, and perfectly exposed images of wildlife.
Info
I got these settings from watching two videos on this topic. It might be interesting for you to watch them yourself to understand why certain settings are used. Below are the links to those videos.
There might be some errors in the data I’ve provided , watching and listening, noting data and transferring to tables is not really easy, so I apologize if that’s the case. Consider this as just a guide and a starting point for you to find the best settings that suit your photography style.
Rob Trek : https://youtu.be/q4DDGKeG63Q?feature=shared
Steven Ingram : https://youtu.be/bzj1ubxyqFc?feature=shared
Some pictures are created with AI using Dall-E
This article was written by Marc R.
While I primarily speak Dutch and have some knowledge of English and a little French, ChatGPT helps ensure my writing is grammatically correct. I often mix Dutch and English in my drafts, and ChatGPT steps in to translate and correct.
Discover more from Open Source Photography
Subscribe to get the latest posts sent to your email.


For me another priority is Spot Metering. We have multiple white birds, from Egrets to Pelican. Spot metering keeps the details. The darker birds in swamps with little light can be shot using the other two spot metering options, which are new to me but work well.
Decades of full time wildlife shooting has made me appreciate the OM-1 even more.
LikeLiked by 1 person
Well, Ted, I had even completely forgotten that – and you are right, that is a very important one – to be honest, one that I regularly forget myself, which sometimes makes the photo difficult to save.
If you don’t mind, I’ll definitely mention it in an article one of the next times, and where I got it from.
Thanks again, and have a great day!
LikeLiked by 1 person