
This review has not been influenced or sponsored in any way. These are my personal observations, reservations and opinions about a lens that I purchased with my own money.
The Risespray 25mm f1.8 CCTV Lens :
Like the previously reviewed 8mm Fish Eye from Risespray, this lens is available under various names or unbranded, including Risespray, Pixco, Sonovel, Newyi, Newborn, and many others. Similar to the variety of names, the design and price of the lens also vary significantly. The most affordable version comes in a C mount, and for a bit more, you can get an adapter of your choice included. Some are sold in their simplest form, while others come with extras like a lens pouch, lens cloth, macro extension rings, and even a lens hood. It is available in black or silver, and some brands add a colored lens ring, like Pixco’s green or Sonovel’s red. The cheapest version can be found around €15, but with an adapter, the price usually ranges from €20 to €25. The more luxurious but otherwise identical versions quickly cost around €50 to €60. However, be warned, there’s no reason to believe that the lens is different from the cheapest one. The version of Risespray I bought came in at €23.50. Just like the 8mm Fish Eye, these lenses likely come from the same factory, namely Fujian Cheka Photographic Equipment Co., Ltd.

Unboxing :
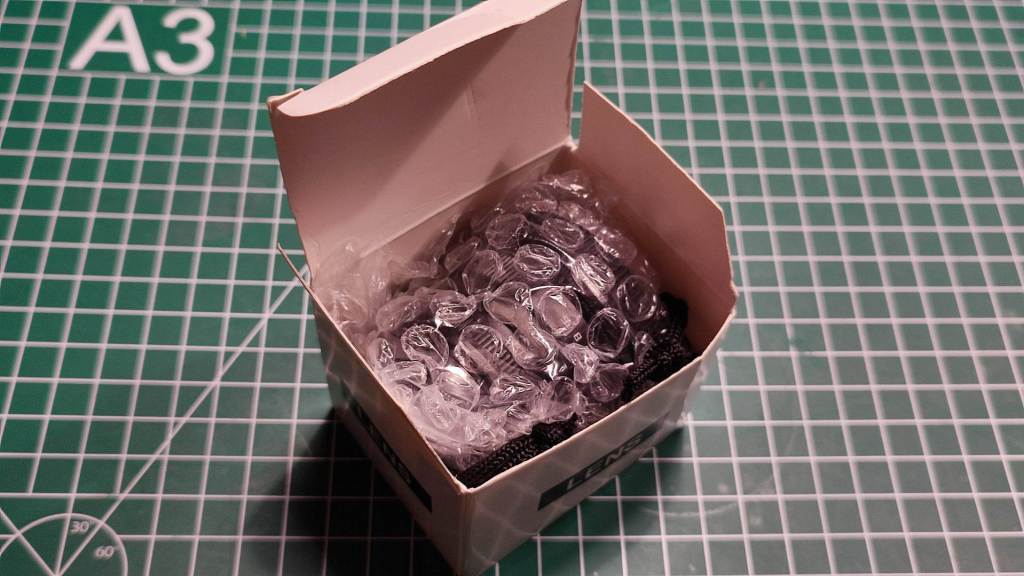
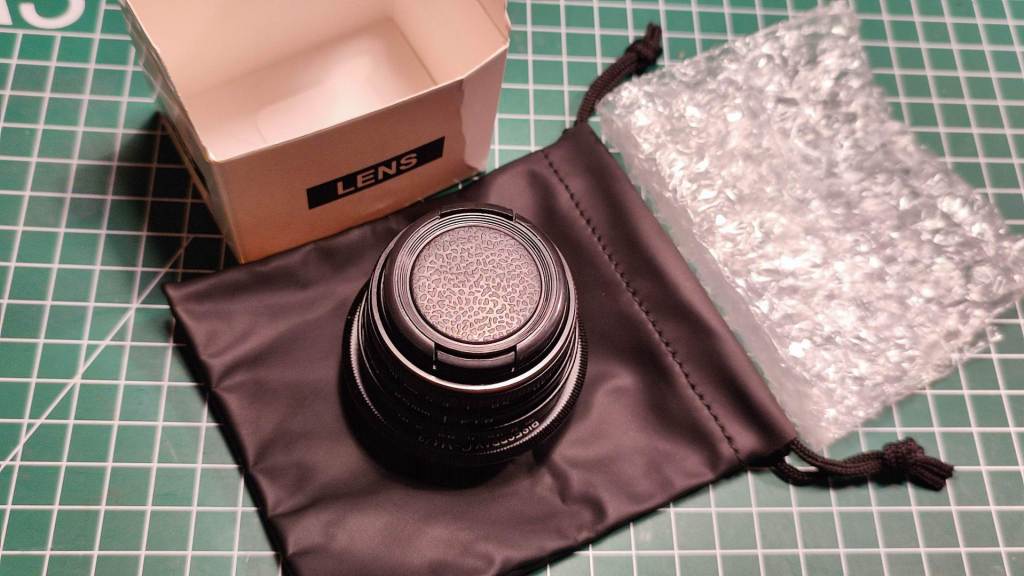
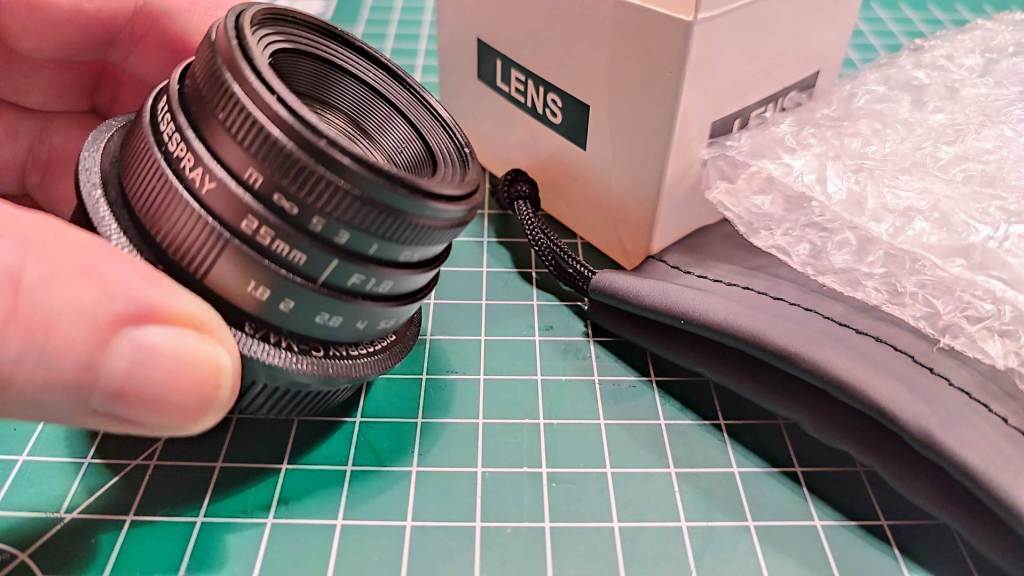
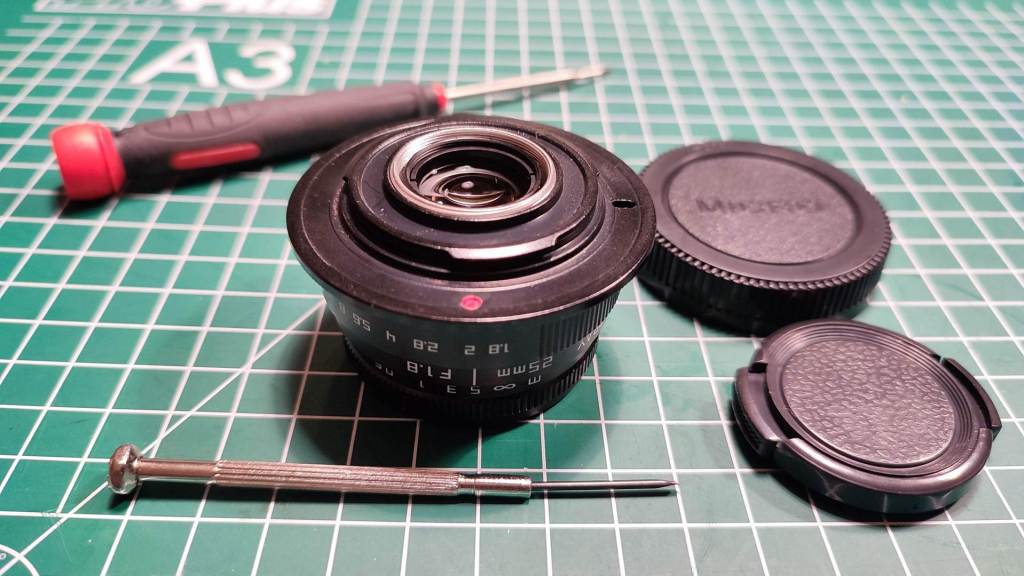
The lens arrived in a very light cardboard box, with the lens itself packaged in a bubble wrap pouch, equipped with lens front and rear cap. Additionally, there was a C mount adapter to M4/3 and a vinyl-like lens pouch included.

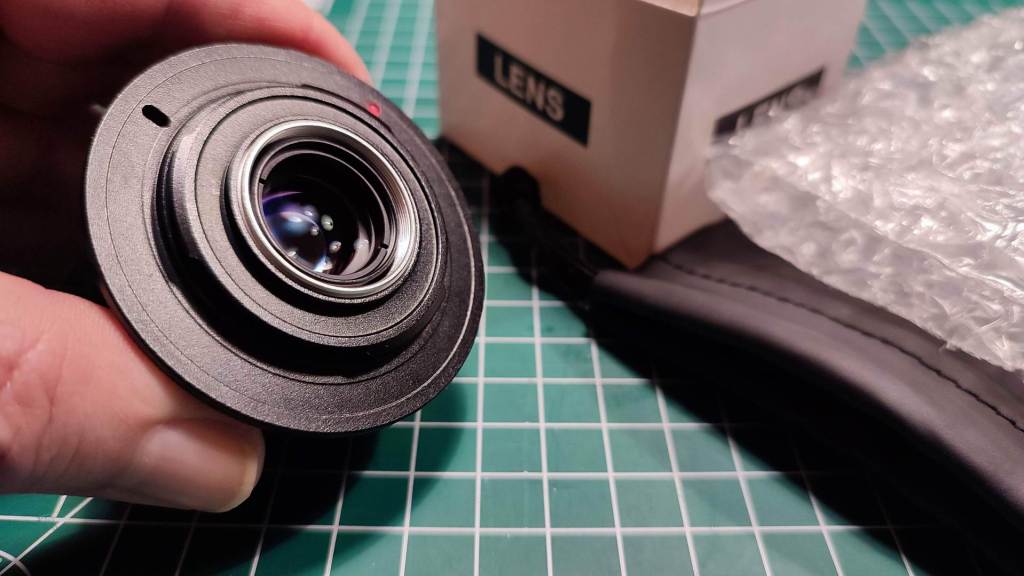


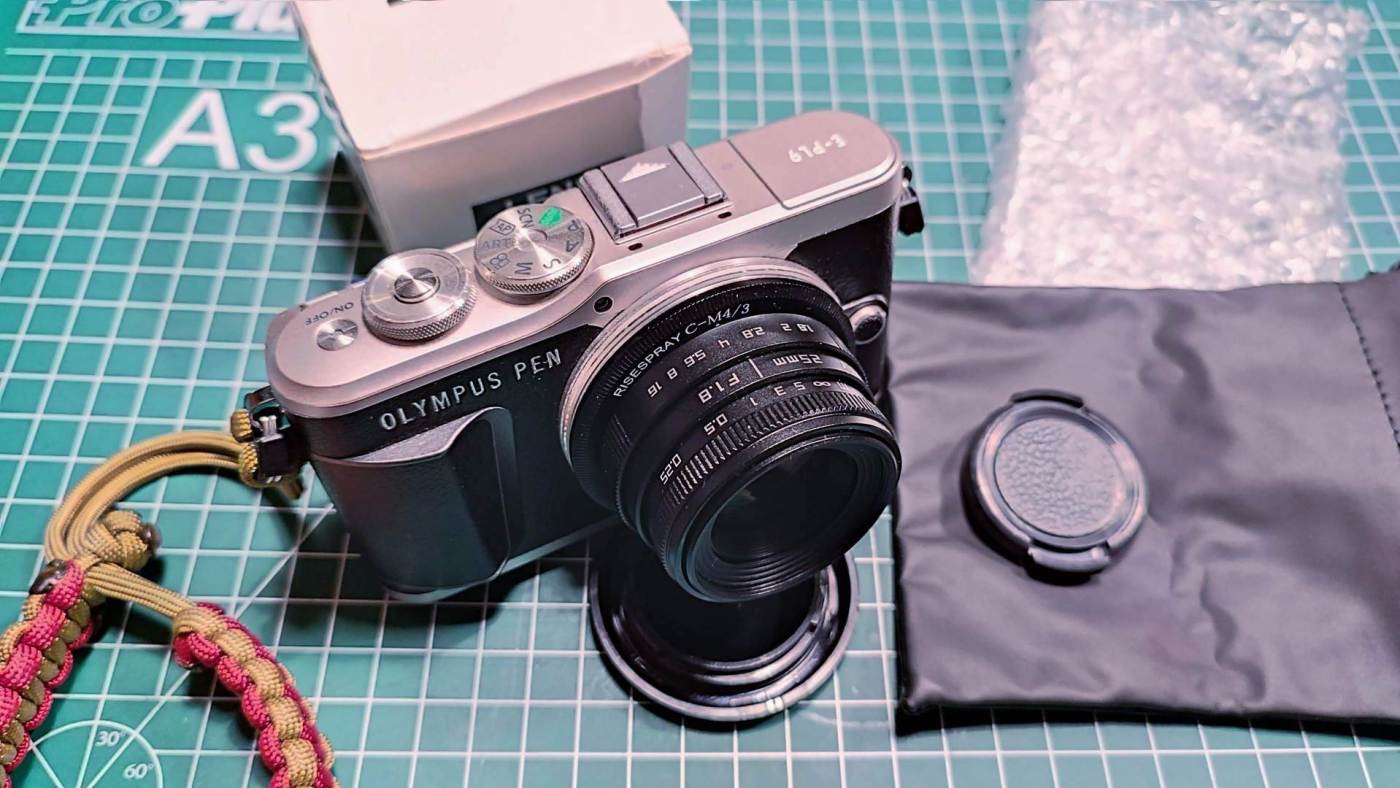
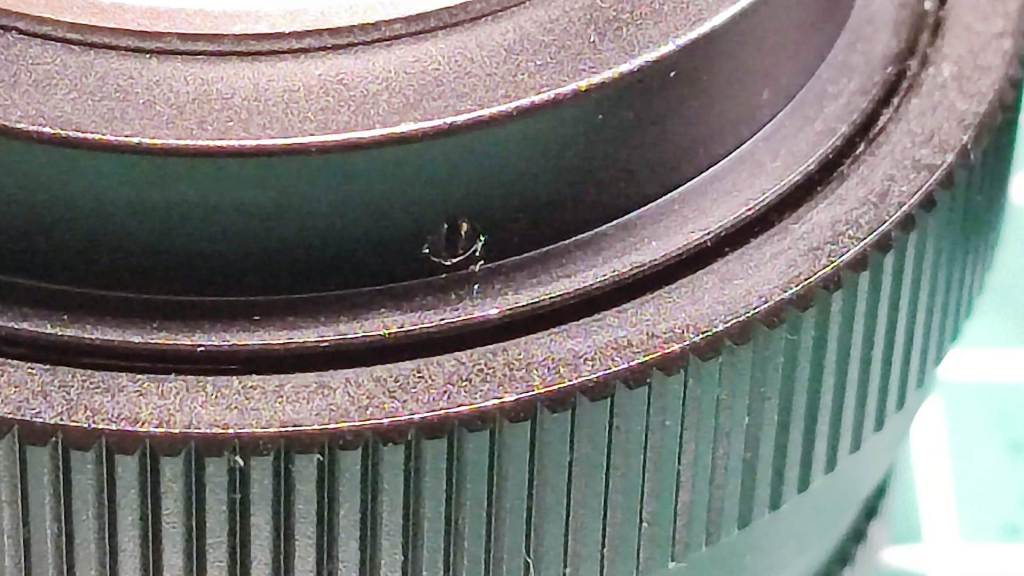
On my lens copy, the alignment of the lens on the adapter wasn’t correct. When mounted on the camera, the aperture and focus distance markings didn’t align with the top of the camera but were twisted to the side. I needed to adjust the lens markings to align with the red mounting dot on the lens adapter. This is done by loosening the three tiny screws on the side of the lens next to the C mount thread. Loosen these three screws half a turn, mount and turn the adapter so that the red dot aligns just before the marking, gently loosen the adapter again, tighten the three screws back, and then securely attach the adapter to the lens.
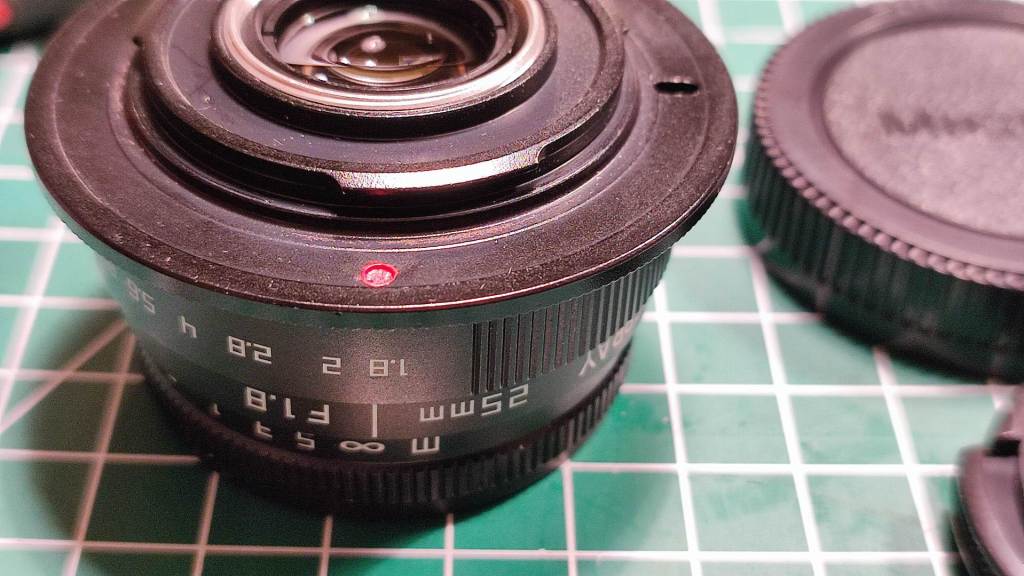
Lens specifications :
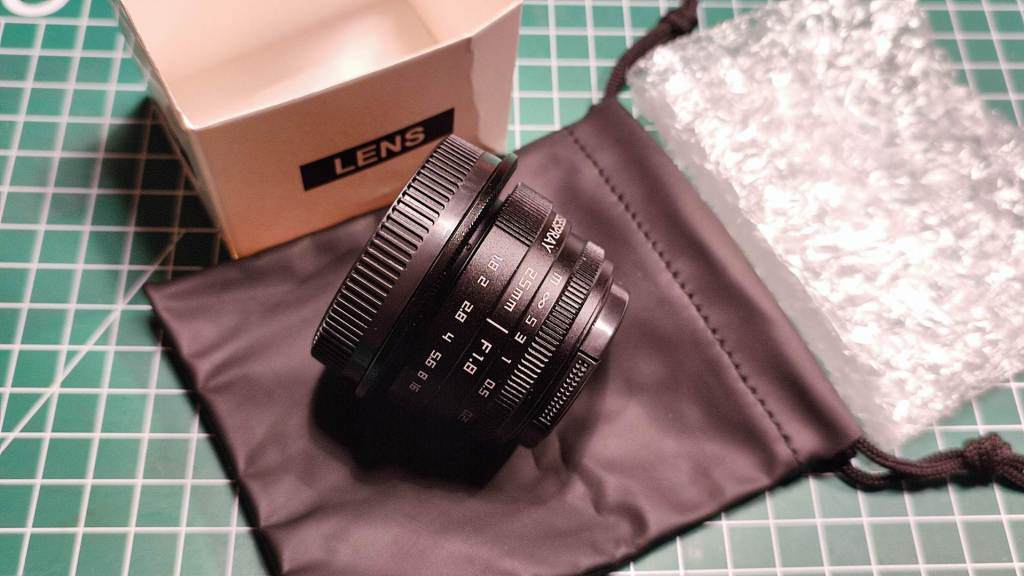
With its 25mm f1.8 or 50mm FOV in 35mm comparison. Diameter approximately 43mm to 49mm tapered, length 29mm. Filter 37mm. Weight 113 grams, adapter C-MFT included, I dare say this is a Tiny lens !
Lens Handling & Performance :
Once mounted on the camera, I noticed that the adapter secures well, but there’s a bit of play sideways between the lens adapter and camera. You will notice this a little while focusing, but it is not that the lens will fall off, it is just a bit annoying, but at this cost, what is there to complain about.
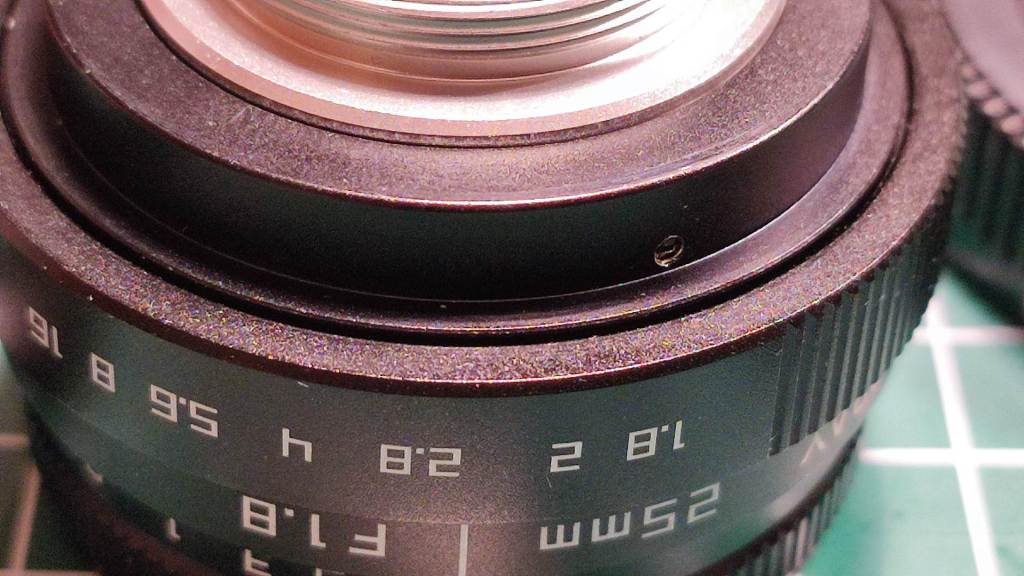
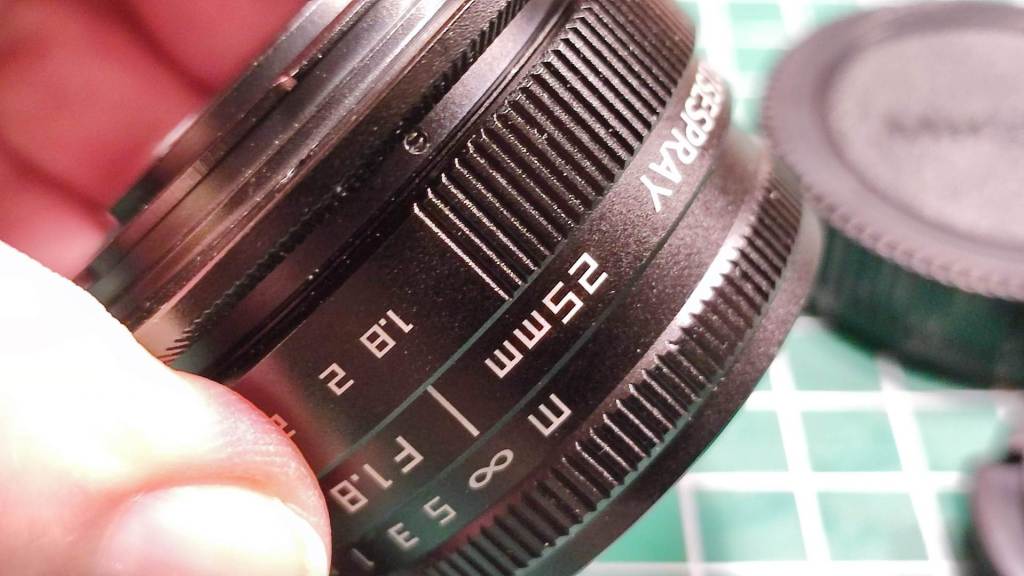
The aperture ring is clickless and moves quite smoothly, making it easy to accidentally adjust. The focus ring is similarly smooth, which is beneficial in this case. The focus ring turns about 1/4 turn from infinity to the closest possible focus distance. The lens feels robust and is entirely made of metal.
The distance scale is also a bit off with this lens, but not as bad as the 8mm lens. For street photography and setting at hyperfocal distance, I would recommend taking some test shots at a few set distances and apertures. Based on these tests you can best determine how to set the lens for street photography and shooting from the hip.
Tip : There are zone focusing or hyperfocal calculators for your smartphone or computer, and there are several ways to calculate how to focus for a specific zone, or to your closest subject all the way out to infinity for hyperfocal. However, the easiest way is to combine ( I call it hyperfocal zoning 🙂 ), just double the distance of the closest predicted subject. That is, if you want to take pictures of people walking by on the street, and the closest distance should be around 5 meters (depends on the angle of your lens), then double that distance and set focus to 10m, use a small aperture such as f8 – f11 or f16, and everything should be sharp from about 5m to almost infinity. And because your lens scale is not completely correct, it is best to test it out with a subject at a measured distance.
Links for calculators :
https://www.dofmaster.com/index.html
https://www.cambridgeincolour.com/tutorials/hyperfocal-distance.htm#calculator
After taking a few test shots with the lens, I was pleasantly surprised by what this budget-friendly thing could do. I was expecting some image distortion, a lot of vignetting and unsharp images, especially towards the edges, but instead, I got fairly normal and crisp results. Maybe not as good as a budget 7Artisans, TTArtisan, or Meike, but considering the price difference of three to four times or more, I’d say it’s a steal. They say you get what you pay for, but just like the 8mm Fish Eye, I believe you get a lot more with this one, making this lens worth every penny, even with its minor flaws.
Don’t ask if she’s prone to flare or has vignetting, because honestly, if you’re holding a lens at this price, I don’t care. Personally, I believe that if you pay close attention while using this lens, few people will realize from the results that it is from a €25 lens. Take a look at my test shots, and if you don’t like them, don’t hit the buy button ! But for me this is another creative gem.
I don’t want to be overly optimistic, but seriously, it’s not that bad. I’ve seen reviews where they trash this lens like it’s a worthless piece of junk, but compared to what ? Exactly ! You can’t pit this €25 lens against a lens worth €250. It’s like comparing a budget-friendly burger to a gourmet steak—apples and oranges, my friend !
During the process of taking test photos, I made sure to consistently capture two images. The first one was shot wide open at f1.8, and the second one at approximately f5.6 (without clicks, so not precisely). While the f1.8 image appears sharply focused in the center but slightly soft overall, the f5.6 image is significantly sharper, extending to the edges.
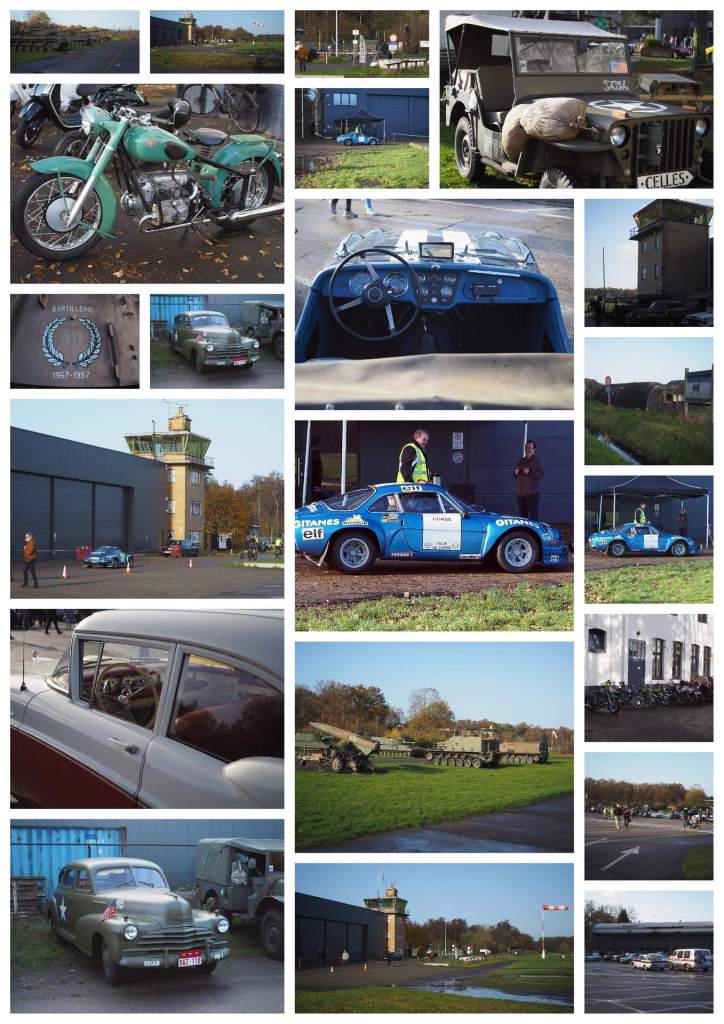
Sample Images (click picture to go to gallery):
Clicking on the collage photo below will take you to my website “La Gallerie” where you can find these sample images. The photo’s include information about the aperture value, and some shots were taken using the digital teleconverter (DTC).
The photo below was taken @ f1.8 with DTC, and then cropped further. Not bad for a €25 lens isn’t it ?
The photo below shows a side-by-side comparison of the original photo transformed from 4:3 to 16:9 aspect ratio, along with a zoomed-in crop at 200%, it is not pixel sharp, but then again, the question is whether my focus was good enough ?
Conclusion :
Well, I believe that if you’ve thoroughly examined all the results and didn’t know that this little lens costs €25, you’d be surprised, wouldn’t you ? Of course there are always folks that might say the images aren’t razor-sharp and have a few shortcomings here and there – granted. There may probably be people who would argue that for the same money or even less, they could find a vintage lens that performs better – maybe, but then you’d need a 40mm long adapter. Personally, I see this lens as a real steal. It’s a nifty fifty on MFT, so tiny and so affordable. And the performance is just downright fantastic (considering the price).
Well, paired up with the Risespray 8mm f3.8, and this nifty Risespray 25mm f1.8, we’ve got ourselves a very budget-friendly lens duo that snugly fits into our tiny camera and lens kit. What more could one possibly wish for ? …
I hope you enjoyed my review,
Marc.

The photo gallery of Open Source Photography, Olympus micro 4/3 system, Vintage Lens Photograpy, Film Simulation, PictureFX, HDR – Photographer : Marc R.

Discover more from Open Source Photography
Subscribe to get the latest posts sent to your email.

