
Introduction:
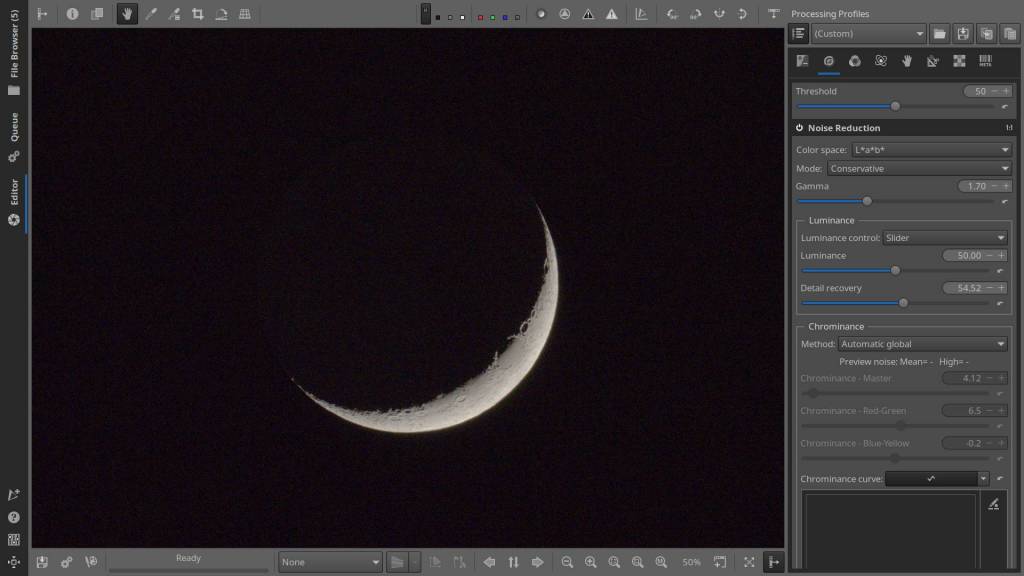
The header photo isn’t very good. It’s been edited to make it clear what this article is about. So, it’s not the final result we’re aiming for. Also, the editing was done using RawTherapee and Showfoto, but you could use other photo editing programs too. RawTherapee was used for adjusting the exposure, while Showfoto has similar Exposure Fusion options like Digikam, Hugin, Enfuse, etc.
How It Started on February 13, 2024:
“Yesterday, around 8:30 p.m., the sky was quite clear. My partner called me outside because the moon looked very special. Indeed, the moon was in its first quarter, but you could see the whole sphere as if it was lit from behind – but more on that in a new article later.”
[Link to original article]
So, that’s what it was about – I’m not even sure if my term “backlit moon” is correct, but it’s definitely not “moon aura,” which is a bright ring around the moon. Anyway, it describes what I saw then. It wasn’t the first time I’d seen something like that, and I’ve tried taking photos of it before – including that day.
Updated : In the meantime, a good friend explained to me what it really is:
It is the New Moon, and the effect is due to sunlight that is reflected from the earth to the moon and then reflected back.
This light is best visible about 3 to 4 days before and after the new moon, when the moon is above and the sun is below the horizon.
Thanks Jan!
What I’ve noticed is that I come across a lot of “Moon Aura” photos taken by other photographers, but a “Backlit Moon” is quite rare. This confirms that capturing such an image isn’t as simple, even though the final solution may appear straightforward.
I took photos with different exposure settings, but either you see that ring around the moon and the visible part is totally overexposed, or the moon’s exposure is correct and the ring disappears. I knew I could fix this with RawTherapee and Exposure Fusion.
Exposure Fusion is also known as Exposure Blending, Blend Stacked Images etc…, the reason why I call it different here is because the purpose is different.
Blend Stacked Images is also used for macro shots, to merge photos with different sharpness settings into one photo with a larger sharpness range – while Exposure Fusion combines different exposures. The tool used with various software is Enfuse.
The only problem for people who feel less comfortable with computers is that Enfuse is command line controlled. That means you have to type text line commands like in the old DOS era.
Not that it is difficult, but it is less user-friendly.
That is why it is easier to use a program such as Digikam, ShowFoto, … so that you can do this from a graphical user interface.
HDR and Enfuse:
While Enfuse and the Fusion or Blending technique can be used to merge images with different exposure settings, for macro images to merge different focus settings, and also for creating HDR. It can also be used to solve a common problem with HDR.
When creating (extreme) HDRs, artifacts sometimes occur, and what many do not know is that Enfuse can also be used here. The simplest solution is to combine HDR images with normally exposed images, the fusion of the two gives an HDR without artifacts.
Basic Method :
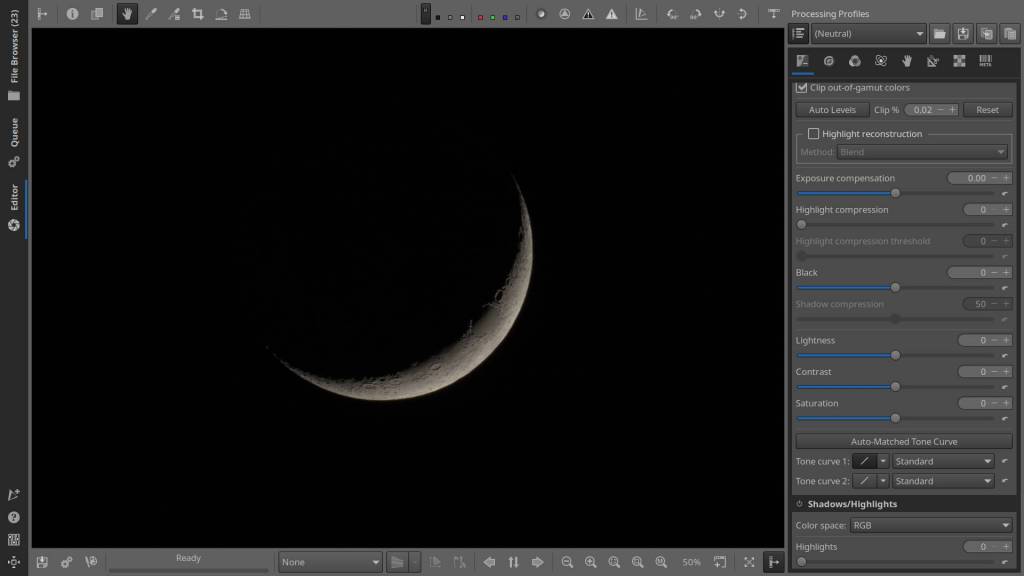
First, I used Rawtherapee to create three different TIFF files from an original ‘well exposed’ RAW file using various settings.
- neutral
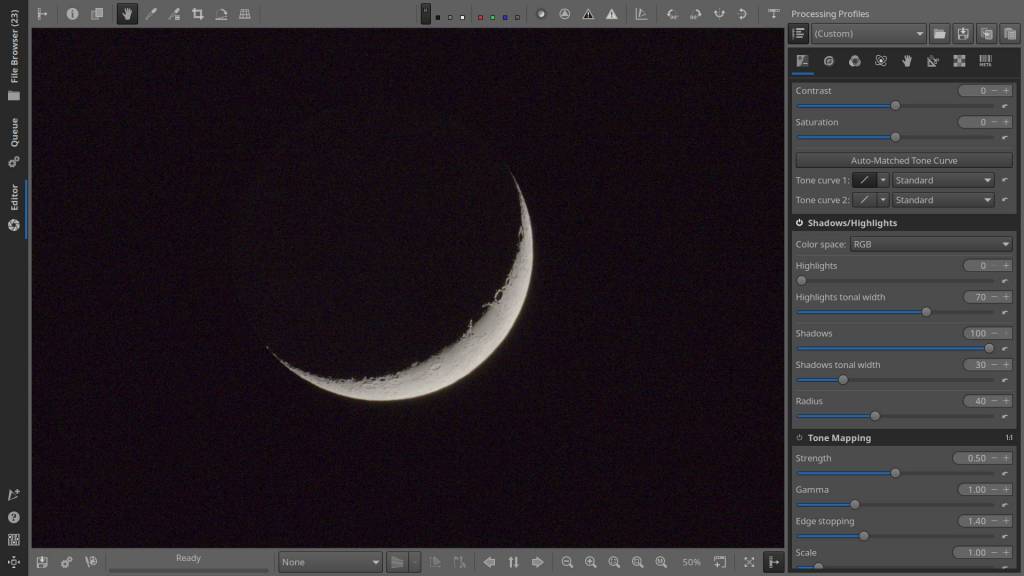
- Adjustment in Shadows/Highlights -> Boost Shadows
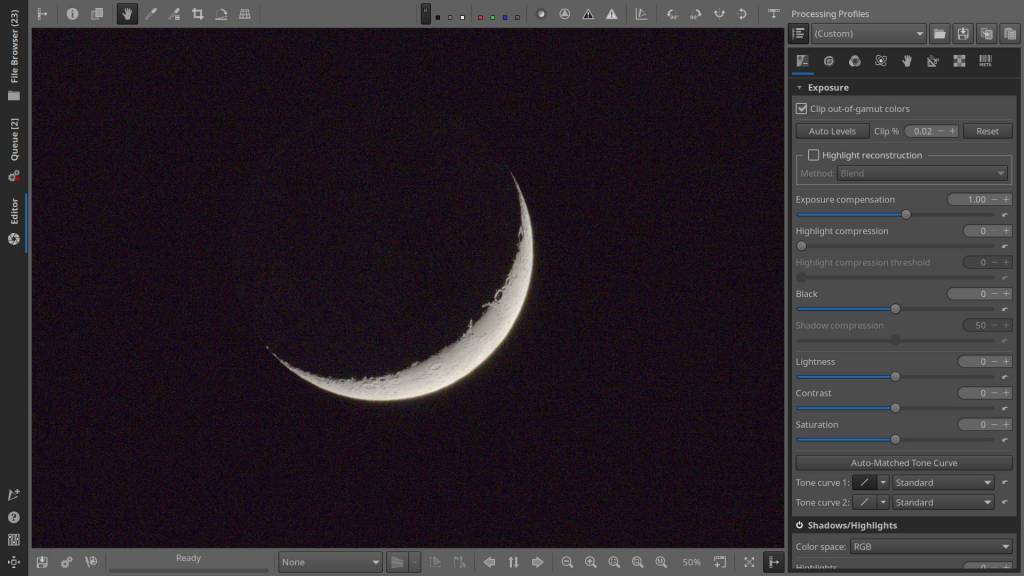
- Contrast Adjustment & Exposure to make sphere more visible
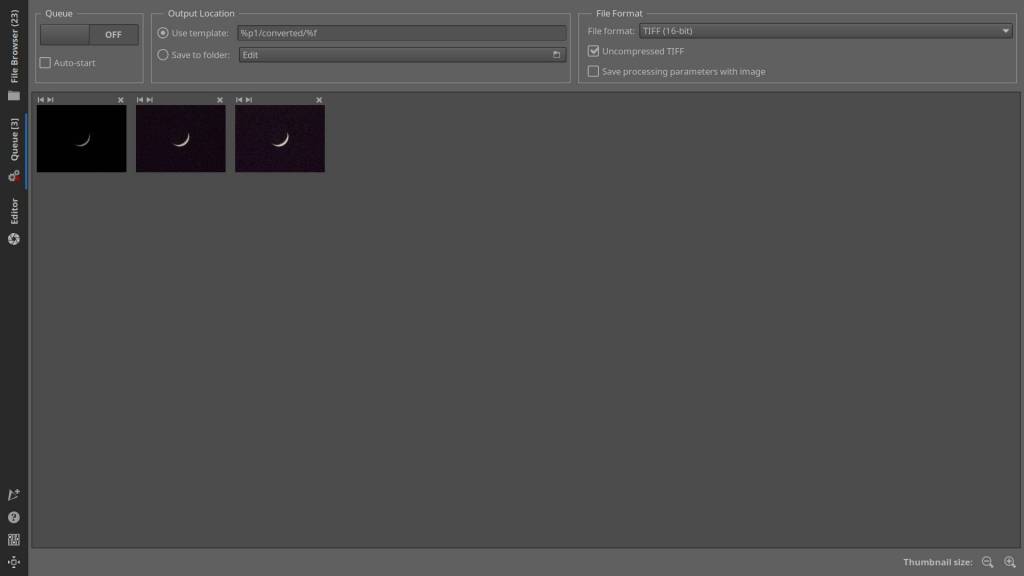
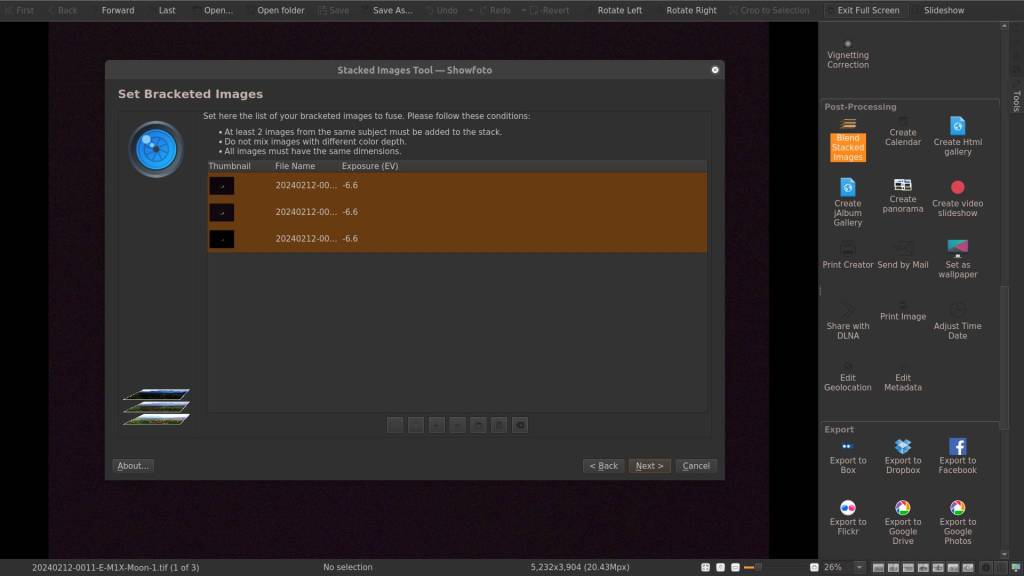
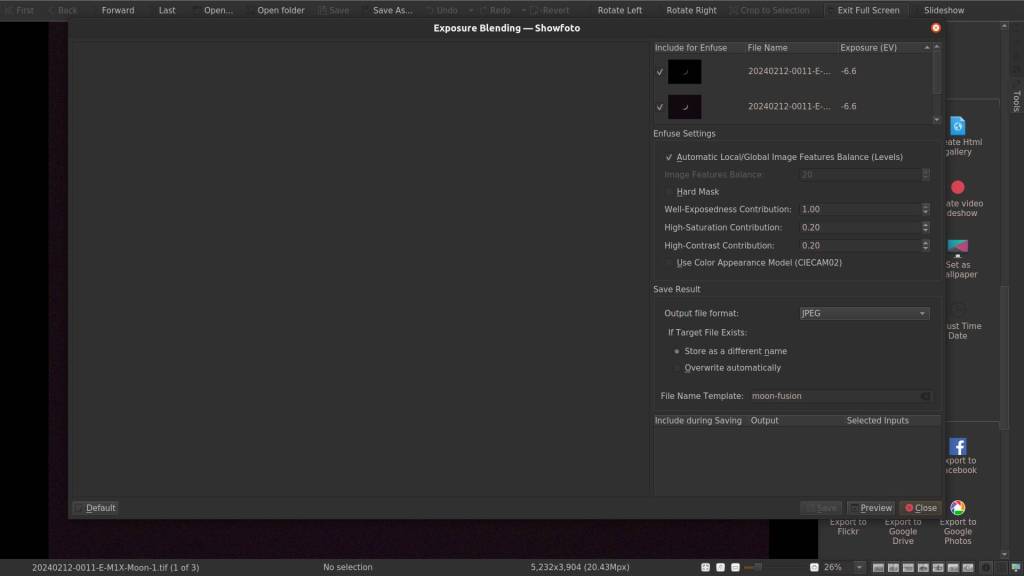
I merged those three pictures together using a feature called Exposure Fusion in Showfoto, which is also known as Blend Stacked Images. This created a single new TIF file. You can find the settings I used for the fusion below, and I didn’t change anything else.
- Automatic Local/Global Image Features Balance = on
- Well-Exposedness Contribution = 1.0
- High-Saturation Contribution = 0.25
- High-Contrast Contribution = 0.25
Exposure Fusion in Showfoto :
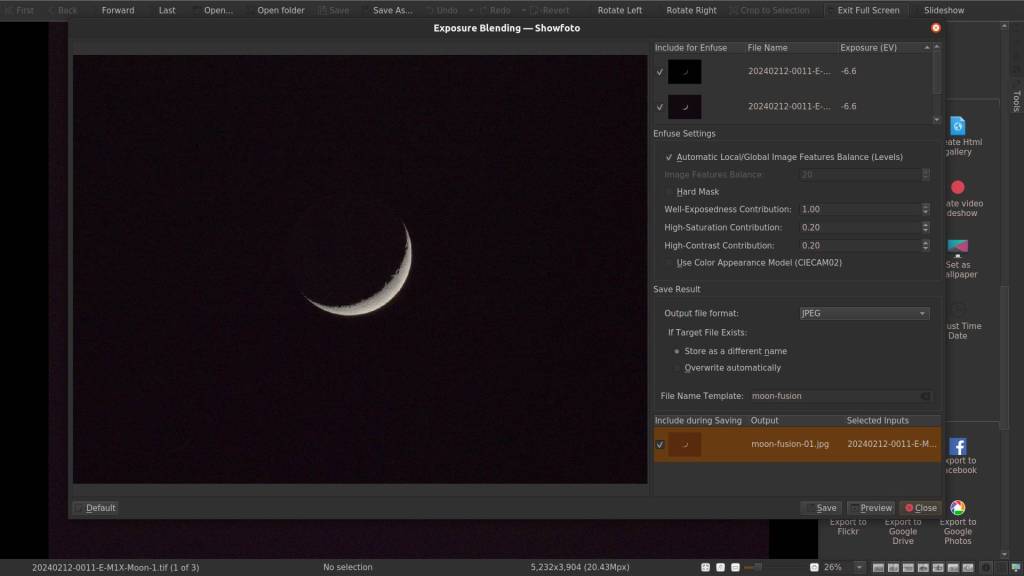
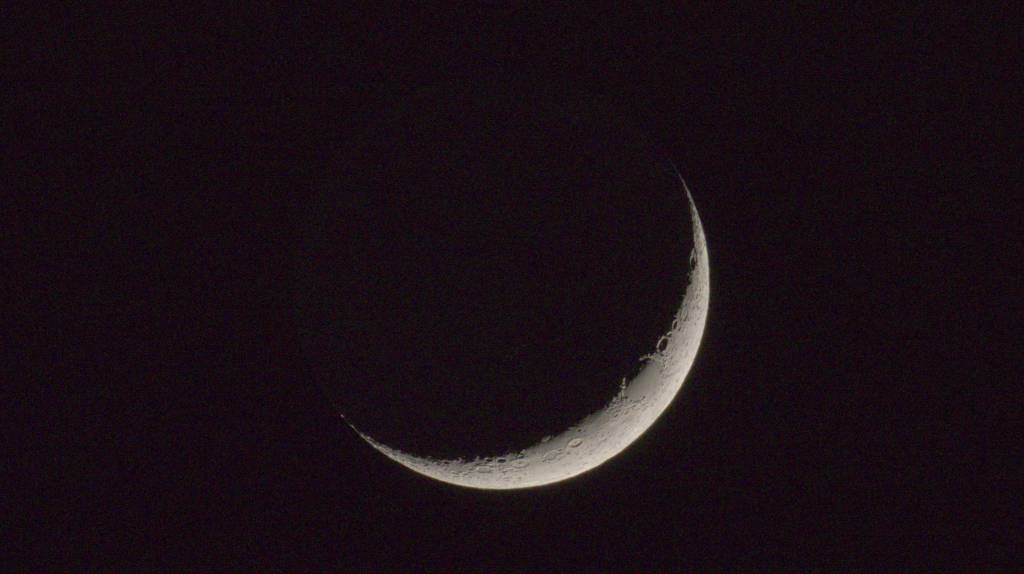
Then I loaded it again in RawTherapee, made some small changes to the exposure, and tried to remove as much noise as possible, then sharpened it slightly.
Result with three photos merged, maybe less clear on the internet, but very clear on my own computer.
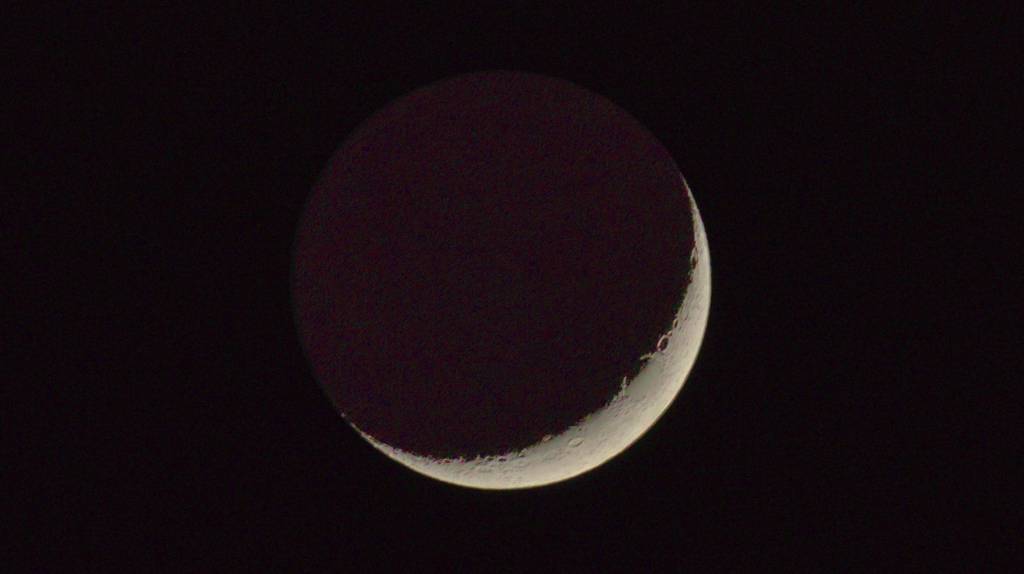
By combining more photos and enhancing shadows aggressively while suppressing highlights, you get a more extreme result. It might not look as aesthetically pleasing, but it’s clearer. The best outcome probably lies somewhere between the top and bottom photos. The editing process described here will assist you in achieving that ideal blend.
Have fun with your own backlit moon project !
Download Links and Info :
Enfuse-Enblend : https://enblend.sourceforge.net/enfuse.doc/enfuse_4.2.xhtml/enfuse.html
Enfuse on Ubuntu : https://howtoinstall.co/es/enfuse
DigiKam : https://www.digikam.org/
ShowFoto : https://apps.kde.org/showfoto/
Pat David – info about using Enfuse : https://patdavid.net/2013/07/automatic-exposure-blending-with-enfuse/
The photo gallery of Open Source Photography, Olympus micro 4/3 system, Vintage Lens Photograpy, Film Simulation, PictureFX, HDR – Photographer : Marc R.
Discover more from Open Source Photography
Subscribe to get the latest posts sent to your email.


Lovely article, and I love taking photos of the moon, my Instagram and Facebook are full of them!
I really need to give RawTherapee a try again. I’m not sure if it has any benefits over Darktable (or even Nikon NX Studio now I’ve discovered that), but it looks interesting.
LikeLiked by 1 person
Hey Mark,
I hope you had a nice birthday yesterday!
To be honest, advanced or even professional photographers like you will benefit more from Darktable, and probably even the Nikon software.
RawTherapee is a pure Raw developer, with everything you need to get the most out of Raw – there is still the option to apply film simulation in the form of PNG Luts, and there is color grading, but the focus is mainly on Raw to Jpg or Tif, if I want to further edit a photo afterwards.
This makes the interface less cluttered with tools such as Darktable or other advanced image editing programs.
So to simply develop photos as best as possible from Raw, Rawtherapee is fantastic, but if you want to apply more fancy things in one go, then you will be left wanting here.
Have a great day!
Marc.
LikeLiked by 1 person
Thank you Marc, I had a brilliant time yesterday. Can’t believe I’m 54 already. Time is going much too fast.
I’ll stick with Darktable etc then 👌
LikeLiked by 1 person
Very nice indeed. I liked the last image best and on my computer the majority of the dark moon looks a sort of purplish/brown. The light of the moon looks a fresh earthy white with a bumpy edge/surface.
I’m afraid editing software is way over my head. I tried Lightroom and Photoshop when I first bought my Canon DSLR in December 2010, but I’d quickly forget how I’d used it the next time I downloaded photos.
I concluded that I wanted to be a good photographer, not a photo editor. LOL.
Not that there’s anything wrong with photo editing, my brain just doesn’t want to play around with it.
Having said that, I do tweak my photos with the iMac’s basic photo editing in-house software. The retouching tool/slider is remarkable in the last 2 software updates (except for this morning). I love the way it can erase twigs in front of a bird in a tree.
I quickly discovered back in 2010 that fellow bloggers and followers didn’t come around to my online blog until I permanently increased the colour slider one notch.
Personally, I prefer more natural earthy muddy tones, but with my 2 DSLR’s colour settings slightly increased, everyone seems to follow. The light in Australia is very harsh and nothing like the softer light in Northern Europe or the warm golden light in Italy. My old photos from the mid 1970s made in the UK, especially Scotland, are terrible and I’ve thrown most out in the rubbish now.
I envied (and followed) a very renown Canadian professional photographer for years until the day he showed his original image and all the edits he did. I was sorely disappointed that his original was not really that much better than my own original shots, but he was an excellent photo editor and a brilliant writer. I’ve got 2 of his books and one e-book.
Just goes to show, skilled and appropriate editing has its place for all professional photographers now.
LikeLiked by 1 person
Well, I think most people edit their pictures, including myself, although I try to do it as little as possible.
Unless I specifically want to make it something more extreme.
But to be honest, having (many) followers is nice, but I’m not going to adapt my way of photographing or editing to it. Nowadays I prefer birds and deer in front of the lens, and I now have the right cameras and lenses for that. I try to keep the editing of those photos as natural as possible.
The most important thing is that what you photograph and how your photos look gives you the best feeling. This way you stay true to yourself and I think your work also has more value.
Belgium is a bit like the UK I think, nowadays we also have a lot of rain, so everything always looks a bit gray. But we can’t choose (not really) so we just make the best of it.
Thanks for your comment Vicki!
LikeLiked by 1 person