
The use of LUTs is also, and perhaps especially, known in cinematography, much more than in digital photography. Many people want their footage to look like well-known blockbuster films, and the variety of LUTs of this type is overwhelming. The problem is mainly that they all strongly resemble each other, and the used names are often meaningless, such as “cinematic for LOG” or “cinematic green.” Just like with Fujifilm recipes, you end up with thousands of recipes where you can’t see the difference between one and the other. The name may suggest a certain style, but how many simulations do you really need, is something that always crossed my mind.
And so, I started developing LUTs that try to replicate existing 35mm film stocks or have a very typical color style like IR. With these, you have a clear understanding beforehand of what they are simulating, and you’re aware of the expected outcome. While you might consider choosing between versions from various creators, the ultimate aim is to have a single LUT whose representation you know precisely, and which results you would like.
One of those film simulations was PictureFX CineStill 800T V1.0; it is now one of my most popular and most downloaded film simulations. PictureFX CineStill 800T currently has over 19.000 downloads & 850 likes, placing it in the top 30 most popular LUTs on FreshLuts.
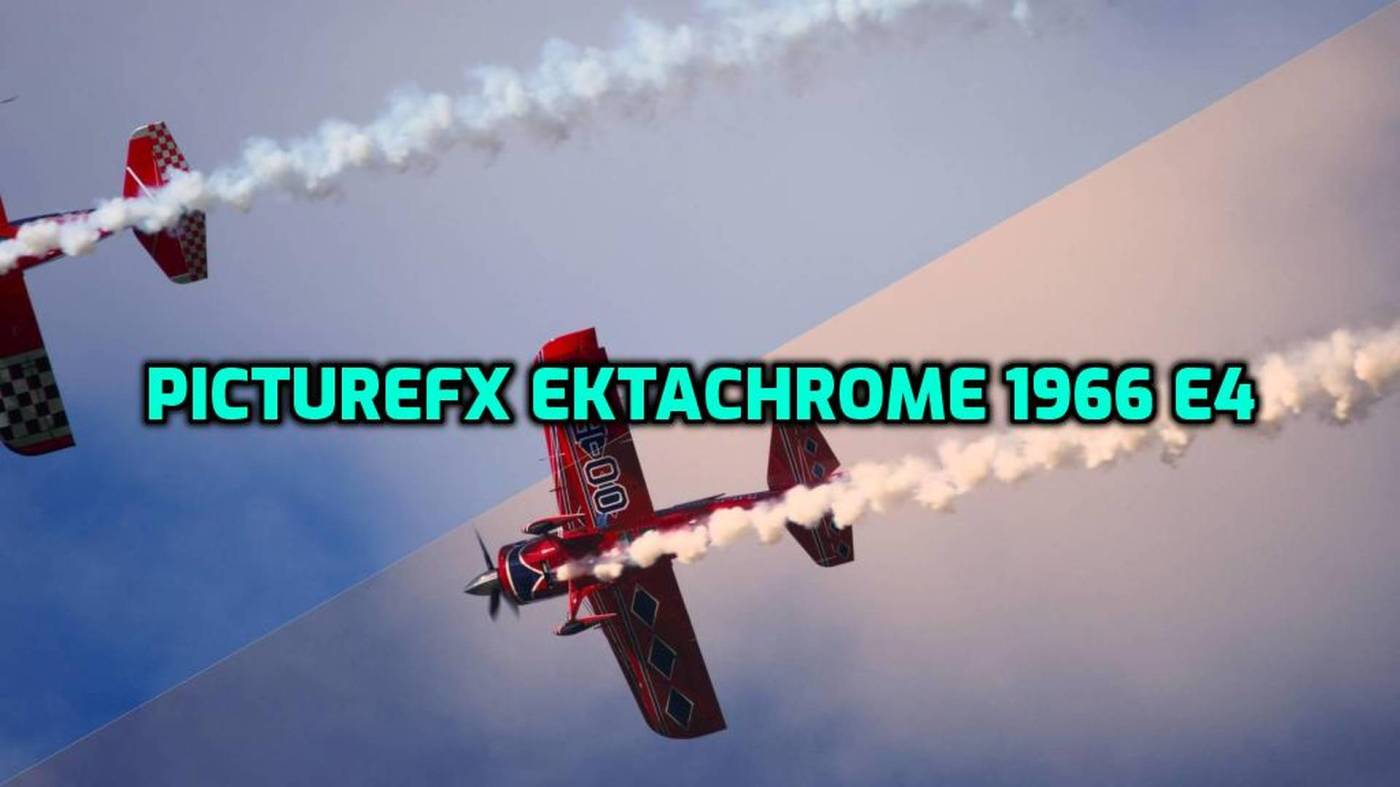
A while ago, I started creating a new LUT again; the inspiration came from old photos I had seen while watching reviews about a Minolta 24mm lens. The photos were scans of Kodak photo prints that were many years old, giving them that typical “vintage” fading. Kodak or Kodachrome is a film already replicated many times, and I wanted something different from the many existing Kodachrome simulations, so I came across the rarely used Ektachrome. With Darktable Color Mapping, I analyzed many existing Ektachrome photos from the 1960s found on the internet, from which I created several prototype LUTs, which were eventually merged in, adjusted and tuned into one new LUT : PictureFX Ektachrome 1966 E4 (1966 after the popular E4 development process used between 1966 and 1996). E-4 was better at resisting fading than the earlier processes and had a lifespan of about 30 years. However, today again we are over 30 years further, and the colors have acquired a very typical 1960s style, and that’s what I was looking for.

Olympus E-M1X – OLYMPUS M.40-150mm F2.8 – Dev. RawTherapee – PictureFX Ektachrome 1966 E4 Lut
Ektachrome possessed a fine grain and vibrant, saturated colors. What I particularly appreciate is its creamy appearance. I’m uncertain whether this attribute is a result of aging or if it has always been inherent in the film. Nevertheless, to me, it imparts that distinctive 60s color caracter.
This creamy filmic quality seamlessly aligns with my Minolta project, where I utilize Minolta lenses for their precision and caracter. Some of these lenses closely resemble those of Leica, though they aren’t exact replicas. The synergy between the LUT and lens brings the photo results a step closer to achieving the sought-after Leica look. After all, the renowned Leica look originated from genuine film, not from digital processes.

Olympus E-M1 MKIII – OLYMPUS M.100-400mm F5.0-6.3 – Dev. RawTherapee – PictureFX Ektachrome 1966 E4 Lut

Olympus E-M1X – OLYMPUS M.40-150mm F2.8 – Dev. RawTherapee – PictureFX Ektachrome 1966 E4 Lut
Olympus E-M1X – OLYMPUS M.40-150mm F2.8 – Dev. RawTherapee – PictureFX Ektachrome 1966 E4 Lut


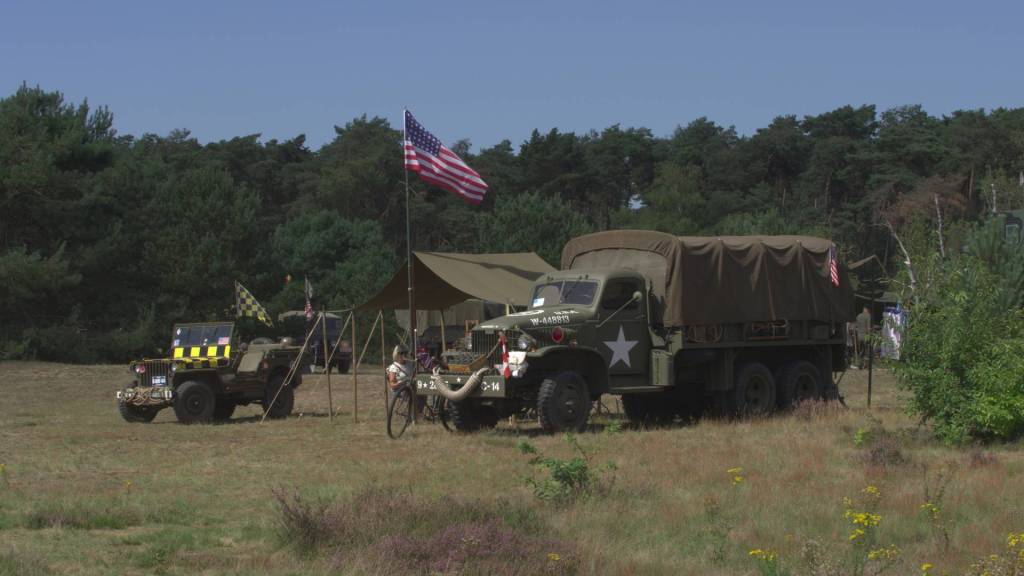
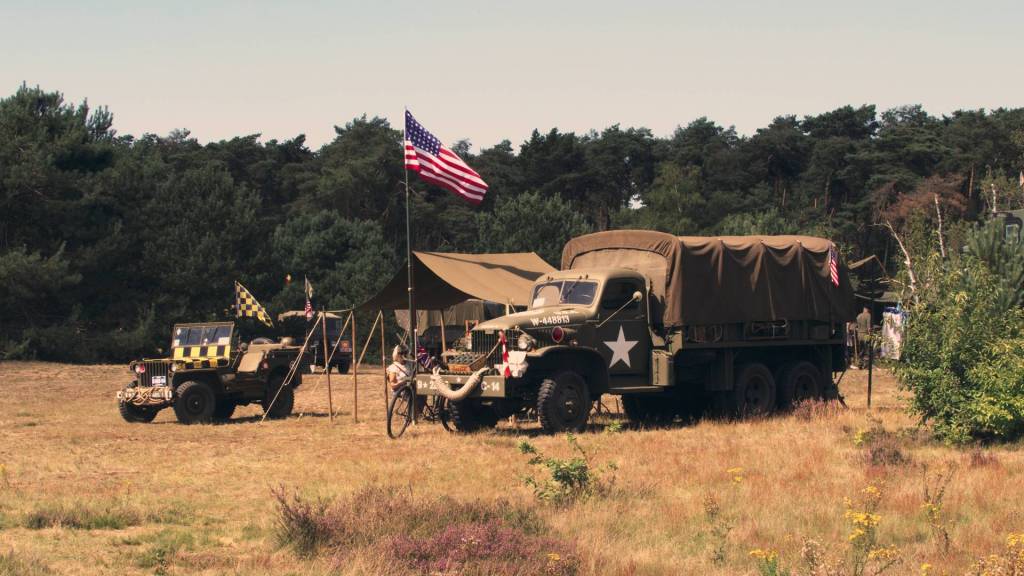
These three above are the RAWs developed in RawTherapee from Neutral to JPG
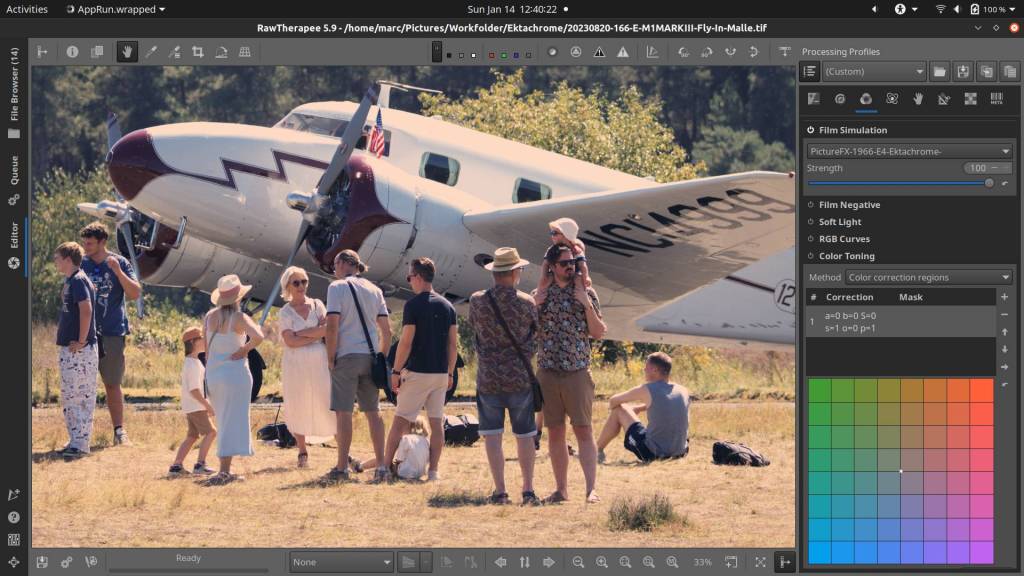
The photos where I applied the Lut were developed in RawTherapee from RAW or Tif Neutral, with only a small adjustment in exposure and photo dimensions for web.
Luts have one disadvantage, they do not adapt to the shooting conditions or subject.
You may therefore need to adjust, for example in the highlights or shadows, but the color cast may also be too strong for certain subjects, in which case the type of blending or opacity must be adjusted.
In any case, a Lut does not automatically produce the perfect photo, adjustment is necessary in many cases.
There is a PNG Lut version, such as for use in Rawtherapee, and a Cube version for Darktable, Adobe, Luminar and many others.
Or if you have a Panasonic S5II or G9II, you can simply use the Lut directly in your camera.
Download both via Google Drive :
PictureFX Ektachrome 1966 E4 – Cube & PNG in zip file
Download .cube file only via FreshLuts :

PictureFX Ektachrome 1966 E4 Lut
Download via FreshLuts

The photo gallery of Open Source Photography, Olympus micro 4/3 system, Vintage Lens Photograpy, Film Simulation, PictureFX, HDR – Photographer : Marc R.
Discover more from Open Source Photography
Subscribe to get the latest posts sent to your email.


Brilliant! I’ll download and give it a go.
I have some big news announced soon, I’m finding it hard to contain my excitement!
Keep up the good work Marc.
LikeLiked by 1 person
Thanks Mark ! you make me curious 🙂
LikeLiked by 1 person
heel interessant Marc
prettige dag
LikeLiked by 1 person
Dankjewel Willy ! en een fijne avond nog voor U.
LikeLike