
Creating a Natural-Looking HDR Image with RawTherapee and Luminance HDR
When it comes to creating an HDR image that still feels natural, rather than screaming “overcooked”, a careful workflow and thoughtful tone mapping choices are crucial.
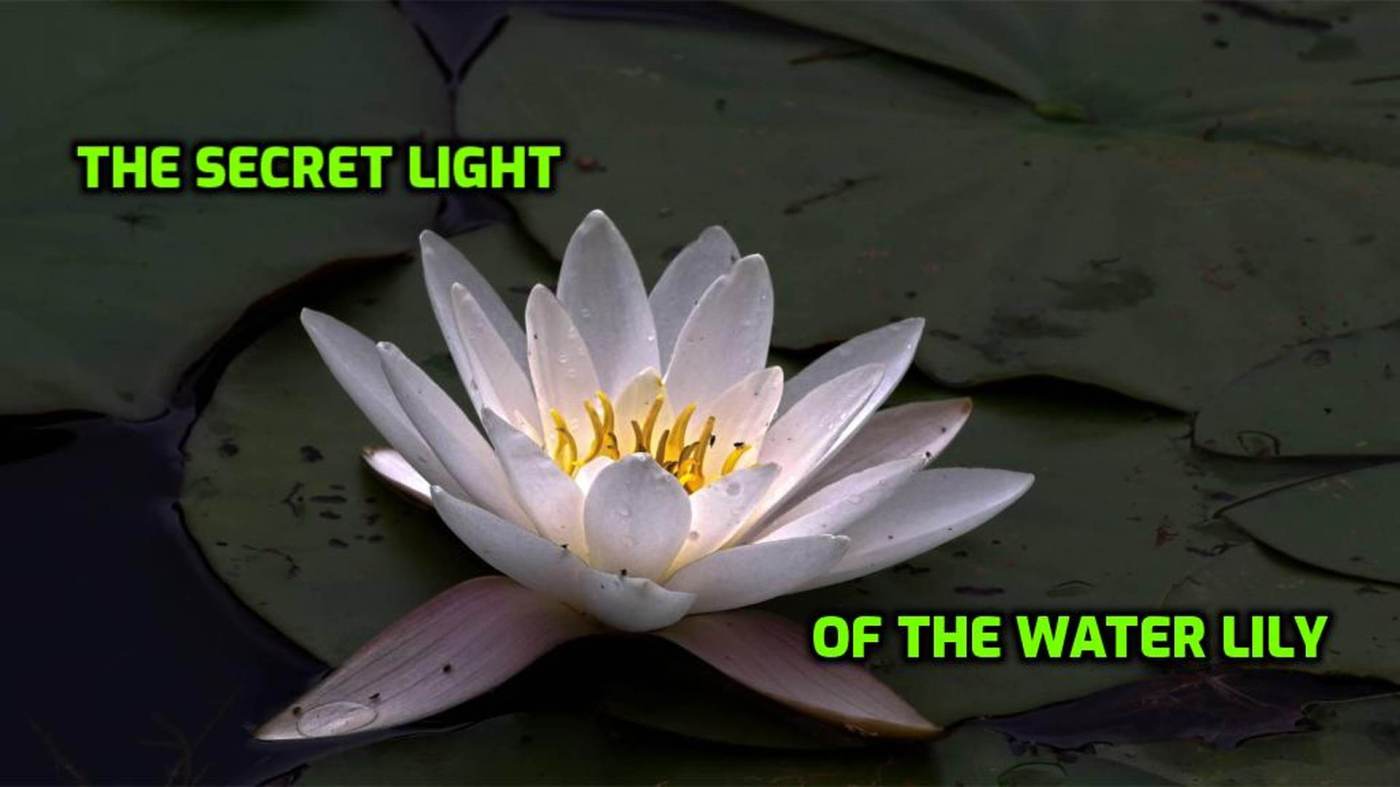
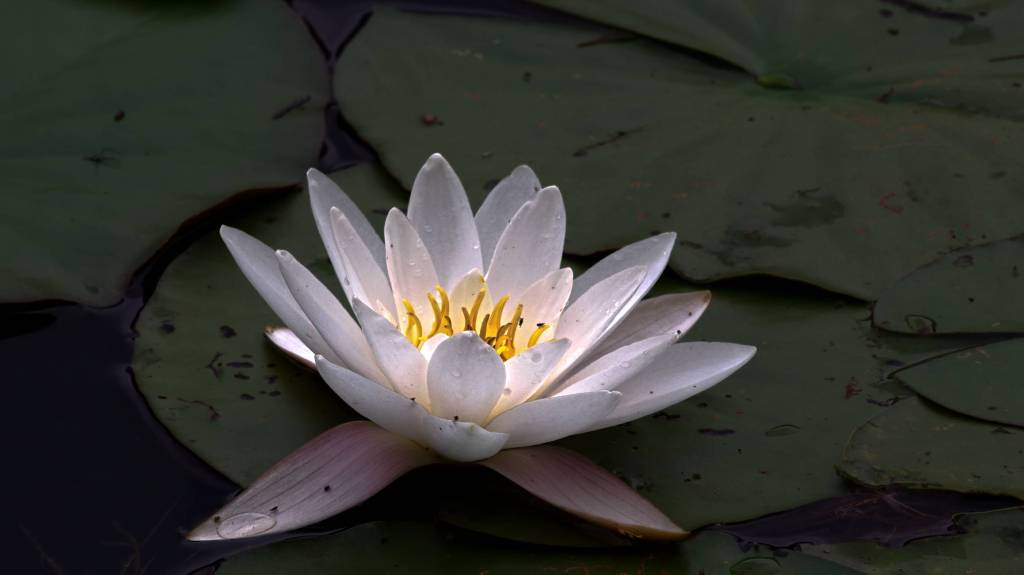
Let me walk you through how I recently processed a water lily to maintain realism while bringing out depth and subtle drama.
Step 1: Preparing the RAW File
First, I opened the RAW file from my Olympus E-M5 Mark III in RawTherapee.
To keep a clean baseline:
- I applied the Neutral profile to strip away any automatic corrections.
- Then I loaded an Adobe DNG color profile specific to the E-M5 Mark III, aiming for a Natural look without pushing colors or contrast too far.
- After slight cropping to optimize the composition, I exported the image as a TIFF for maximum quality and flexibility in the next stage.


Step 2: Tone Mapping in Luminance HDR
Next, the TIFF went into Luminance HDR for tone mapping.
I chose the following settings:
| Setting | Value | Effect |
|---|---|---|
| Pregamma | 0.75 | Softens highlights and preserves shadow depth before tone mapping. |
| Tonemapper | Reinhard 2002 | Natural rendering, smooth transitions, no cartoonish effects. |
| Key | 0.15 | Creates a darker, moodier atmosphere with deep shadow retention. |
| Phi | 1 | Reduces micro-contrast for a smoother, film-like look. |
| Post Saturation | 1 | Keeps the colors neutral, neither oversaturated nor faded. |
| Post Gamma | 0.75 | Darkens midtones subtly after tonemapping, avoiding a washed-out feel. |
The goal was to avoid the classic “HDR look” and stay close to what the eye naturally perceives, but with a slightly more dramatic flair.
I then saved the result again as a TIFF to maintain the best quality for further processing.

Step 3: Final Adjustments in RawTherapee
The tone-mapped TIFF went back into RawTherapee for the final touches:
- Global adjustments: I fine-tuned contrast, saturation, brightness, and exposure to refine the balance.
- Sharpening: Applied a careful sharpening pass to highlight details.
- Denoising: A very subtle noise reduction, just enough to clean up the background without killing texture.
But it didn’t stop there. I also used local editing:
- Two elliptical masks were created:
- A large oval over the main body of the flower.
- A small oval over the left leaf and the water droplet.
- On both masks, I applied local tone mapping to bring just a hint of extra depth without making it look artificial, It also makes the lily glow, as if touched by sunlight.

Finally, the image was resized to 1920×1080 pixels for web presentation and exported at 70% quality from RawTherapee.
And that’s it!
Final Thoughts
By carefully blending the strength of both RawTherapee and Luminance HDR, and by using selective local edits, you can create an HDR image that feels rich, cinematic, and completely natural — without falling into the traps of overprocessing.
Sometimes, less is truly more.
If you’re interested in Luminance HDR, you can download it here: https://sourceforge.net/projects/qtpfsgui/ – Luminance HDR is available for Windows, Mac, and Linux.
Just a quick note: the software was last updated in 2021, so it’s about four years old. However, since this type of software doesn’t have a large user base, development naturally progresses more slowly. That said, Luminance HDR is actually pretty much complete in its current form.
There are also some negative reviews from users who seem to have difficulty using it without a solid guide. But in my opinion—even with a thorough manual—those users would probably still struggle. Personally, I never looked up a video or tutorial and was fully up and running after about ten minutes of figuring things out – I think it was even quicker than that. So no, it’s definitely not complicated.
A very quick start guide for a single-photo HDR (of course, it also works with multiple images)
- Launch Luminance HDR
- Drag a photo (TIFF) into the empty window
- Choose an operator on the right side and click its thumbnail
- On the left, under “Processing,” select the desired output format from the drop-down list
- Click “Update Preview” at the bottom left
- On the left, go to “Settings,” then under “Export,” click “Fast Export,” then “Open,” and you’re done
Discover more from Open Source Photography
Subscribe to get the latest posts sent to your email.


Great post! I wish I had time to try 🙂
If you can, please share the before picture as well for those who want to try exact settings and see the result by themselves 🙂
LikeLike