
I am a photographer, not a filmmaker, let that be clear.
So why the interest in film or video?
Well, the interest had been there for a long time, but the possibilities were very limited with my earlier cameras.
Now that I’ve made the switch from Pentax to Fuji, that possibility has resurfaced.
But it’s not making full-length movies that interests me, it’s rather using it as an extra layer to tell a story in combination with stills.
It’s something you see more and more in documentaries over the last 5 to 10 years – the story is done in film, and stills are used to emphasize the beauty of something.
I don’t think of making long documentaries myself, but rather short clips of maximum 3 to 5 minutes to show the story and my photos, because in the end I still remain a photographer.
But how did I get started, and what settings do I use ?
On Google and Youtube you can find technical information enough, but why does it have to be so complicated ?
4K – 23.98P – 200mbps – F-Log,
is all that really necessary ?
Well, I was also a bit overwhelmed at the beginning when I saw all those possible settings and choices, not to mention the techniques and how complicated it is sometimes presented.
So I searched and learned from other well-known photographers on youtube, who are just like me interested in making short video stories combined with photos – and combined this with the knowledge of professional filmmakers.
The result is a shortcut to quickly and easily shoot video without too much fuss.
Let’s get started.
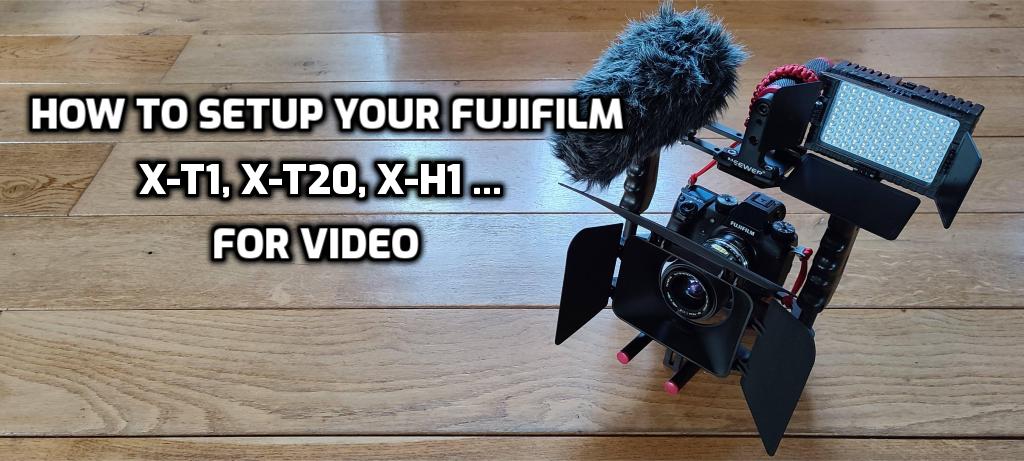
The Camera and Lens :
Whatever camera you use, I would recommend not starting with a manual lens, and certainly not buying a special cine lens when starting.
Making a film is very different from taking photos, a photo is a snapshot, and your brain is busy making that one shot – the shooting comes naturally, because you are trained to do that. When making a movie you’re much more concerned with what’s happening in front of the camera, and you have to think ahead about how you’re going to capture that scene and the events – focusing, controlling exposure and aperture, maybe even controlling the zoom, can all become a bit too much.
- use a Fuji prime lens : 16mm, 25mm or 35mm
- or use a small zoom like the 18-55, but film in fixed focal settings
- no auto aperture – set a fix aperture (somewhere between 2.8 and 5.6)
- set focusing to zone focus, with static subjects you can use spot focus
Setup your camera :
First of all, you are shooting with a Fuji, so the most important thing is probably Film Simulation. Unfortunately, Fuji did not much effort for making film simulations for video, especially not for the older cameras. In the following table you can choose what best simulation soothes you:
- Provia – if nothing else available
- Pro Neg Standard – best setting for older cameras
- Eterna – recommended
- F-Log – not Raw, but closest possible – only if you want to use Luts or color grading
Then, what is the best Resolution ?
Easy : the higher the better – but is it so ?
Well, resolutions of 4K and 5K are excellent – but do expect very large files, and more difficult to edit (need fast computer, or a lot of time). By the way, did you know that most movies for TV and Cinema are still made in FHD, it is also the most used format on social media such as Youtube.
So, Full HD is good enough for our purpose – and really for any purpose, even professional.
Best resolution setting : FHD – 1920x1080p
Framerate, this is a tough one for anyone wanting to get into film – there are so many choices !
I must first of all tell you that there are many factors that are responsible for this : European or American – TV systems PAL or NTSC – Hertz : 50 or 60, and many other factors.
But most of us will make their videos for social media (Youtube etc) or for friends and home use.
That’s why it’s best to use the standard that is most widely distributed and also used on Youtube, which is :
24 fps = normal (Cine style) choose this one to get started
60fps = children, sports, all moving targets, or if you move yourself – also for normal use, if you want crisp and smooth looking movies (my prefered setting)
Shutter Speed, yes, this may surprise some, you might think that the frame rate in video is the equivalent of shutter in photo, but nothing could be further from the truth.
You still have to set the shutter speed.
The rule of thumb is to set the shutter speed to twice the frame rate. So, 24p gives a shutter speed of 1/50.
Is it a big problem if I set a different shutter speed ?
Not really, I have recorded several times on auto with shutter speeds going up and down, you usually don’t notice this.
What happens if I set a faster shutter speed ?
Well, at 24P and 1/50, moving subjects are smooth but a bit blurry, which is ok for viewing.
While set at for example 24P and 1/250, the movements are more pronounced, sharper, but this can look also more chaotic – still, it depends on the action that is going on (example : with formula 1 cars it would emphasize the speed)
Bitrate, nothing to worry about with the slightly older Fujifilm cameras – but, from the Fuji X-H1 you can also set the bitrate, here too, the higher the better – however, I’ve watched several sample videos on Youtube and the difference is barely noticeable – well, there is a video where they record a spinner at a bitrate of 400 compared to a bitrate of 1, and yes you can clearly see the difference – deuhh. (https://timelyphoto.com/blog/2021/fujifilm-video-files-and-codecs-explained – spinner at 8:39)
When you compare videos in 4K and FHD with a bitrate of 200/100 and 50, the difference is (logically) much less clear – (https://www.youtube.com/watch?v=GSCBD3a7IlQ)
But the intention is that we make our own films – that is to say, cutting, pasting and generating a film from short clips – so, the highest may not be necessary, but the middle : 100 is a good choice.
Sensitivity or ISO, well, if the “better” videographer reads this, he’s probably going to be laughing his head off.
Real filmmakers always want to be in control, but we just want to make it as easy as possible, so again : AUTO !
I myself use a variable ISO between 200 and 3200, you probably won’t go that high, but it can’t hurt.
So the auto iso will largely control the exposure, but it may happen that your exposure meter still indicates overexposure – then you will have to adjust your aperture anyway, or you can also use a variable neutral density filter.
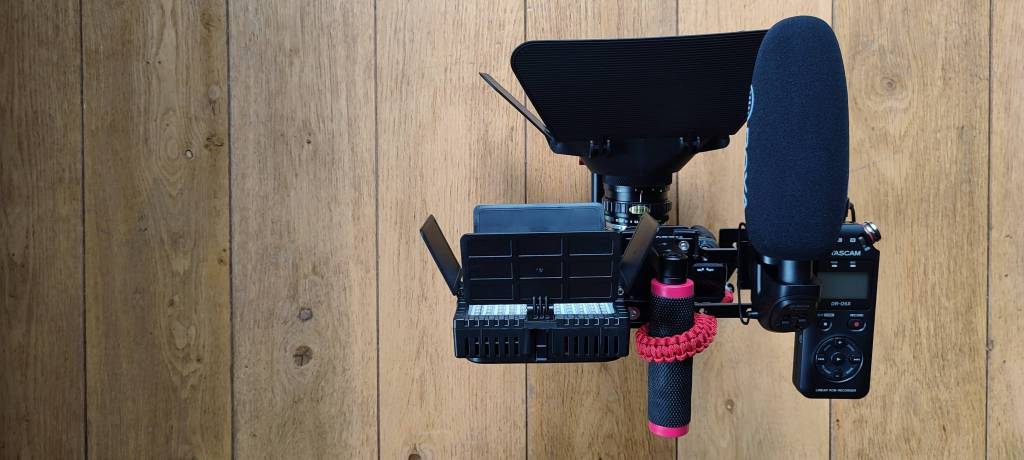
Recording – SD Cards
I’m not going to dwell too much on this topic, there are many recommendations on Youtube and the Internet.
It will not be a problem for the somewhat older cameras,
but if you are going to film in the best possible resolution, high speeds and bitrate, you need an SD card that’s able to write fast.
Personally I now use Samsung SDXC 64 Pro Plus – the X-H1 holds two cards.
These are V90 cards (write 90mb/s) so writing is not a problem, nor is the cost because I paid mine a little less than €17 a piece.
I think 64GB is a nice size, and I think it’s more interesting to use a new card in between than a large 128GB card, which is often too large.
File Size:
When recording Full HD and copying the files to your computer after filming, you will see that you have very large MOV files. you can easily have 500mb for a fragment of 1 minute.
You probably think, how do I play or upload gigabytes of film on my computer ?
Don’t worry, it still has to go through the editor to make a video from clips and pictures, and then you will notice that, after converting to Mp4 (best format according to Youtube), there is not much left of the giga files.
But, you do need a video editor!
And just like Darktable, Rawtherapee and others, there is also an Open Source Video Editor alternative, namely : Openshot.
However, more about Openshot later, now it’s time to start filming !
Discover more from Open Source Photography
Subscribe to get the latest posts sent to your email.

