
A tutorial on using textures in Gimp.
What do we need :
Well, a Texture to start with, and preferably more than one.
There will be another tutorial soon about textures and how to make them.
What you should know is that the photo you are going to use as a texture, unless it has a completely even structure over the entire photo, is best to be a bit larger than your target photo.
That way you can move the texture so that it blends better with the target photo.
It may sound complicated, but it all becomes clear later on.
I zipped three textures and the original “Red Planet” target photo, of which two are textures that I used in the tutorial, you can download them if you want via this Google Drive link : Textures-Gimp-Tutorial, the download is 73mb.
The original target photo is reduced and copyrighted, but is just for practice anyway – the textures are as used in my own original.
You also need Gimp, you can use Gimp in Windows, MacOS and Linux.
Of course you can also do it in another photo editing program such as Photoshop, the controls are almost identical.
To start with : a video – then afterwards : everything in more detail and photos.
The video lasts just over 6 minutes – everything may not run as smoothly as it does on your computer.
That’s because I still do my photo editing and videos on a vintage Dell Studio 1749 from the year 2010 !
It is gradually becoming a museum piece, like its owner 🙂
However, it does give you an idea of how simple and how fast it can be on a more modern computer.
For the people who don’t know Jarvis yet,
Jarvis is an electronic voice created on my computer.
The idea was to have a voice similar to the voice of the eponymous and also artificially intelligent butler in the movie Iron Man.
Hence the joke about ironing 🙂
The whole purpose of an English language site was simply to reach a wider audience,
And Jarvis does a better job than I could do myself.
I hope the video was clear, my computer isn’t the fastest, and additionally loaded with a screen capture program doesn’t make it any better.
Anyway, below you can follow the steps again in text and photo, first the basic steps, then a few extra tips.
Click photos to view a bigger version.

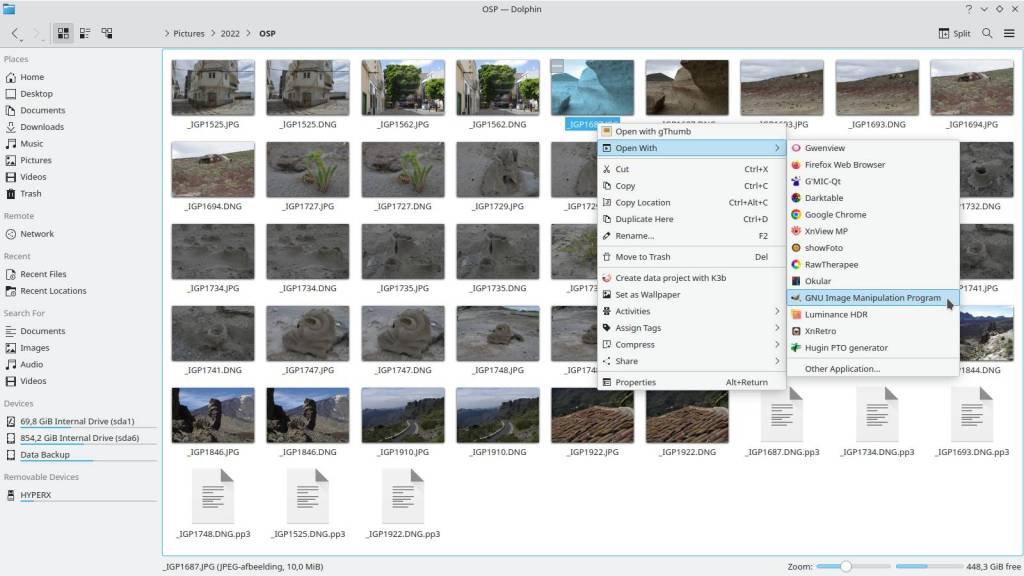
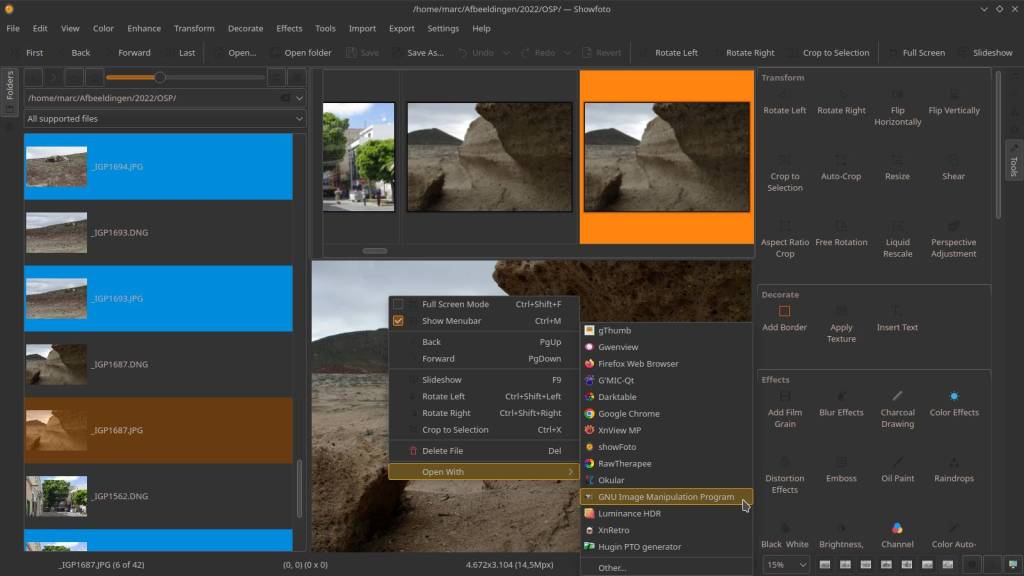
In the video I start with opening Gimp. In a normal workflow you could choose a target photo straight out of your viewer, photo management software or file explorer, and send it straight to Gimp. For Windows and Linux systems right click and “send to” or “open with” and choose Gimp from te pop up list. I’am not sure it works the same way in MacOS. In Photoshop you could do this also from Adobe Bridge.
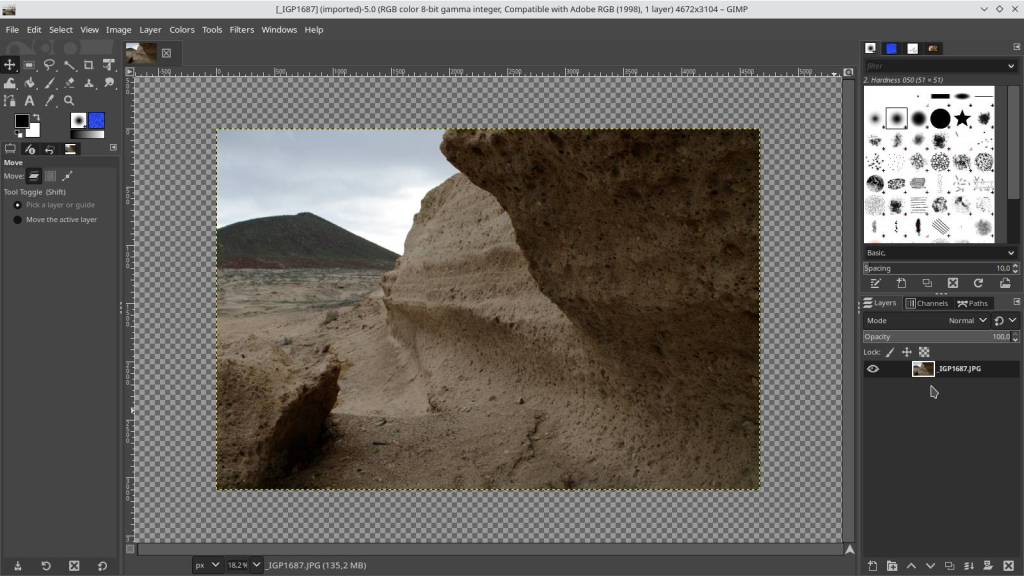
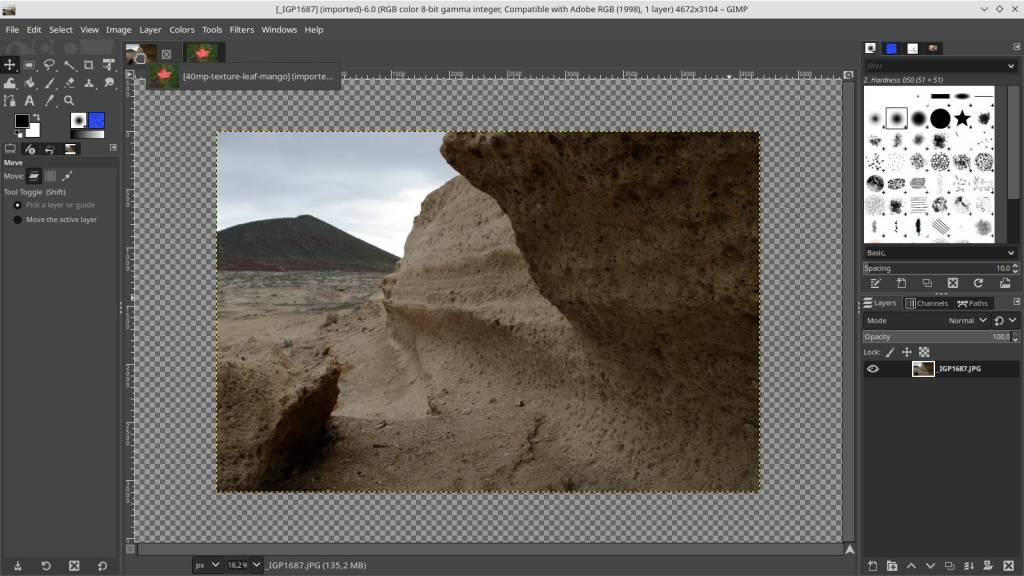
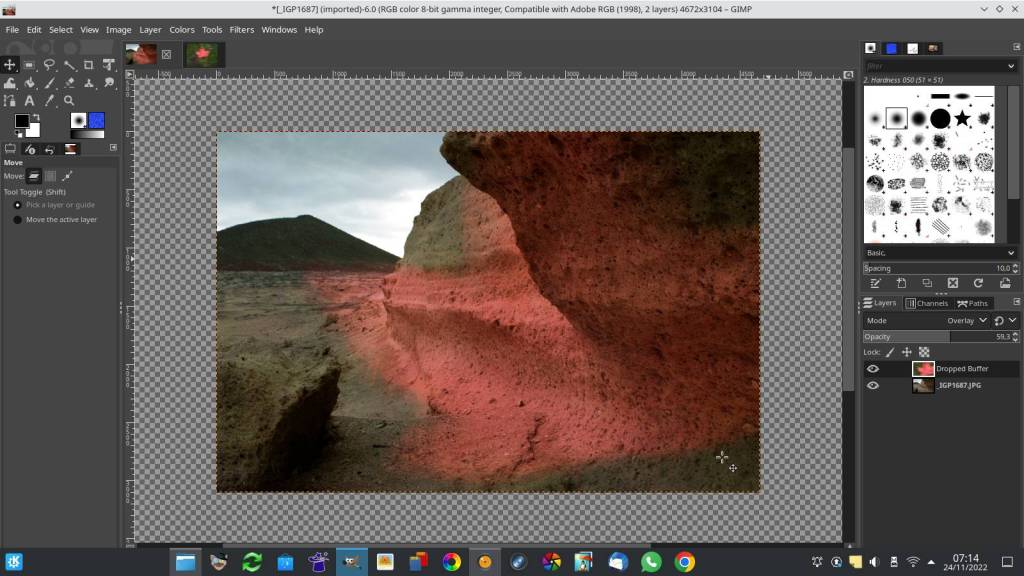
After opening the target photo,
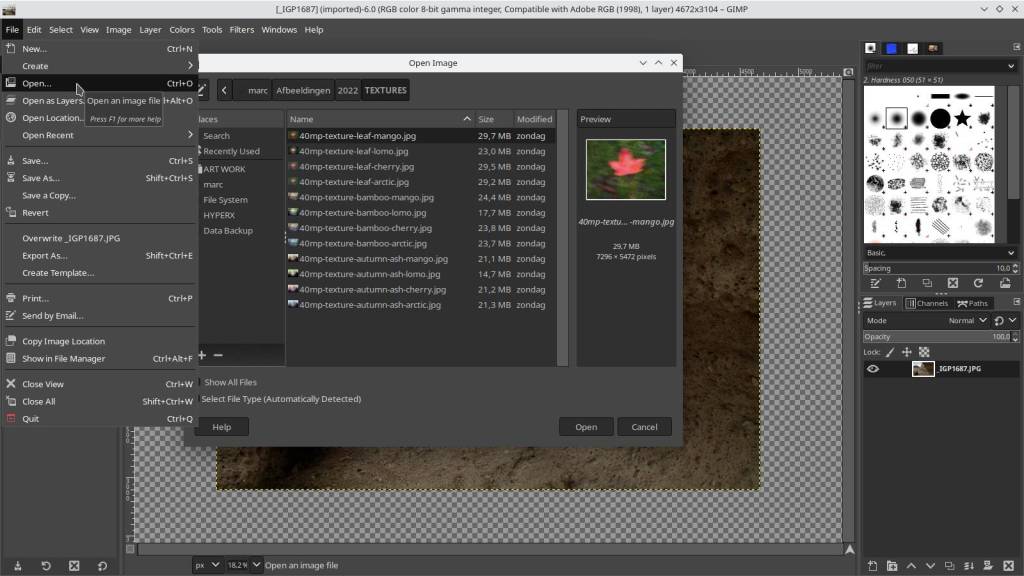
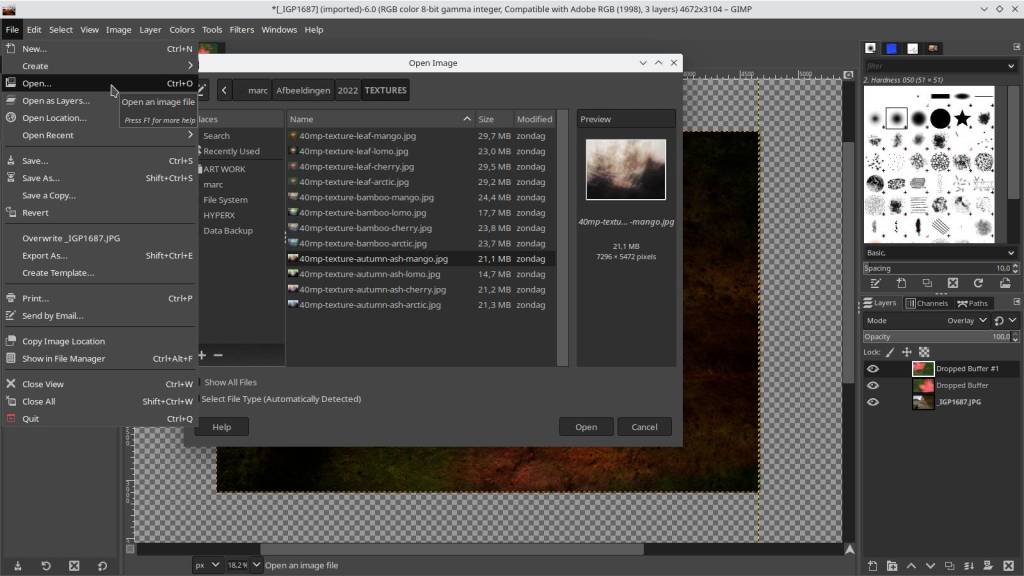
also open a Texture photo.
There will be a separate tutorial about Texture photos and making them later.
For now you can use the Textures from the zip file that you can download above.
The new texture photo now appears as a tab next to the target photo.
Make sure the “Move Tool” is active on the left side (cross like icon). Left click on the texture photo in the tab, and hold the mouse button.
Move the texture photo on top of the target picture photo tab. Keep holding the mouse button.
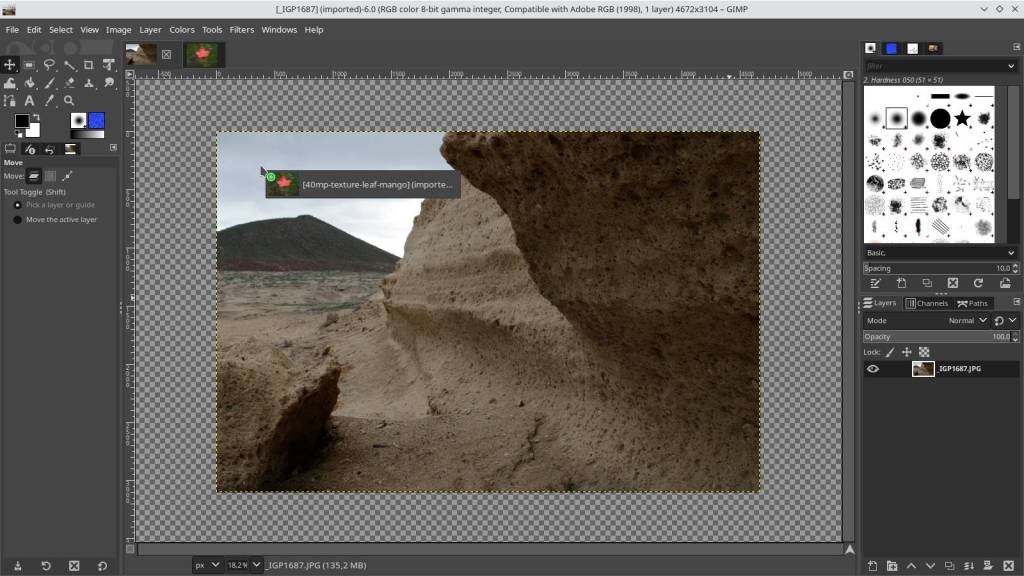
The target photo will become active in the main screen.
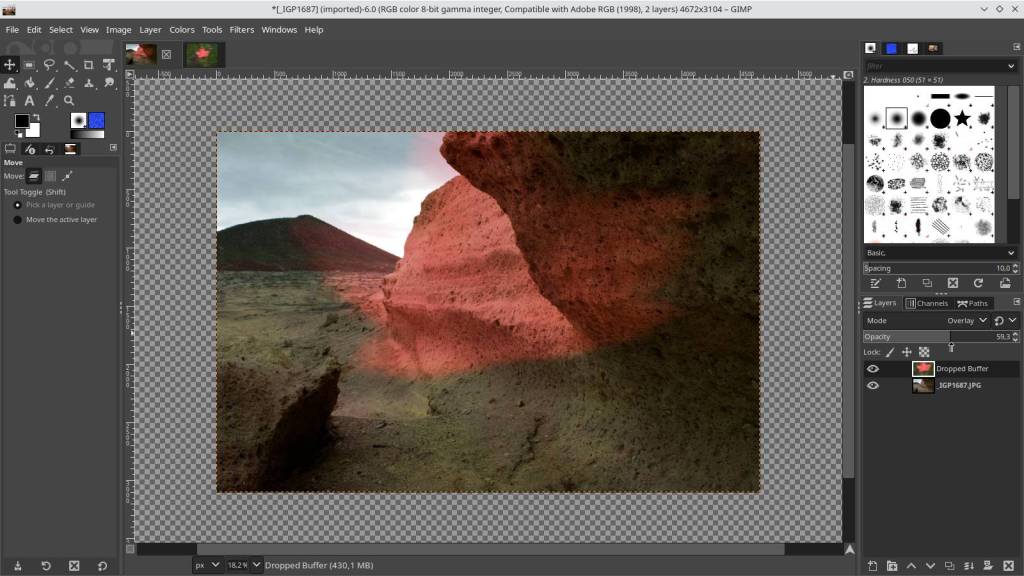
Drag the texture photo down into the target photo on screen and then release the mouse button.
The texture photo will now cover the target photo.
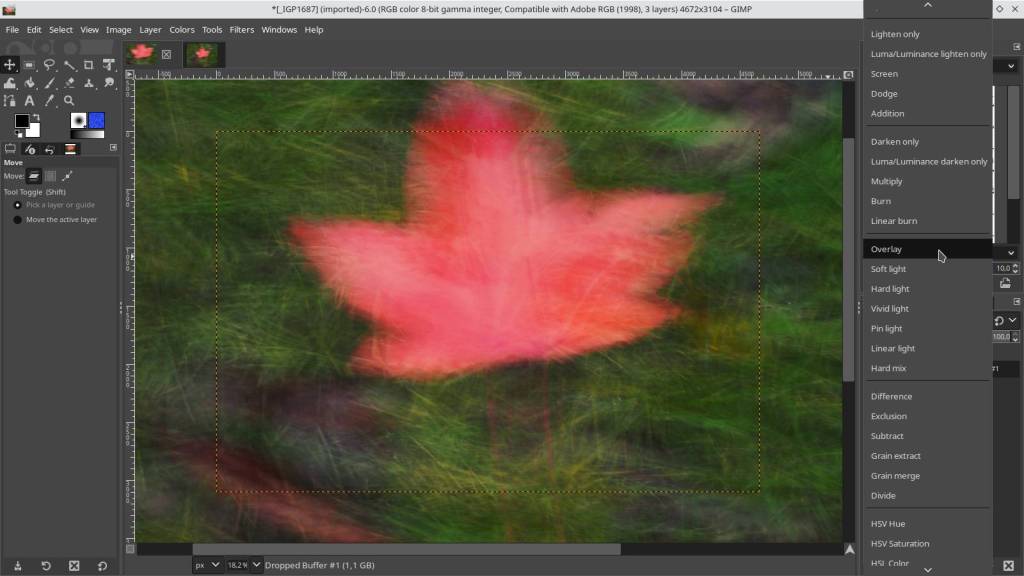
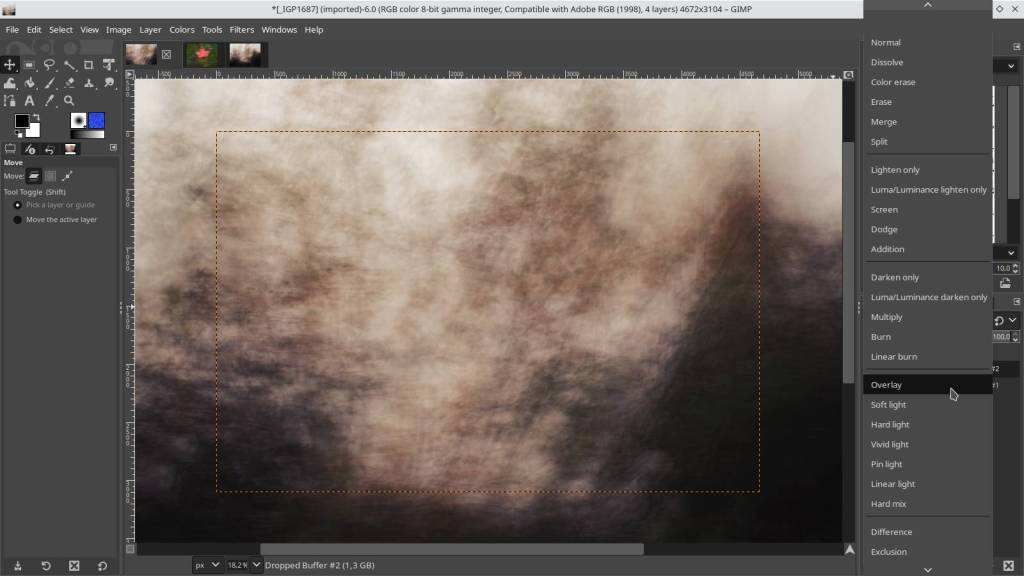
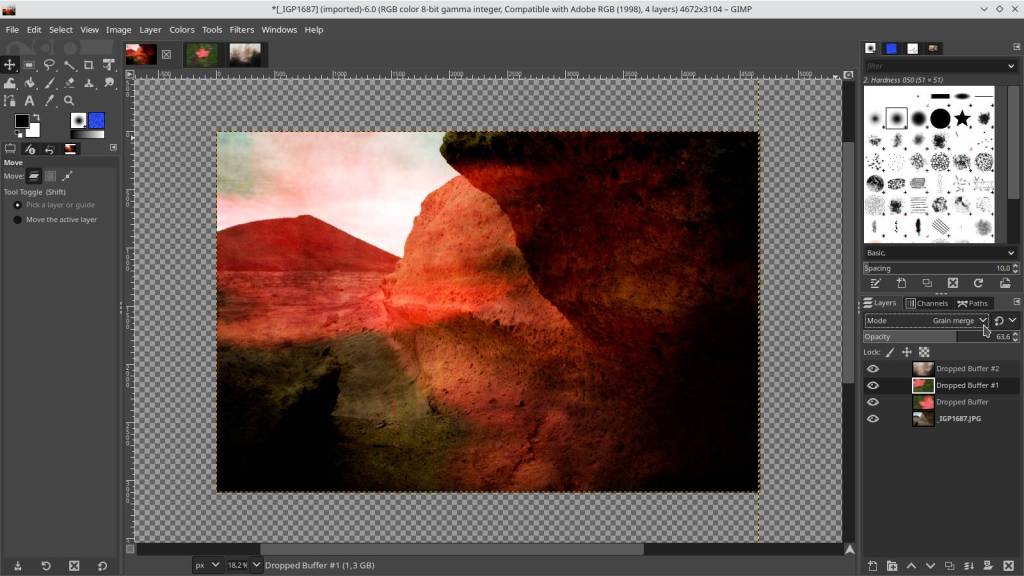
On the right side in the layers module, in the mode box, click on the arrow next to “normal”.
Choose from the drop down list for “overlay”, the texture photo will now merge with the target photo.
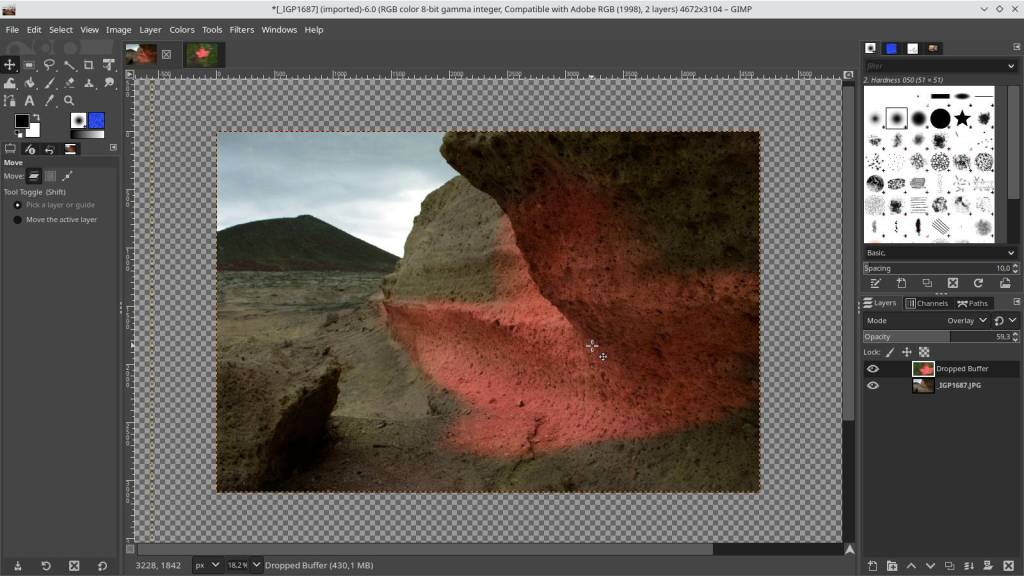
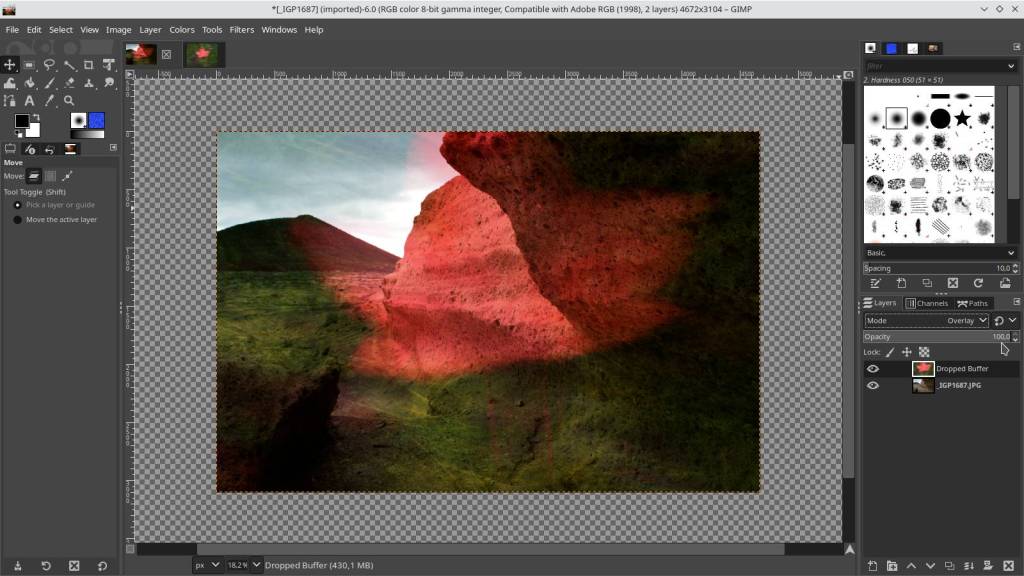
In the same layer module on the right, click on “opacity” and adjust the value to your liking.
Everything can be adjusted even more afterwards, so adjust the setting so that the merge looks nice.
Still in the layer module, make sure the texture layer is selected, then adjust the position of the texture layer on the screen.
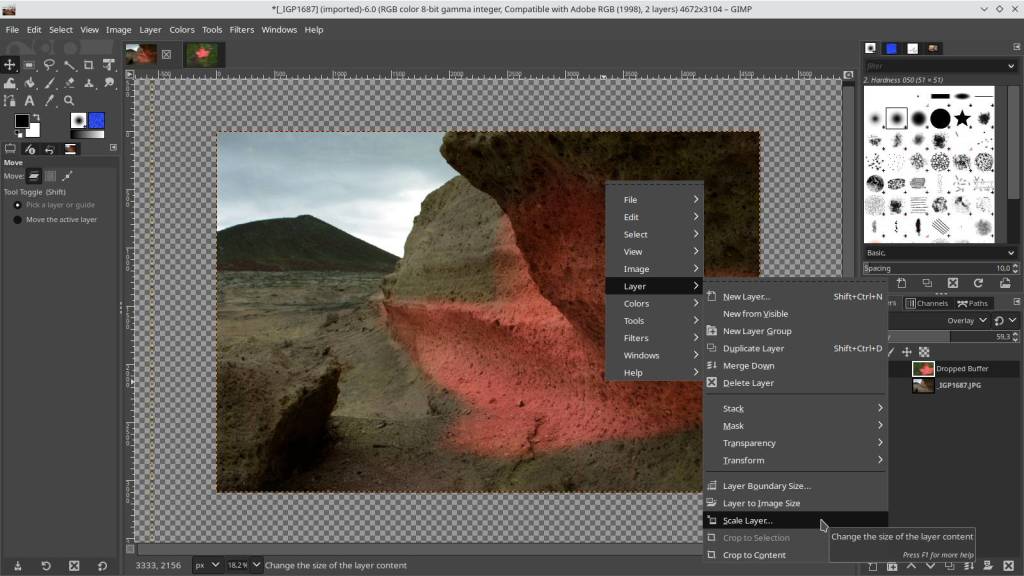
If you notice that the layer is too small for the target photo, right click on the texture layer, choose “layer” then “scale layer”.
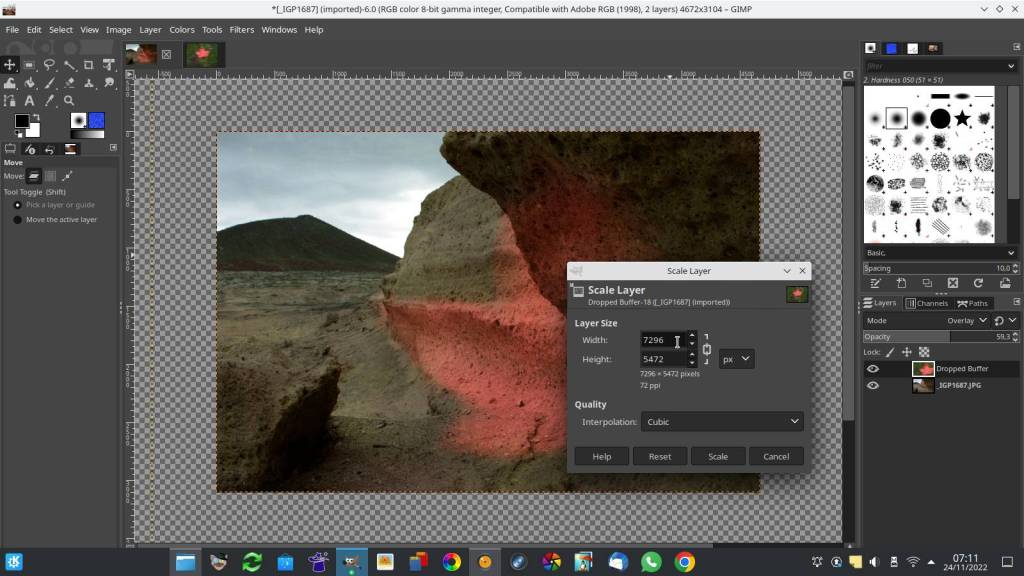

In the example I am adjusting the layer from 7296px wide to 10,000px wide, very roughly one third larger.
After adjusting the size, move the layer in position


If you want to add the same layer again, click again at the top, on the photo layer tab, hold mouse button, slide to the left over the target photo until the target photo gets active on screen below, drag the texture layer onto the screen and release the mouse button.
Again in the layer module on the right, click in mode on the arrow next to “normal” and change to “overlay”.
Make sure the second layer is selected and slide it to the desired position. If necessary, adjust opacity to taste.

Adding a completely new layer is a repeat of the previous steps from the start – open texture layer – drag to target photo – drag to screen – layer mode to overlay – position and opacity adjustment.
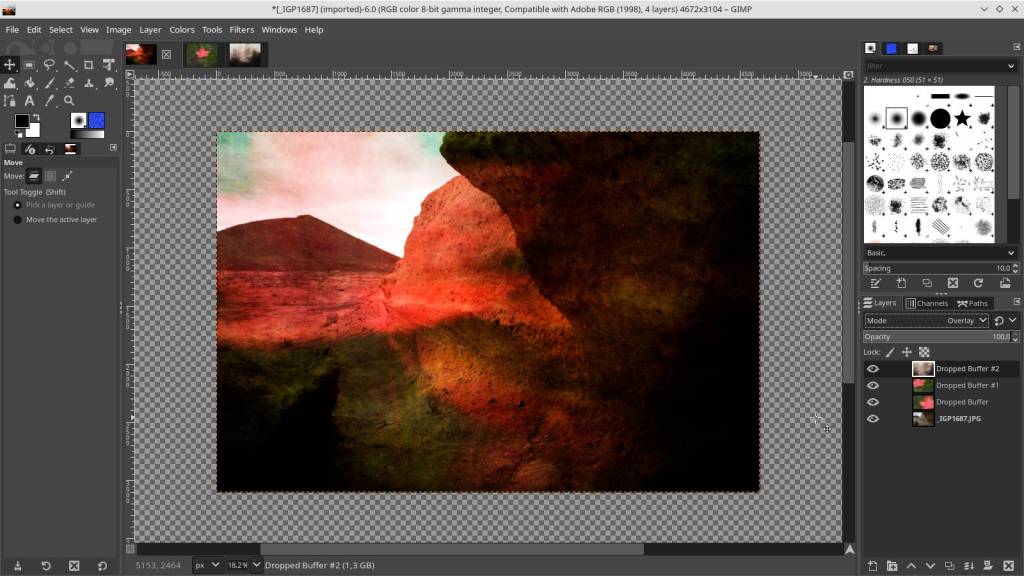

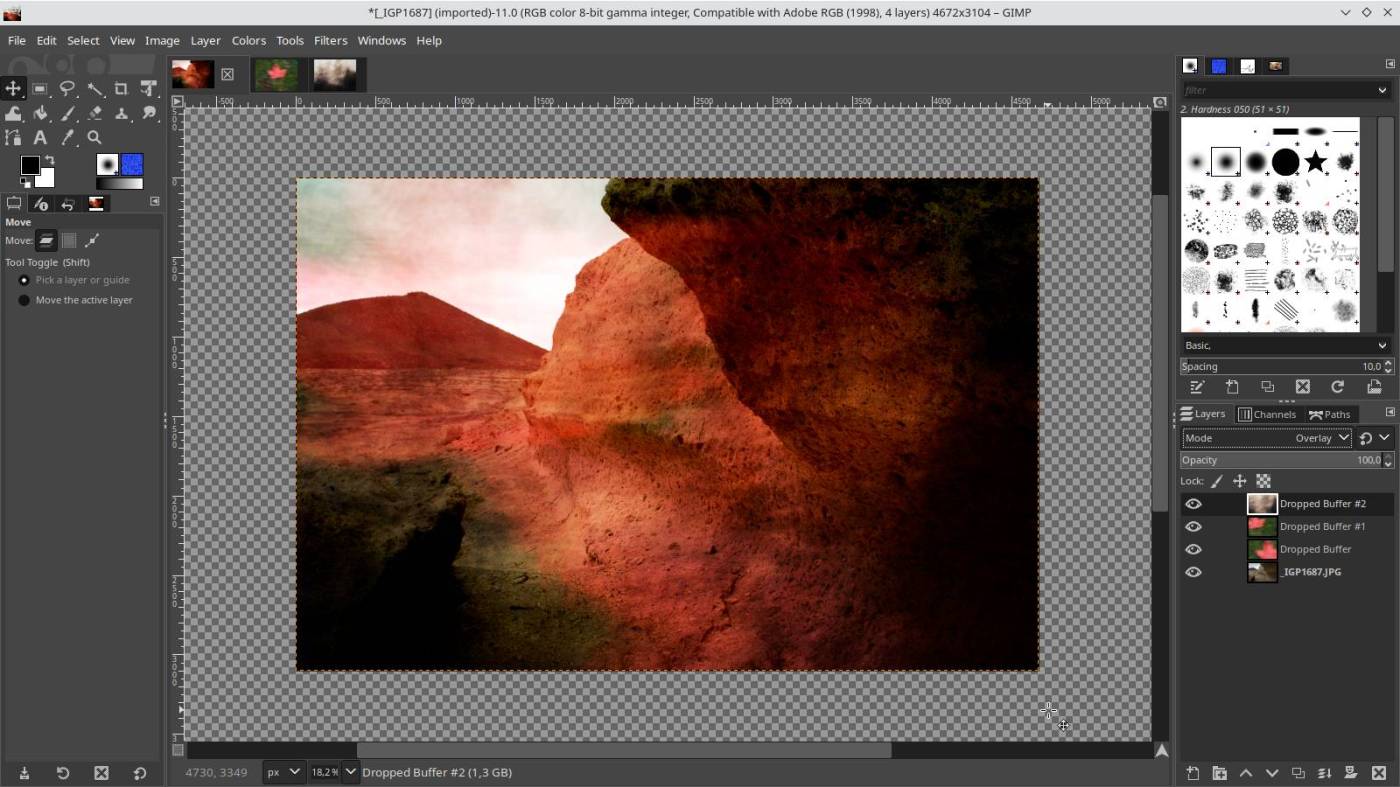
When you are about satisfied with the added layers, it is only a matter of aligning the texture layers properly, refining the opacity and experimenting with the layer modes.
My advice is : if you use more than one layer, don’t mix to much layer modes, for example :
in our photo project above there are three texture layers active, leave two layers in “overlay” mode, adjust a third to another mode.
The modes I can recommend are : lighten, darken, dodge and burn,
overlay, hard light and grain merge.
It’s a bit searching for what you like the most, and everyone’s taste is different.
Gimp is fully equipped to complete your project, so you don’t need an external program to finish it.
At the top of Gimp, in the Colors, Tools & Filters tabs, you will find almost every tool you could wish for.

Above we have a nearly finished photo.
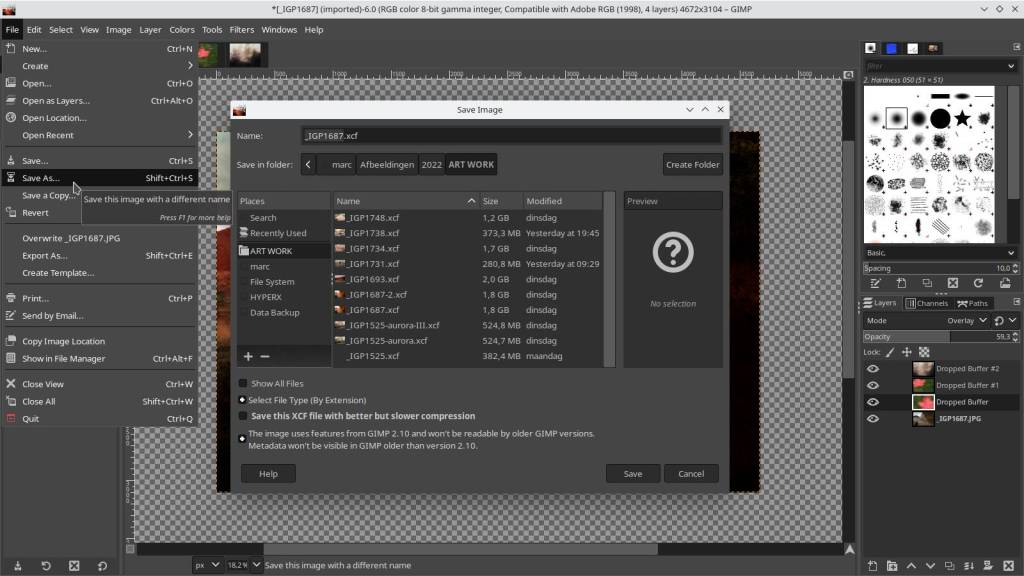
If you are not yet completely satisfied with the result, or you do not have time to finish it further, or if you want to make different edits later,
then click in Gimp at the top left on “File” – “Save As” and save it as a .xcf project file, everything will be kept as it is, and you can continue working on it later.
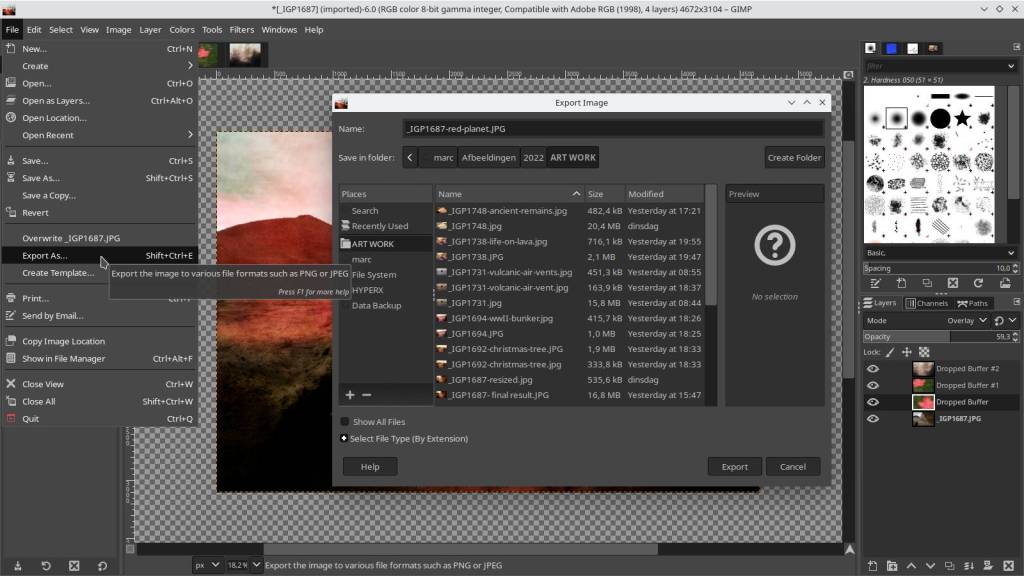
When finished : click on “File” – “Export As” and save as a .jpg or file of your choice.
Tip:
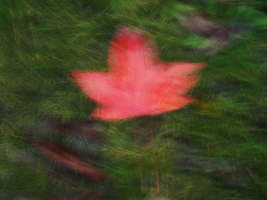
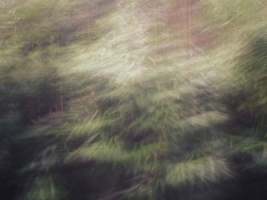
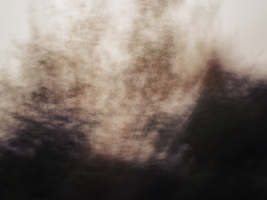
You will notice that my Texture Layers are blurry due to movement and unsharp, that was done on purpose. Sharply photographed textures also come through very hard and sharp when blended into the target photo, quickly creating a busy image and/or actually losing focus in the main subject.
More about creating Layers in a later writing.
Have fun playing with Gimp !
Visit my gallery to see my final result, there are some other examples in there to, so be sure to check it out, if only for inspiration.


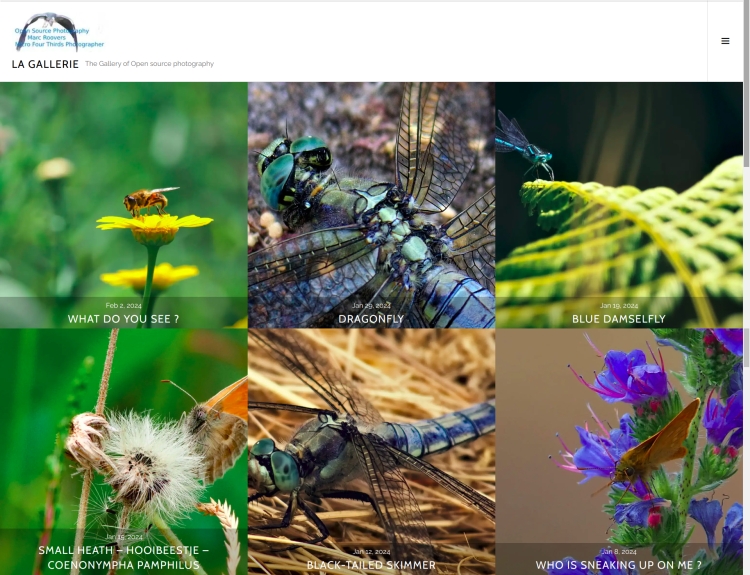
The photo gallery of Open Source Photography, Olympus micro 4/3 system, Vintage Lens Photograpy, Film Simulation, PictureFX, HDR – Photographer : Marc R.
Luts – Cube – Haldcluts
The Largest Collection of HaldClut/Luts brought together

For Fujifilm Camera Owners :
The Largest Collection of Recipes brought together
Discover more from Open Source Photography
Subscribe to get the latest posts sent to your email.


Nice tutorial! I’ve been using Gimp 2.99.x for a while now, really looking forward to Gimp 3. It feels like it’s taking forever to come out though!
LikeLiked by 1 person
Thanks Mark, I’m still on 2.10, and still find it ok, but indeed 3.0 should be a great difference ! thanks again !
LikeLiked by 1 person