

This fourth and final part of the workshop is certainly not for everyone, because even though the title is “improving the analog film look”, this is actually not entirely true.
In the first part of this series I already wrote about “the perfectionism” that some people are looking for, but that can go two ways.
On one side we have people seeking perfection in equality in colors, the other just wants the imperfection that an analog photo can have, such as grain, low contrast, faded colors, blue or purple look and dust or other stuff that may be on the film or lens.
That’s what we’re going to talk about now.
Downloads and Links are at each separate parts of this workshop.
Color & Contrast
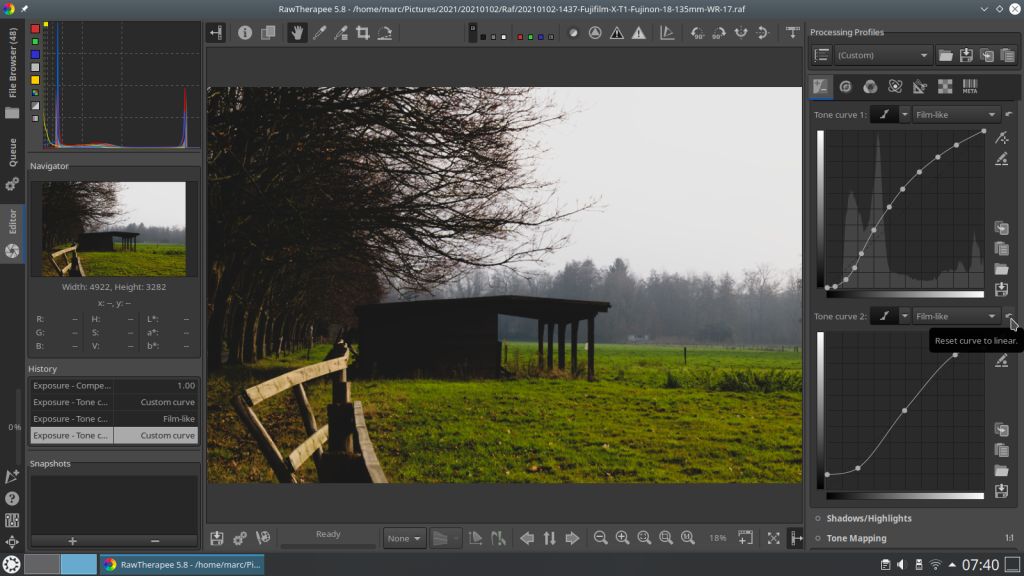
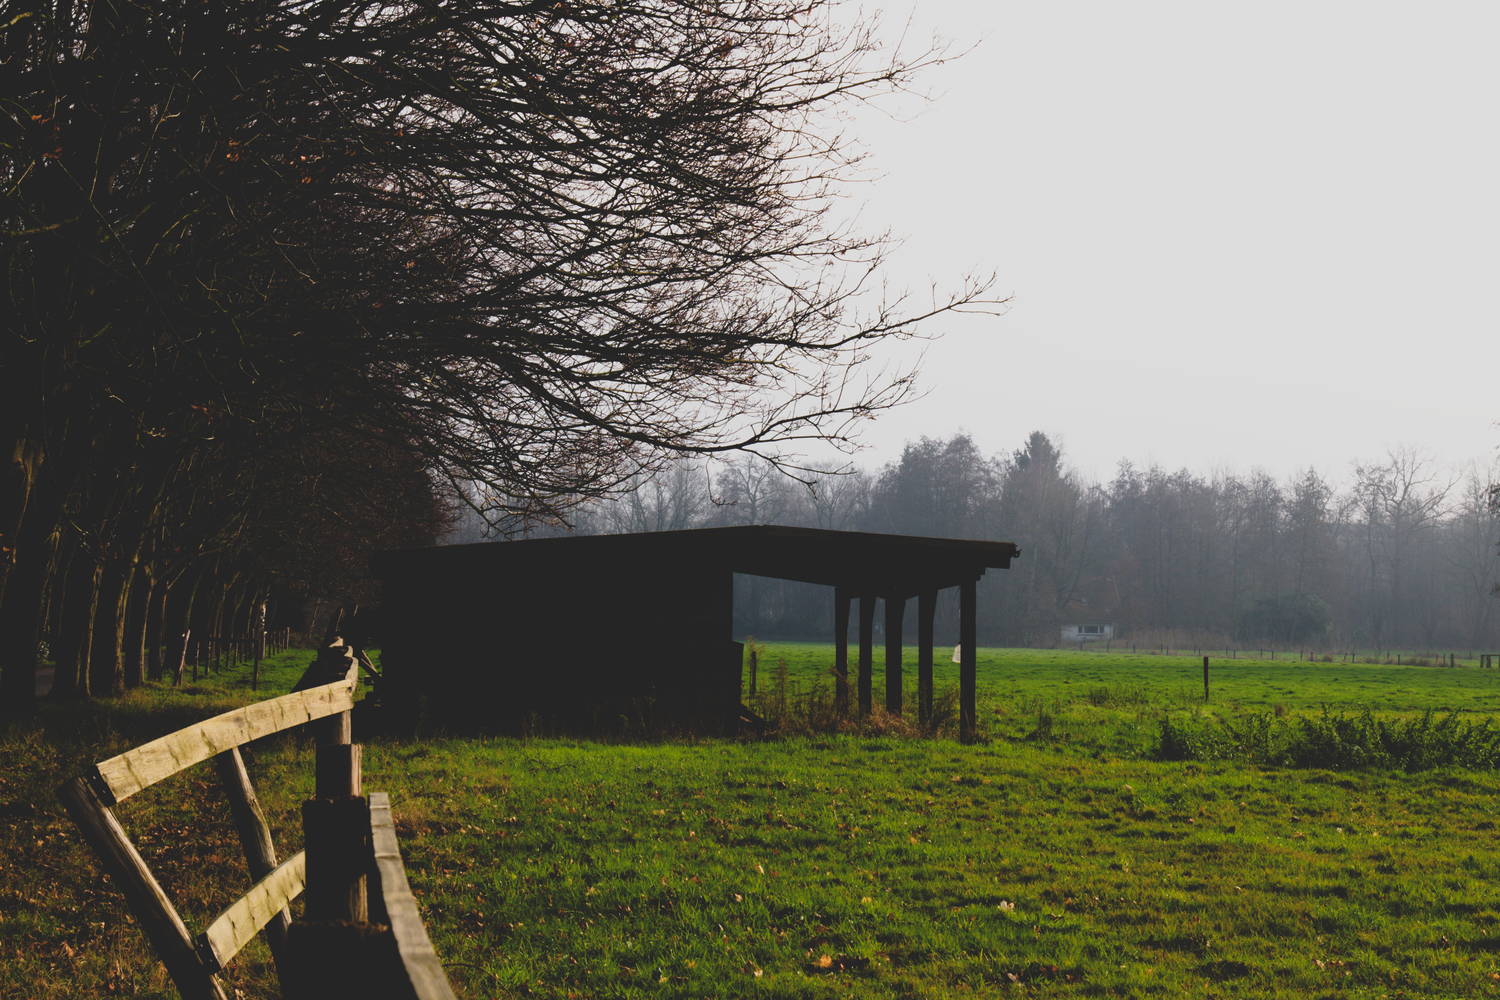
Lets get started: Here a picture with the PictureFX Pro Fujifilm Provia script applied on it.

In the Exposure tab I opened a second tone curve to work on the contrast/brightness first, settings : flexible and film-like.
To get the more “Analog Look” our shadow and thus more dark parts of our picture have to become lighter, and the lighter parts darker, this also creates a bit of a blurry / faded look. Move the control point of the dark – one square up, and the control point of the light – one square down, to get this effect. Then place a central control point and two other almost at the ends, move the end points to get a kind of S – like in the screenshot below.
It’s a matter of trial and error, but you don’t have to be afraid of doing something wrong, if everything goes wrong just click “reset curve to linear” – the top icon to the right of that specific tone curve.
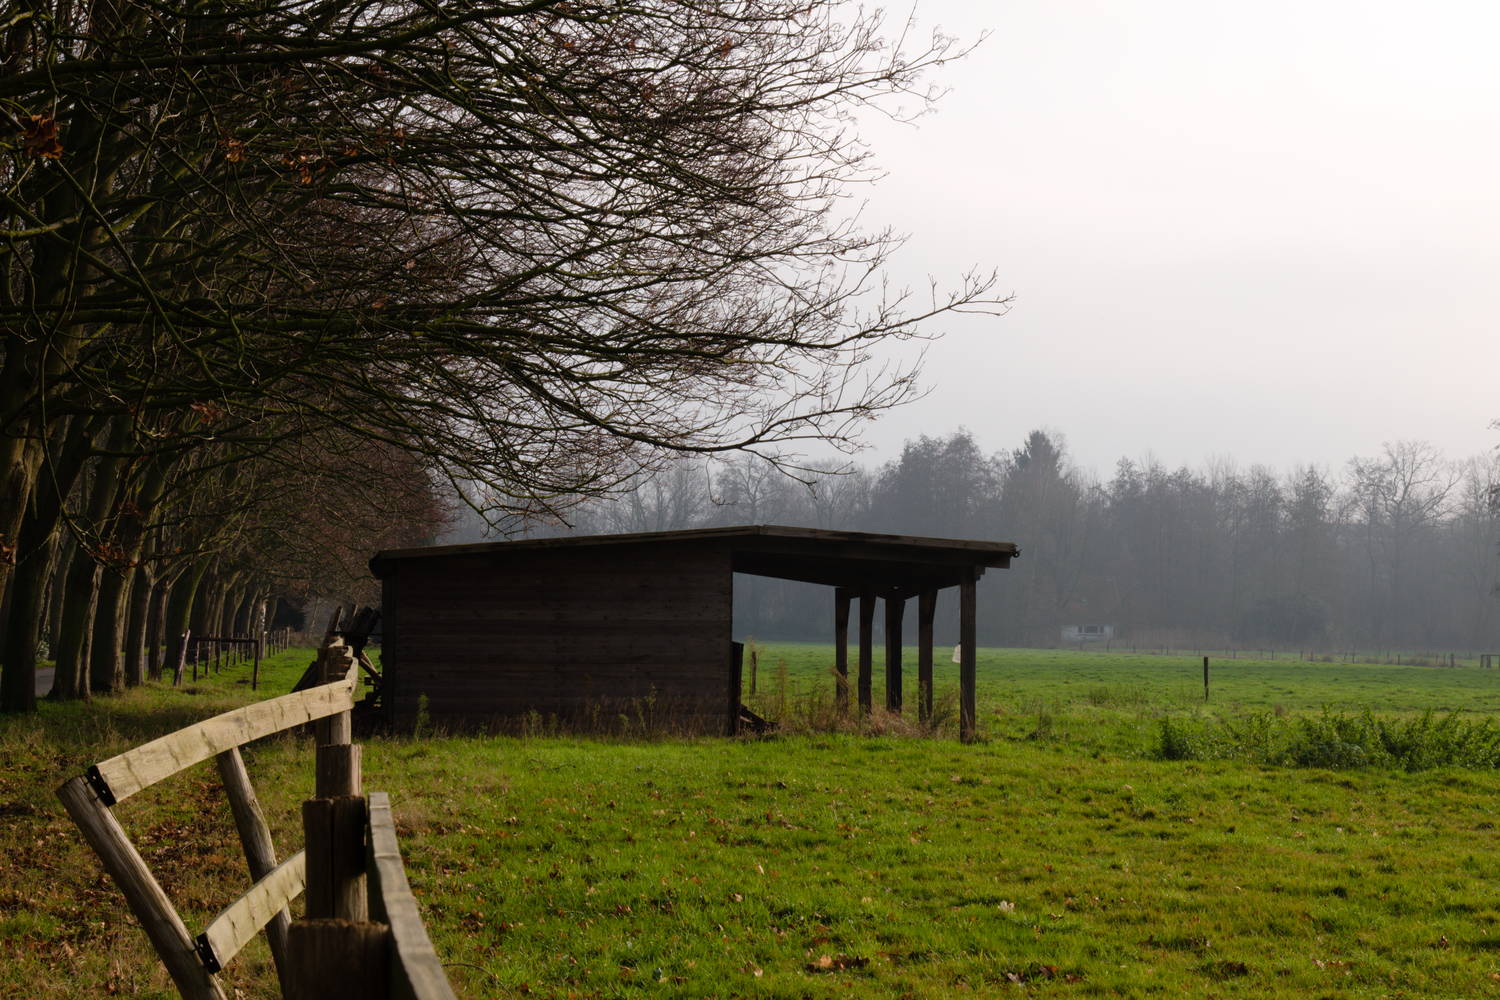
Below the result:
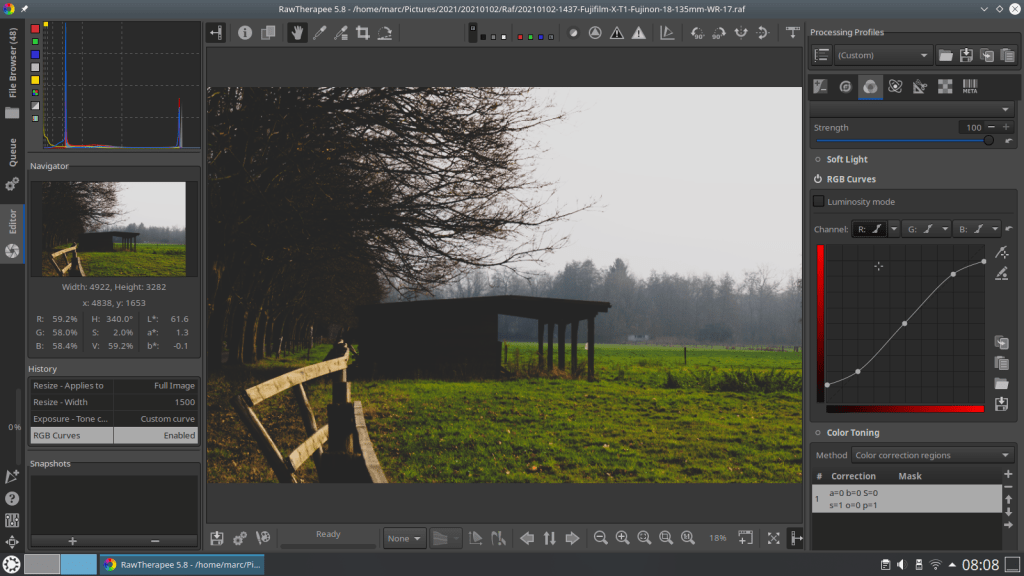
The next step is altering the colors, to do this open the Color tab -> RGB curves -> set the curves to flexible. Here too I used the same type of curve as with contrast to get a more faded look, but you can enhance or weaken colors at your own taste where you find it necessary. Of course you can also work with parametric or control cage curves.
Download here the two curves used (one set) : Brightness & Contrast and RGB Color Faded Look
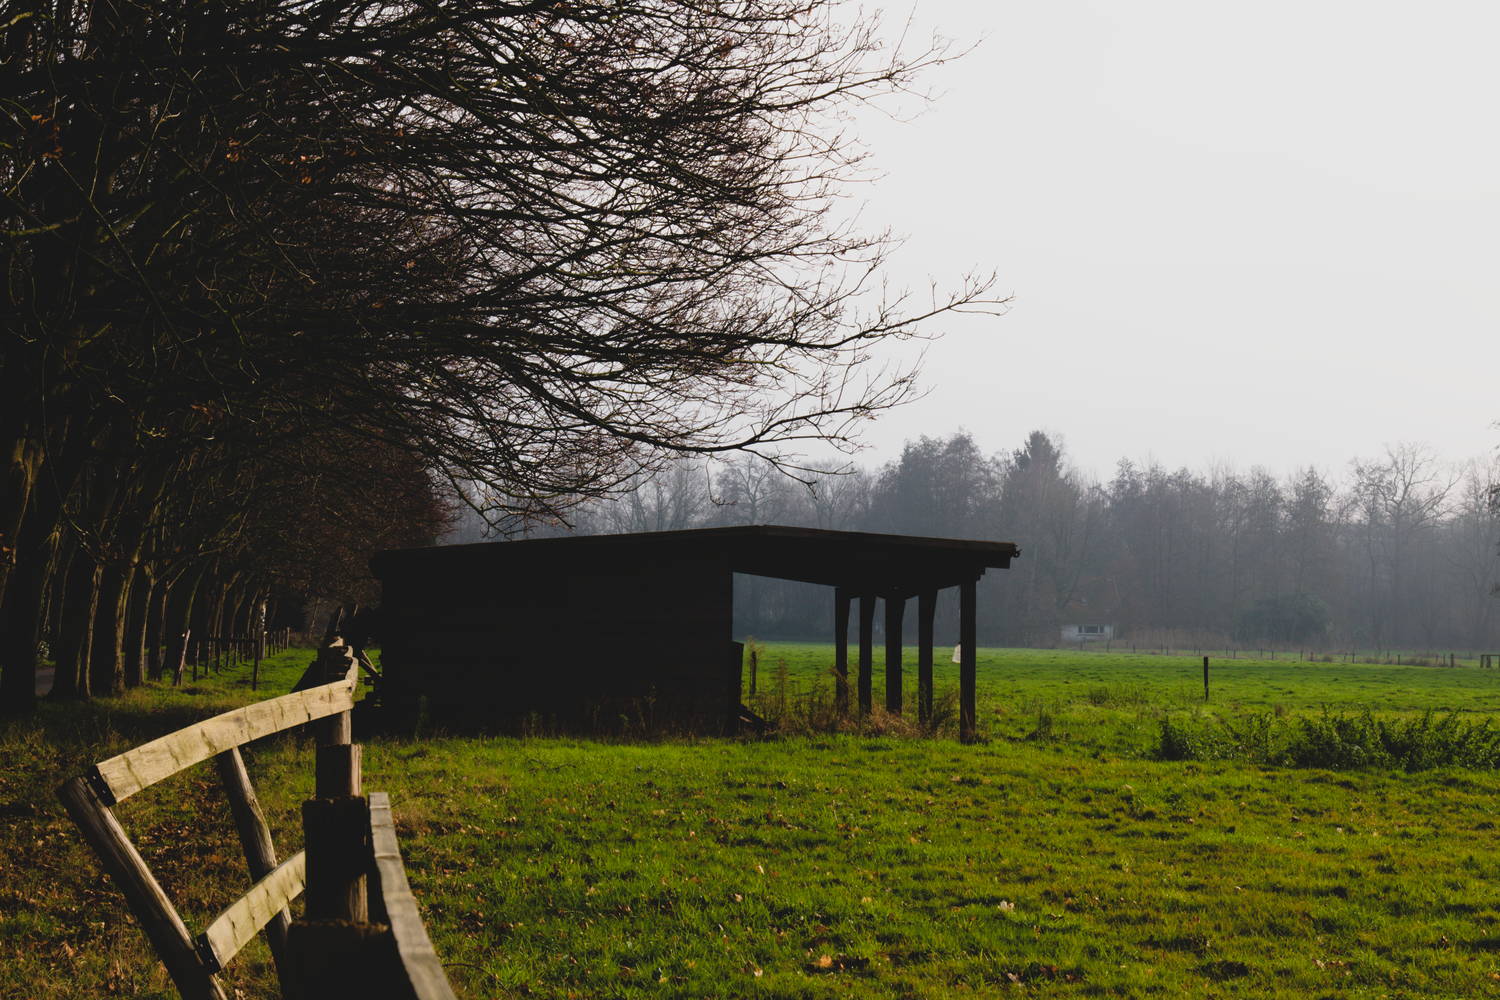
Below is a comparison with the previous and after applying the RGB curves:
Grain or Noise
Our next step in improving the Analog look is to add grain or noise. For this we need a different program than Rawtherapee, you can do this for example in Gimp or Krita.
You have two options : either you use “real film grain” – that is a digital scan/photo of a film strip with grain on it. These can be found or bought on the internet, although the free ones are scarce.
Still I was able to find some – links below
And second, there is the possibility to add grain/noise through the program Gimp / Krita itself.
First an example and method using a grain film strip / picture.
- let’s improve grain discuss.pixls.us – look for the ones of Pat David (the other links not all work)
- Getting Around in GIMP – Black and White Conversion (Part 5) on Pat David’s website
Process:
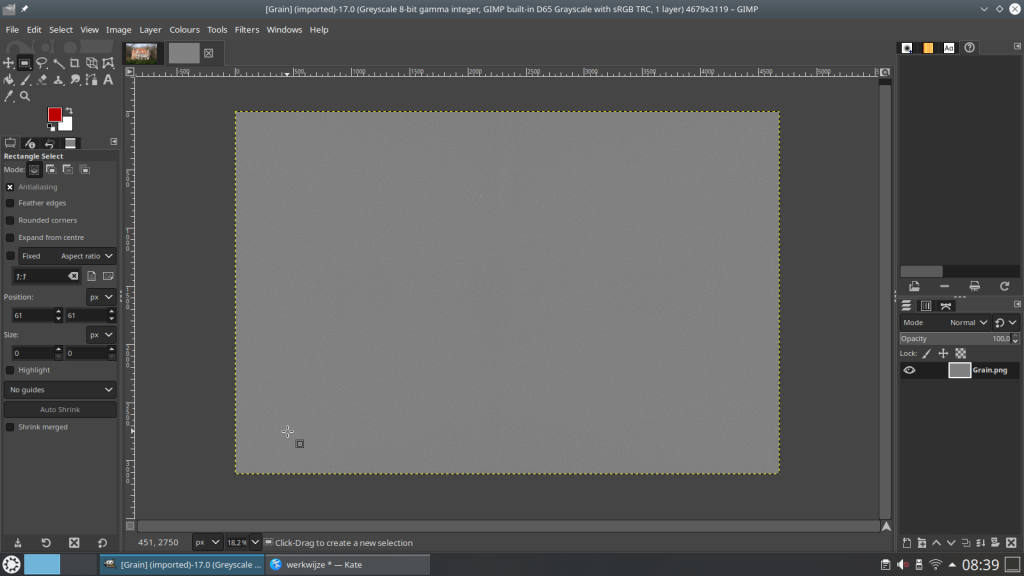
- open target picture
- open grain picture/film strip -> resize to same format as target picture -> copy
- open target picture and paste grain as new layer
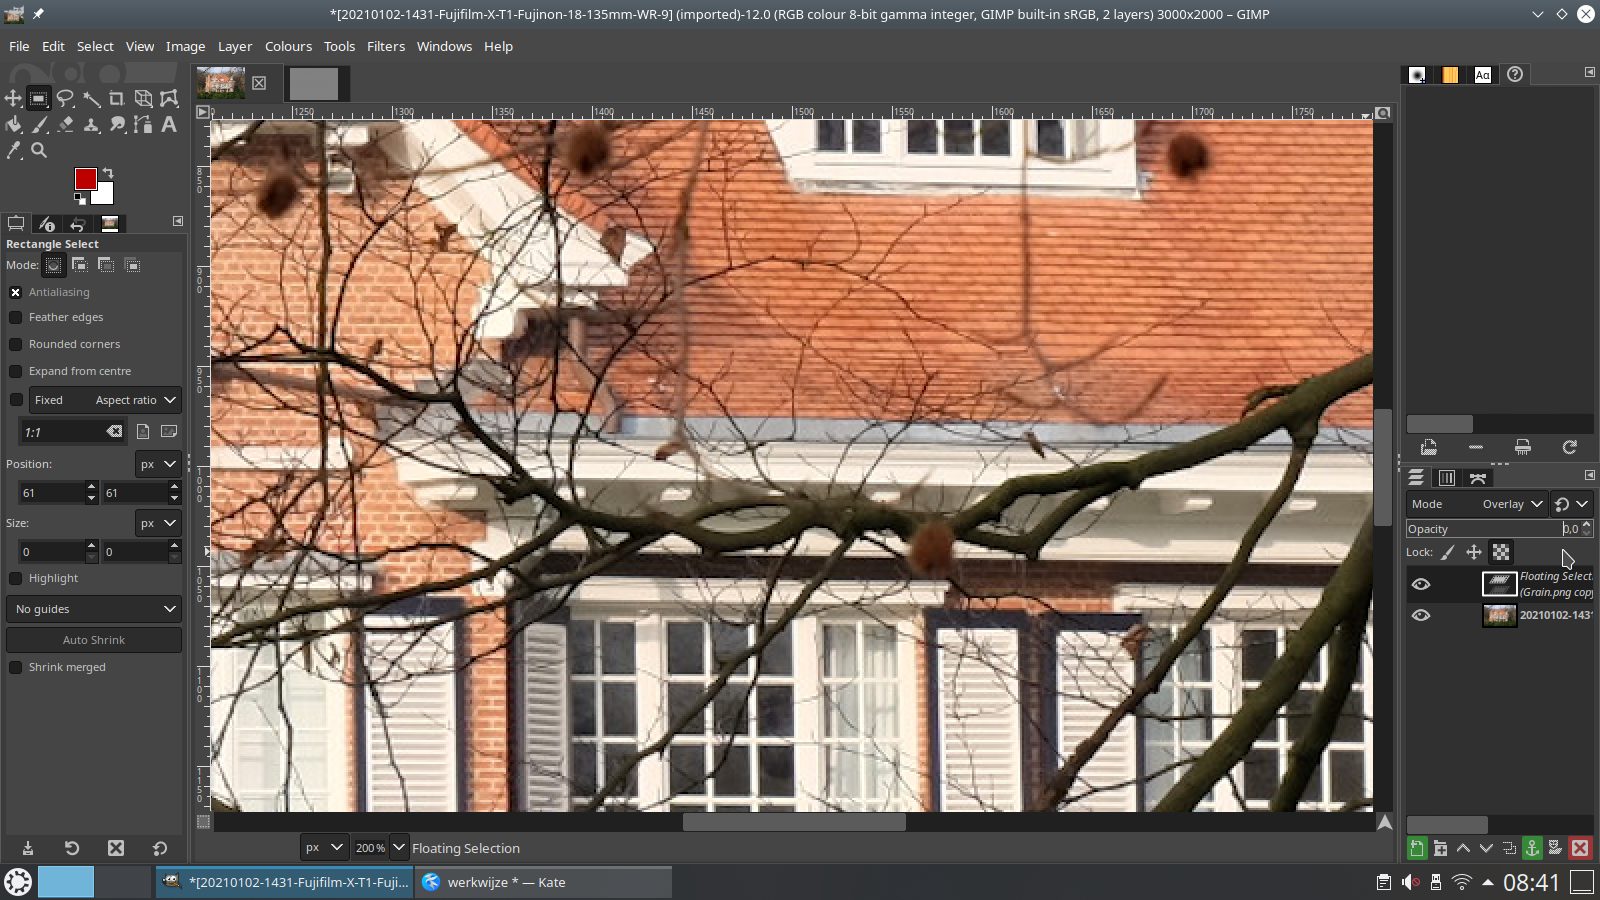
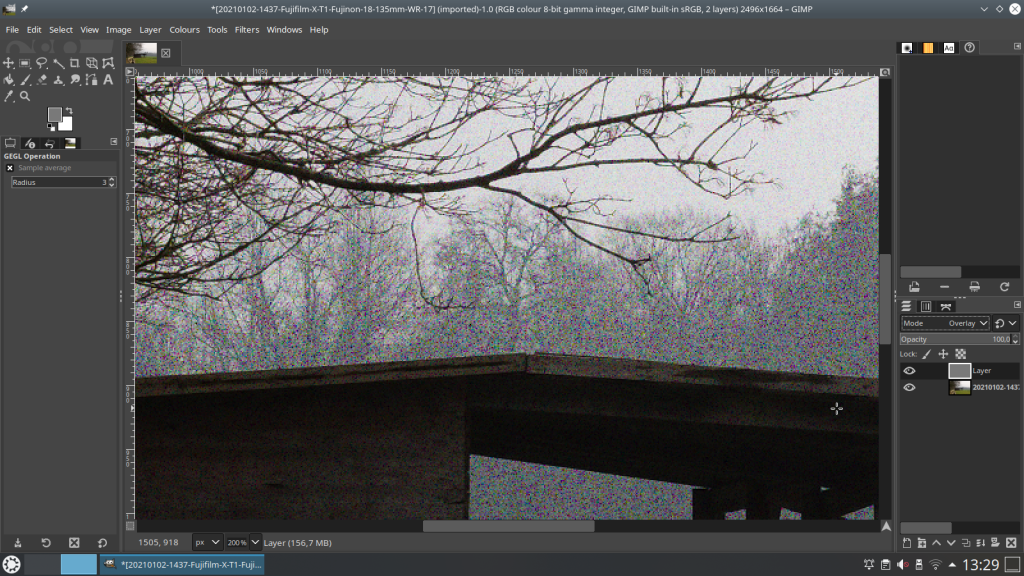
- target picture will turn gray -> on right side in toolbox click on grain layer – change layer mode from normal to overlay – change strenght (opacity) to own taste
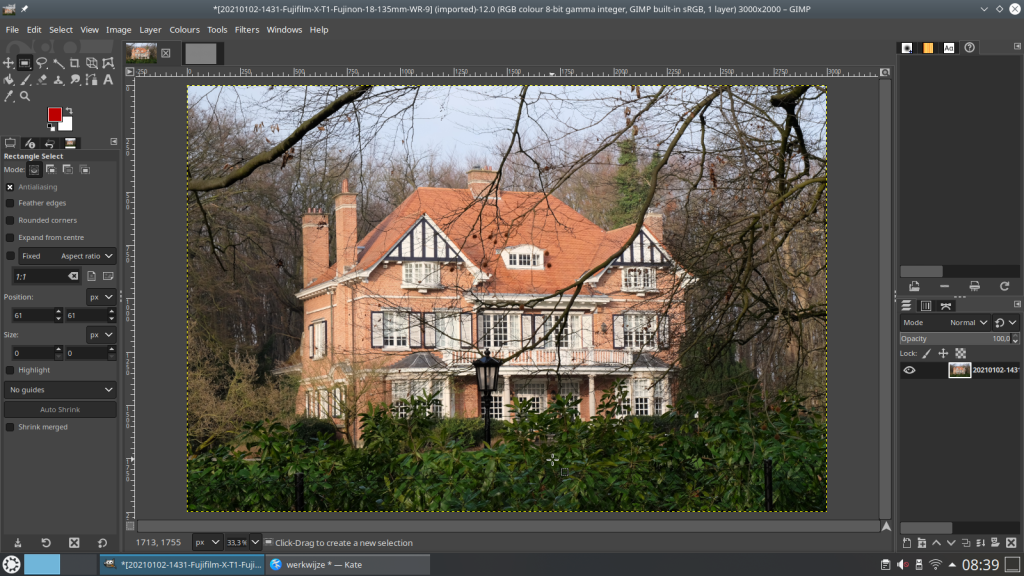

The other option is to add grain/noise through the built-in filters in Gimp or Krita. Personally, I find this method easier, and you have more control over the grain size you ultimately want.
Process:
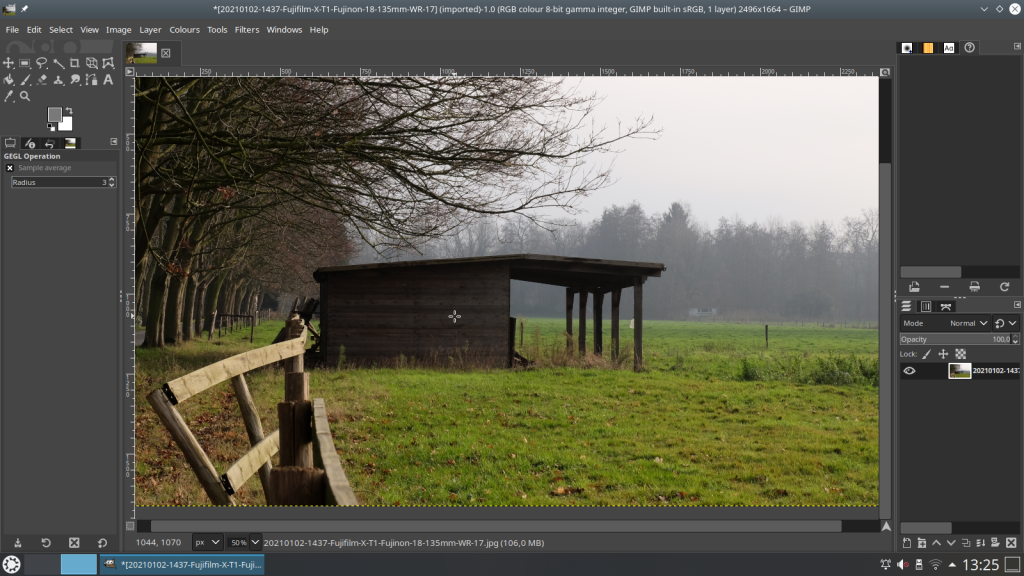
- Open the target picture
- add transparant layer
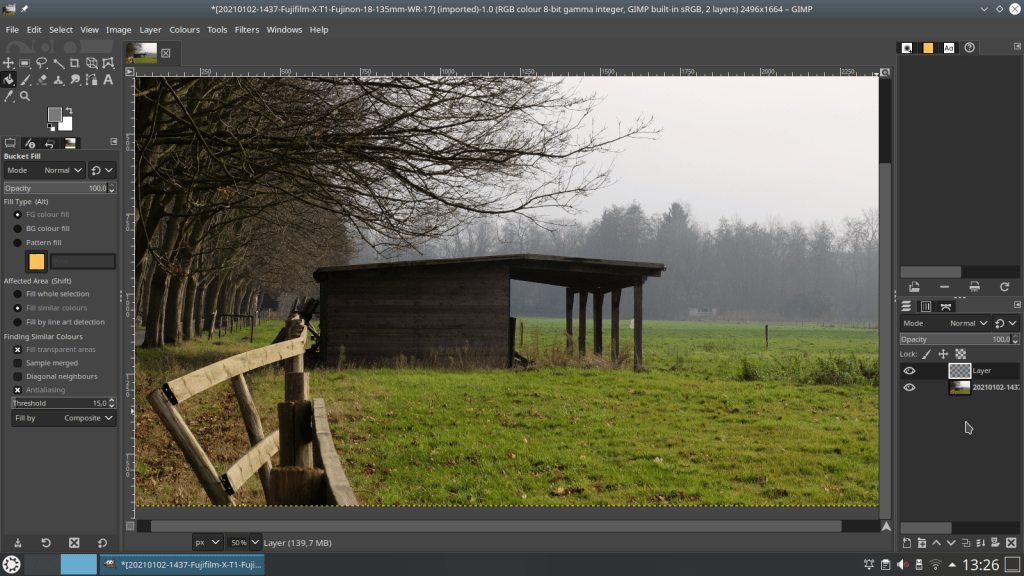
- click on new transparant layer (activate on right side) -> then bucket fill with grey-ish color (picture turns grey)
- go to menu -> filters -> noise -> RGB noise – in Gimp standard grain size is 0.200 for each color, change to taste if needed -> click ok
- go to right side -> tools -> change layer mode to overlay -> change strenght (opacity) to taste
The method used for the grain filmstrip can also be used to add other film effects to your picture.
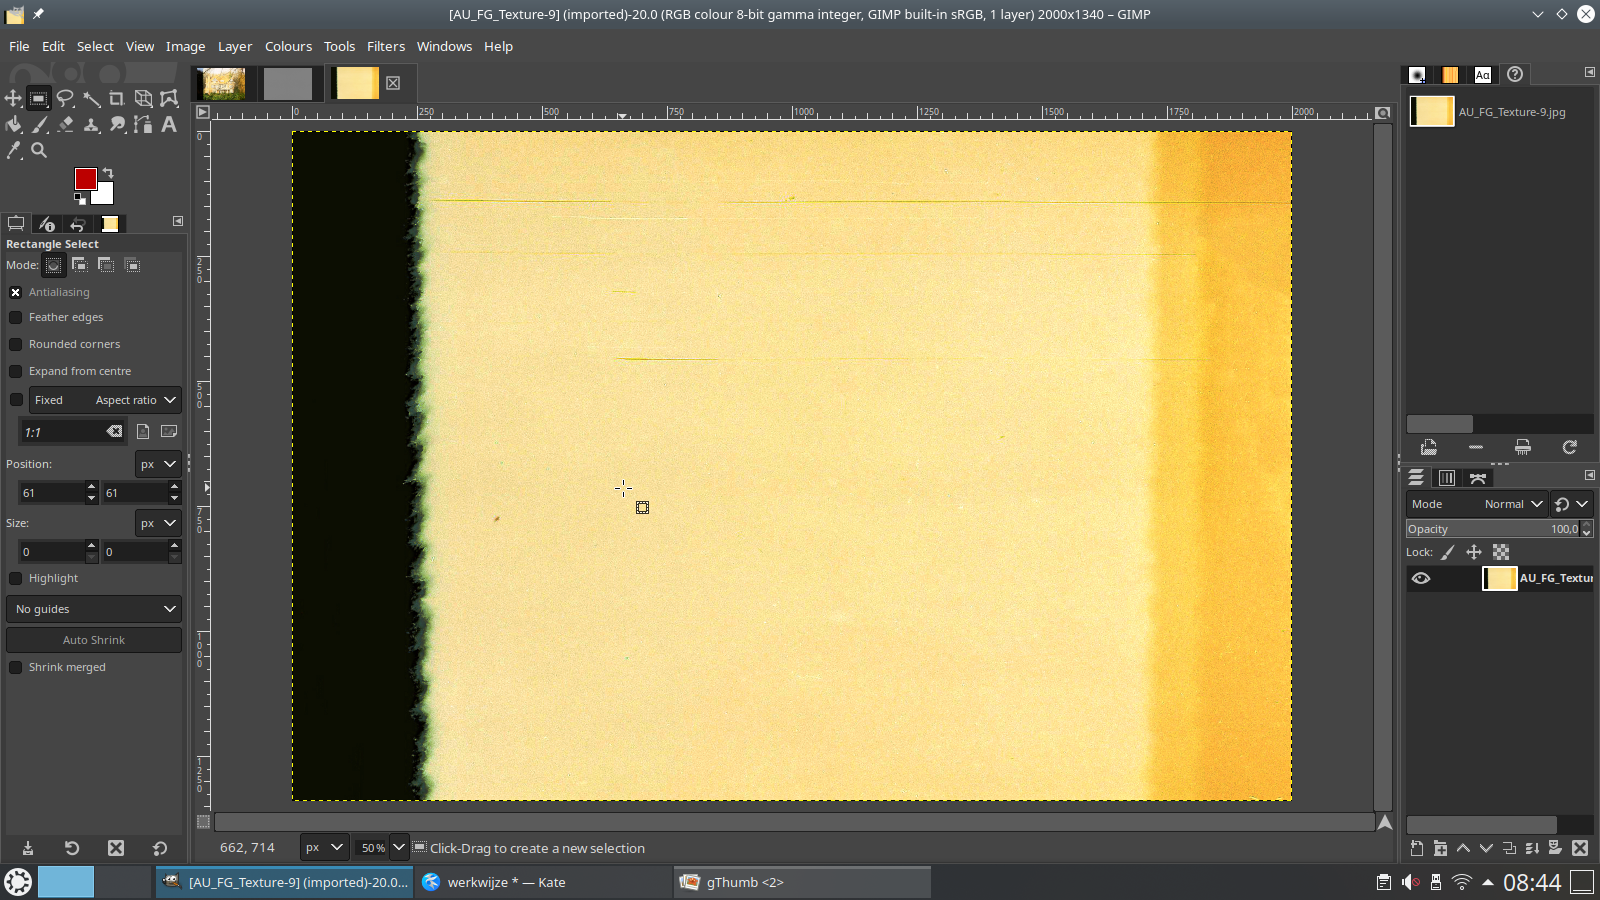
There are also film strips on the internet with light exposed spots, dust and other stuff, burnt-in spots, light and dark, you name it,
Download here – it’s more about light and dirt than the title suggests : Film-Grain-Textures-FREE-PACK
here an example :

Real Film Frames
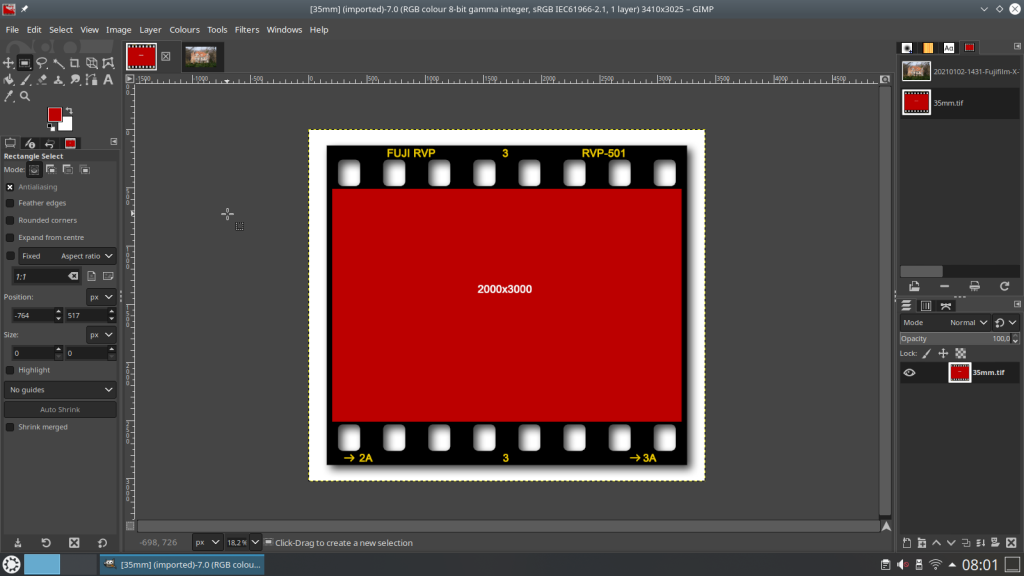
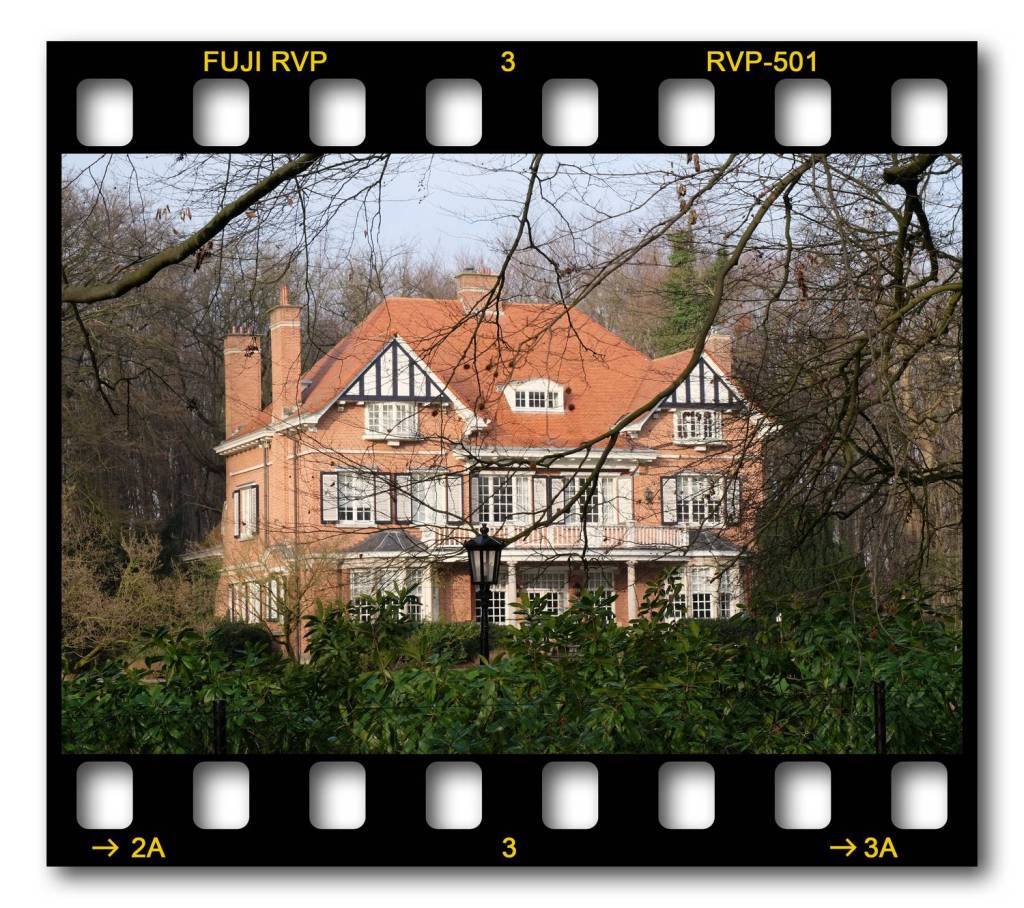
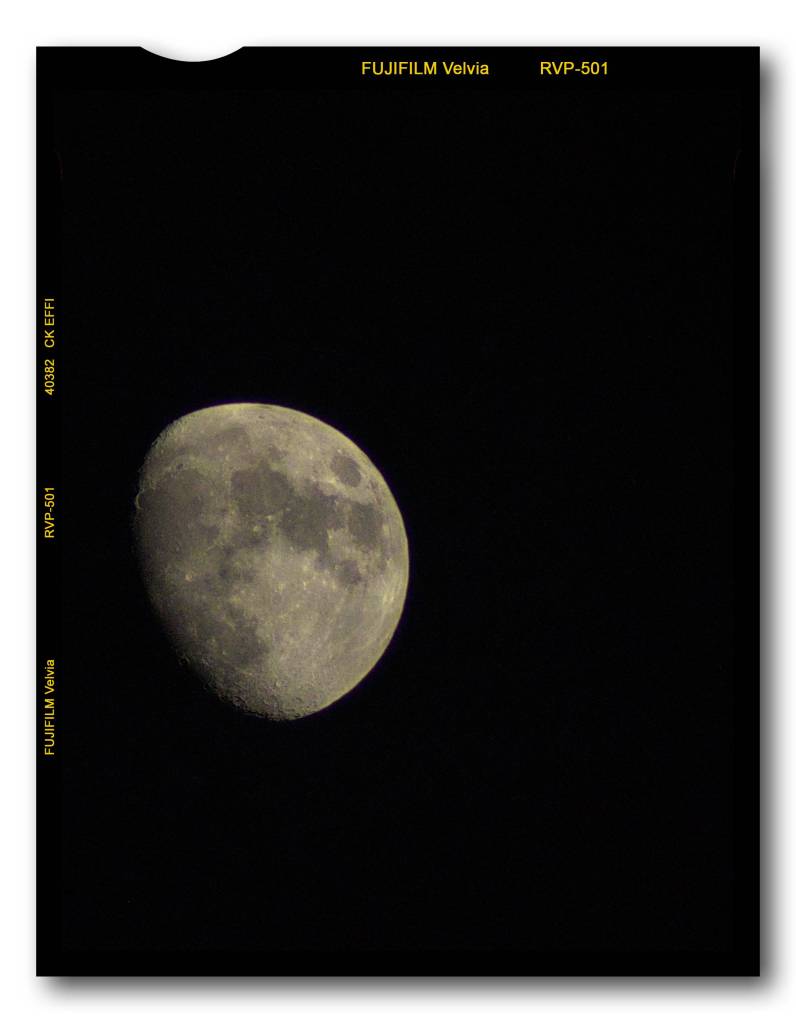
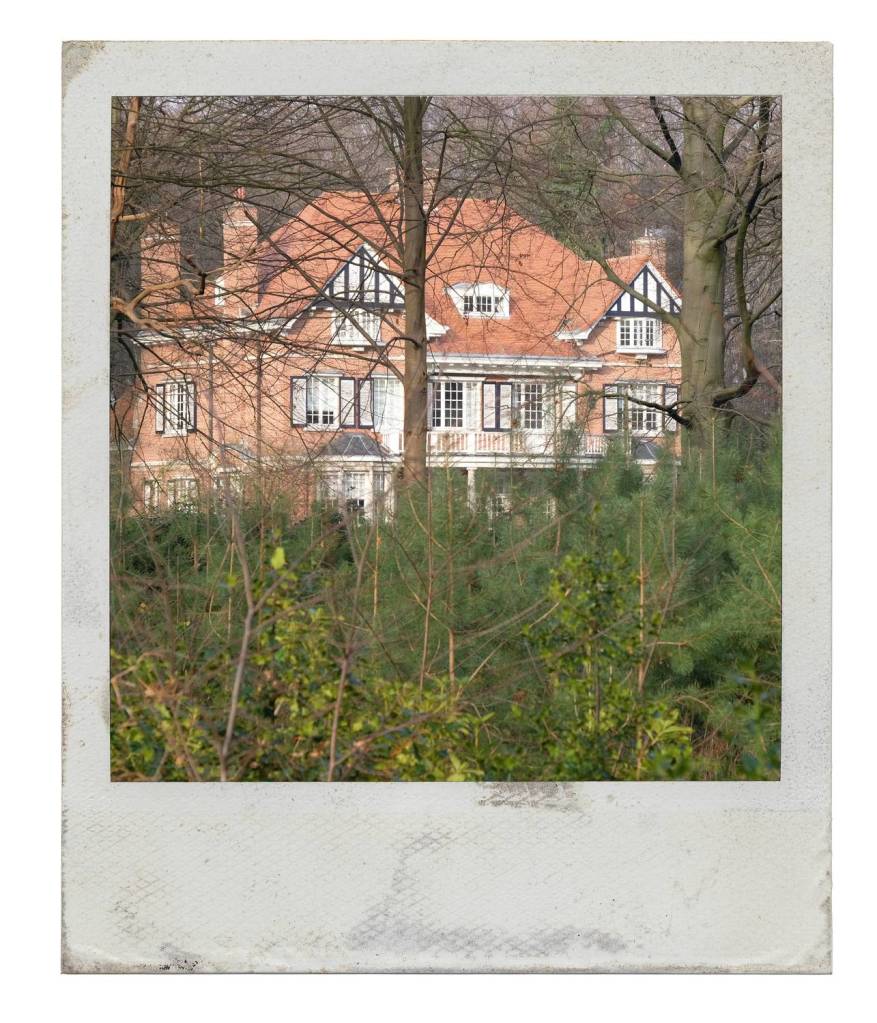
And lastly, as a finishing touch you can use “real film” frames. This can be a 35mm, sheet film or polaroid…
Can also be found free on the internet but not easy.
A note of caution : always be very careful surfing and downloading on the internet, because there are many fake sites, sometimes you can detect them by looking at the site or domain name, but it is not always clear.
Download film frames :
Process :
- open film frame/polaroid etc
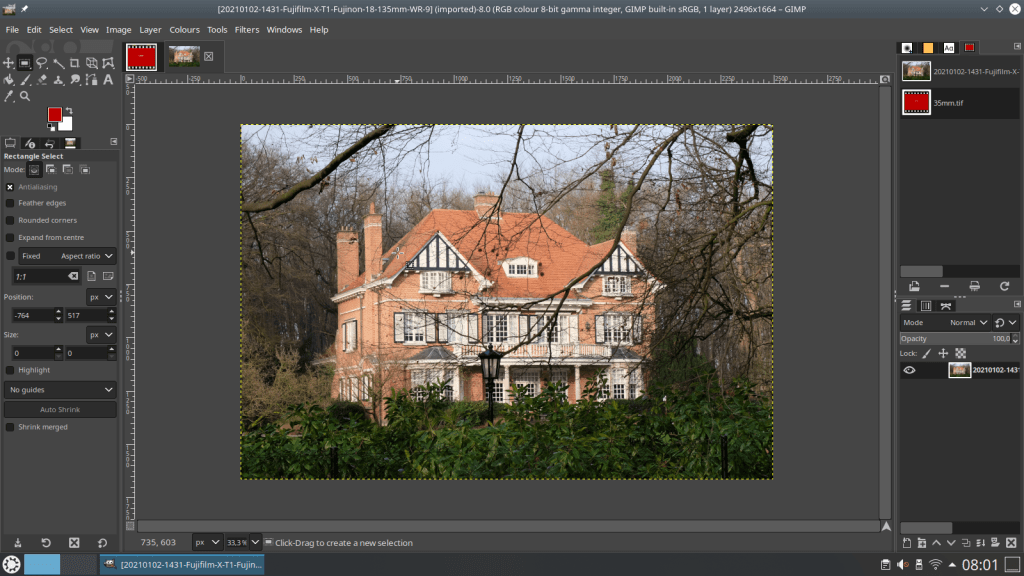
- check picture frame size (can be done by rectangle select tool) in the case below the size is mentioned in frame
- use fuzzy select tool to select picture frame
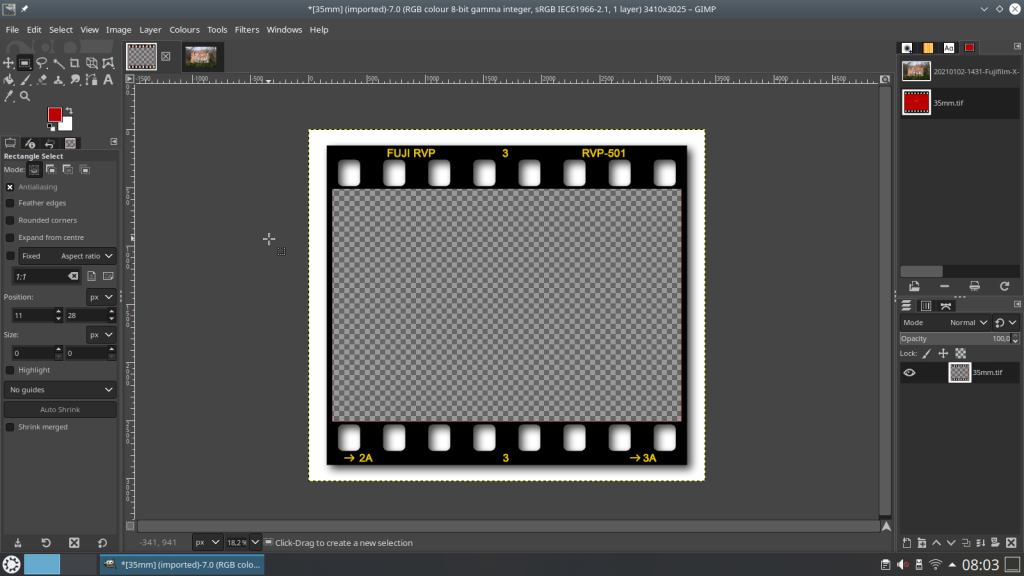
- right click in frame -> select – layer -> transparency -> add alpha channel
- click delete to remove colored layer
- remove remaining size dimension with rectangle select and delete
- if neccesary select frame again with fuzzy select tool (picture frame should be selected for next step)
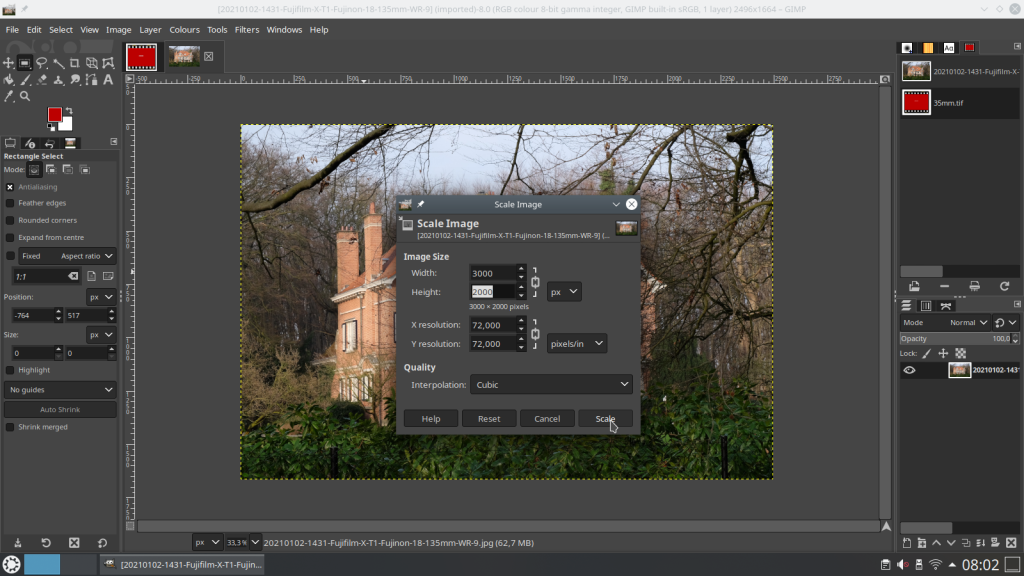
- open target picture and resize to frame size
- copy picture
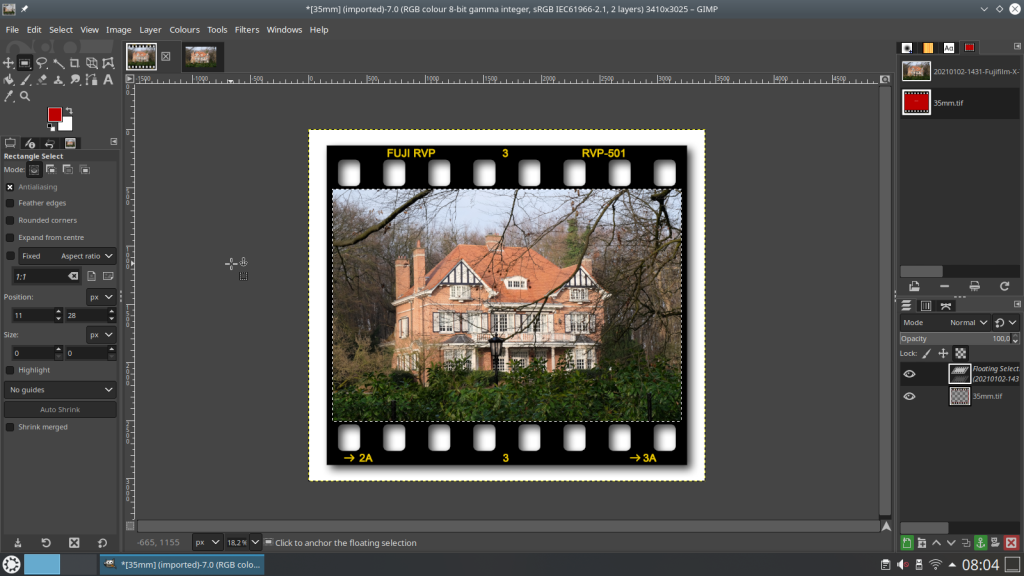
- open film frame -> click edit -> paste into selection
- click image -> flatten image
- save picture
For those who find this all too cumbersome / or prefer to take pictures straight out of camera,
there is nothing wrong with that.
But that does not mean that you cannot enjoy that sought after analog look.
There are recipes for the lucky owners of a Fujifilm camera !
And I happen to know someone who knows all about this and also has a great collection of the finest Fujifilm Recipes :
Mark G. Adams, you can visit his website by clicking on the banner below.
Thanks for reading and visiting.
I look forward to your comments and/or likes.
Discover more from Open Source Photography
Subscribe to get the latest posts sent to your email.


A great series of articles with a well written finale. More people need to see these, thank you for great information Marc 👌
LikeLiked by 1 person
Hi Mark, thanks, I just hope that people now have less fear now that they see that it is not all that difficult, and that they start experimenting with Rawtherapee and Gimp themselves.
For everyone else, I hope the downloads are enjoyable.
Thanks again Mark!
LikeLiked by 1 person