
The internet is full of resources, whether you’re baking cake, fixing bikes, or diving into photography. For wildlife or bird photography, one thing stands out in search trends: the best camera settings. Beginners and pros alike often look for advice on lenses, gear, and especially settings.
I’ve spent a lot of time before, researching optimal settings for my old Olympus E-M1 MKII and MKIII, writing articles and creating downloadable files. Now I have a new camera, the OM System OM-MKII, What are the best settings for this one? It’s easy to get caught up in constantly searching for the most optimal settings for your camera. But is all that really necessary? Couldn’t it be simpler – and applicable to any camera? What struck me was the variety in recommendations from bird photographers and Olympus ambassadors, even among professionals.
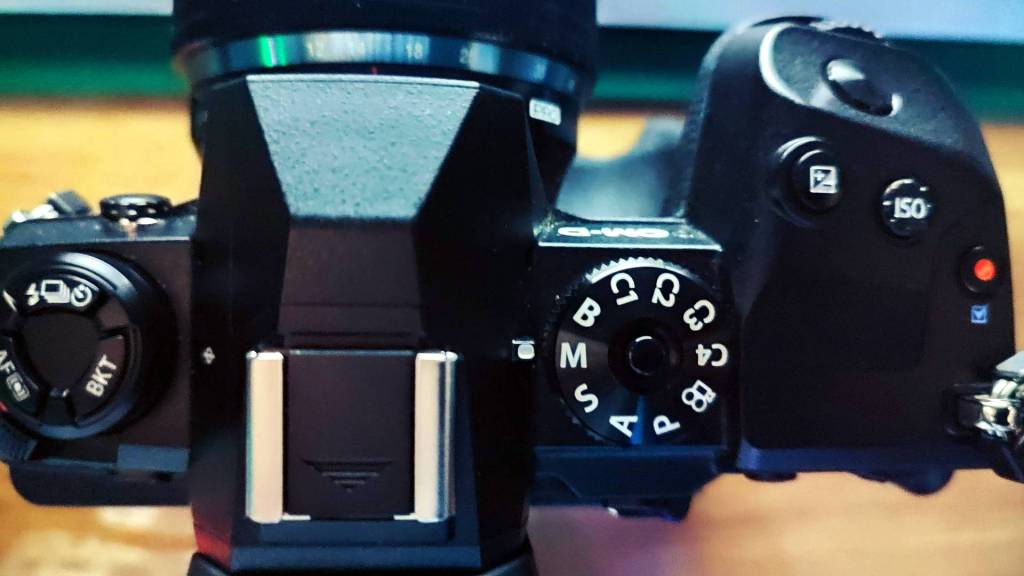
So, what are the core settings for a flexible, easy setup? No matter the camera, it always comes down to:
- Aperture – A Priority
- Shutter Speed – S Priority
- Full Auto – P or Auto
- Manual – M
- ISO – Manual or Auto ISO
- Drive Speed – Single – Continous …
- Autofocus or Manual Focus
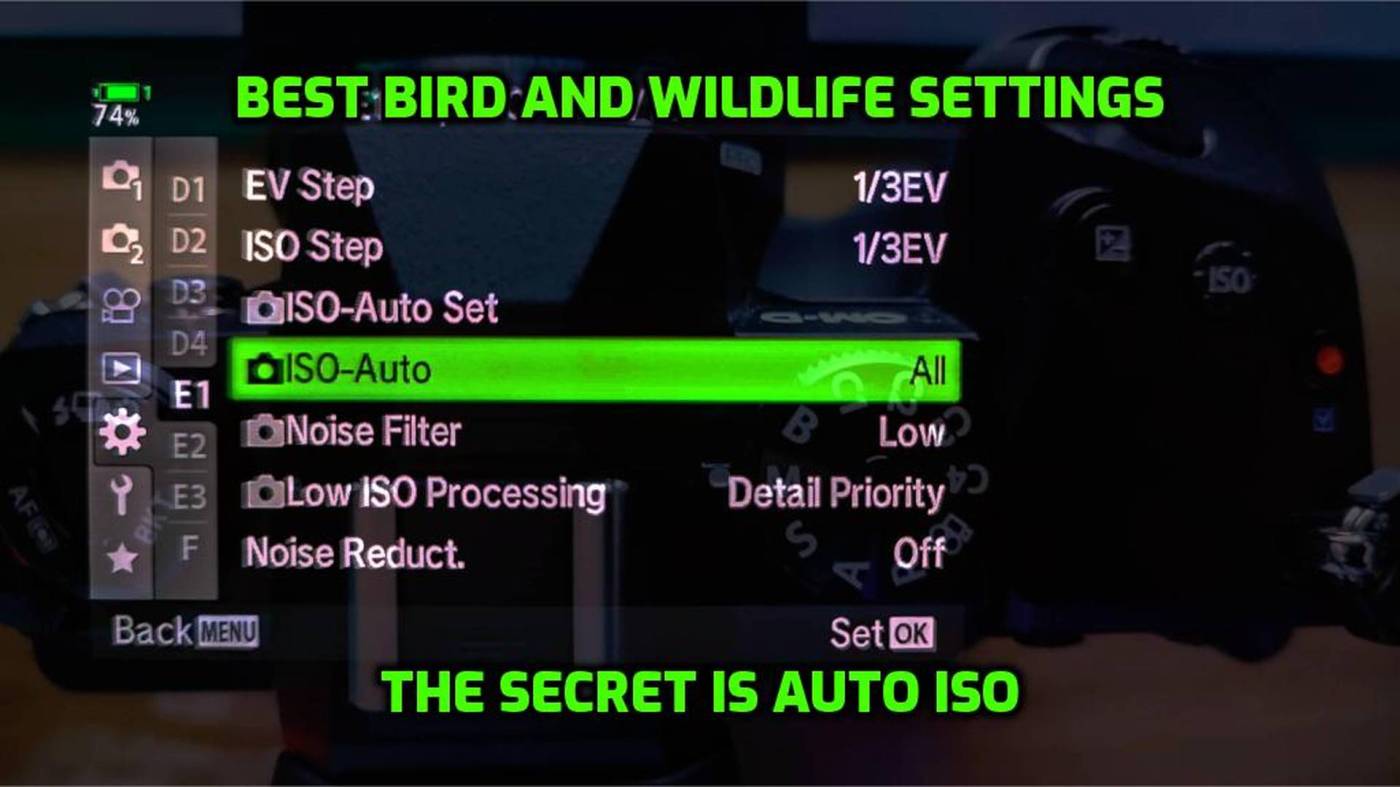
While there are additional features, one setting stands out: Auto ISO. It’s a game changer for wildlife photography, solving many common issues and offering flexibility when you’re out in the field.
The Benefits of Auto ISO and Manual : Master Your Camera Settings with Ease
What Is Manual Mode with Auto ISO?
Manual mode with Auto ISO allows you to set your shutter speed and aperture manually while letting your camera automatically adjust the ISO for optimal exposure. It’s the perfect blend of control and automation.
Unlike full manual mode, which is great for static subjects like landscapes or astrophotography, manual with Auto ISO shines in dynamic environments where light conditions are constantly changing.
Why Choose Manual with Auto ISO?
Here are the top three reasons why this method is so effective:
- Fast Reaction Time:
Auto ISO adjusts to changing light conditions in fractions of a second. Imagine photographing wildlife moving through dappled sunlight or fast-moving athletes in a stadium. With Auto ISO, you’ll stay focused on capturing the moment without constantly tweaking your settings. - Control Over Artistic Choices:
- Shutter speed: Freeze motion or create intentional blur depending on the story you want to tell.
- Aperture: Decide your depth of field to suit your style.
- ISO: Since ISO doesn’t affect the artistic quality of your photo, letting the camera handle it saves time without sacrificing creativity.
- Optimal Exposure:
Auto ISO ensures consistent exposure across a sequence of shots. For instance, during a sunset wildlife shoot, your camera will adjust the ISO seamlessly as the light fades, keeping your images properly exposed.
ISO Adapts to Shutter and Aperture Settings, Capturing My Kitten in My Garden
Why I Don’t Use Custom Modes for Bird & Wildlife Photography
Custom modes can seem like the perfect solution for setting up your camera in advance for different scenarios. They’re especially popular in bird and wildlife photography, where quick adjustments are often essential. However, they come with some challenges that may outweigh their benefits.
Setting up custom modes can be complex and time-consuming. Worse, in the field, you might forget which custom mode corresponds to which settings—something I’ve experienced firsthand. Some photographers also complain that their cameras don’t offer enough custom modes to cover all their needs.
That’s why I’ve shifted to a simpler approach: using Manual Mode with Auto ISO. This combination takes care of most exposure adjustments automatically, leaving little else to worry about. The only remaining consideration is your drive mode, which is easy to access through quick menus or a super control panel. Many cameras even have dedicated switches or dials for this.
With this setup, I’ve found that I no longer need custom modes for wildlife photography. The simplicity allows me to focus on capturing the moment, rather than fumbling with settings.
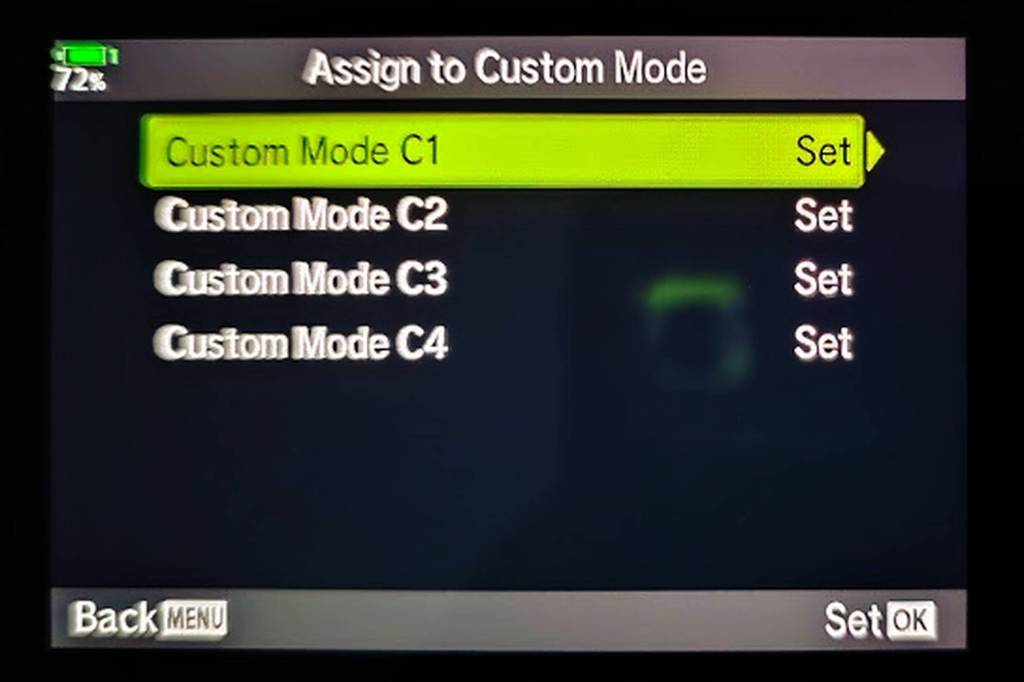
No Need for Custom Modes
Debunking the “High ISO Problem”
A common complaint is that cameras often select ISO values that are “too high.” The reality? It’s not the camera’s fault—it’s ours as photographers.
Your camera chooses ISO based on the light hitting the sensor. If the ISO is too high, it’s likely because the shutter speed or aperture settings don’t match the available light. This means you’re indirectly responsible for the ISO your camera selects in Auto ISO mode.
For example:
- A very fast shutter speed in low light forces the camera to raise the ISO to maintain proper exposure.
- A small aperture (higher f-stop number) limits the light reaching the sensor, leading to higher ISO values.
The solution is simple: balance your shutter speed and aperture to work with the available light, not against it.
Also, set a minimum shutter speed that feels comfortable for you – and/or the situation.
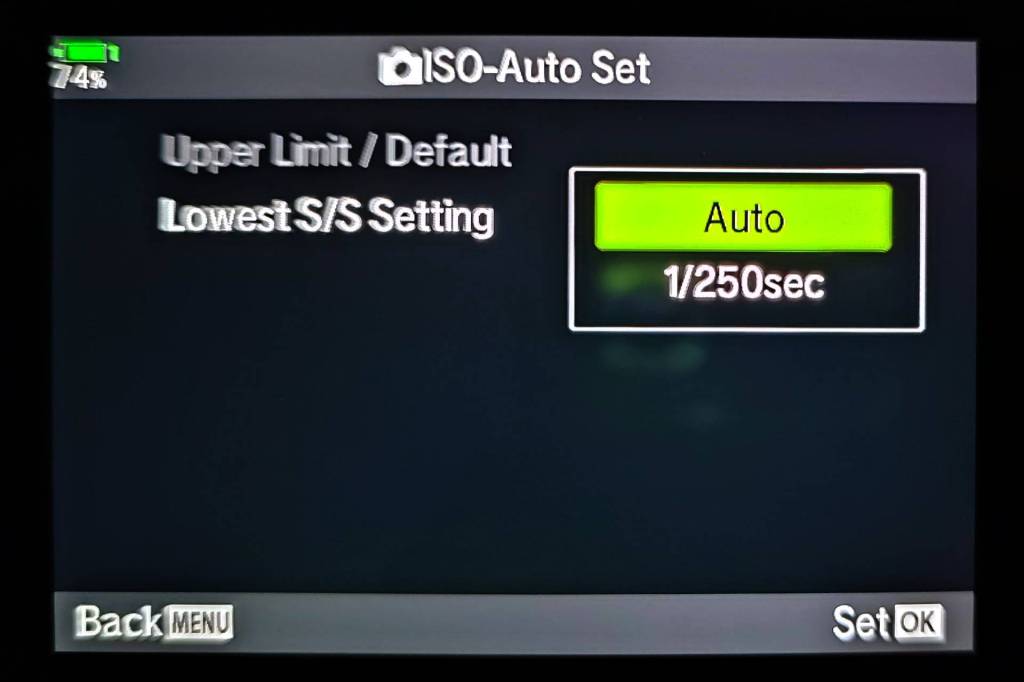
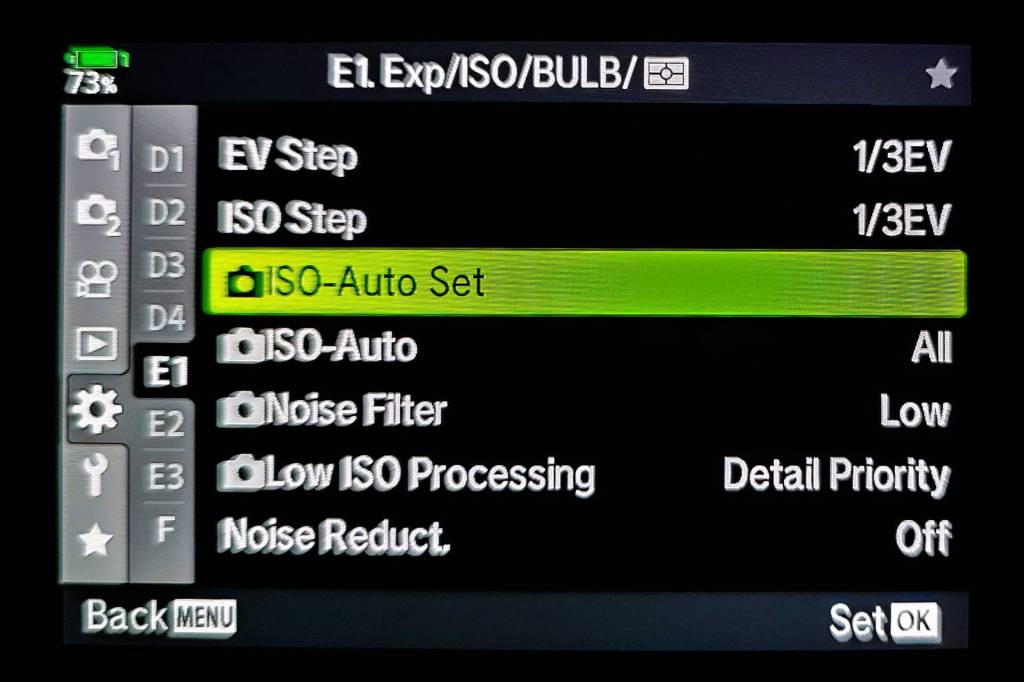
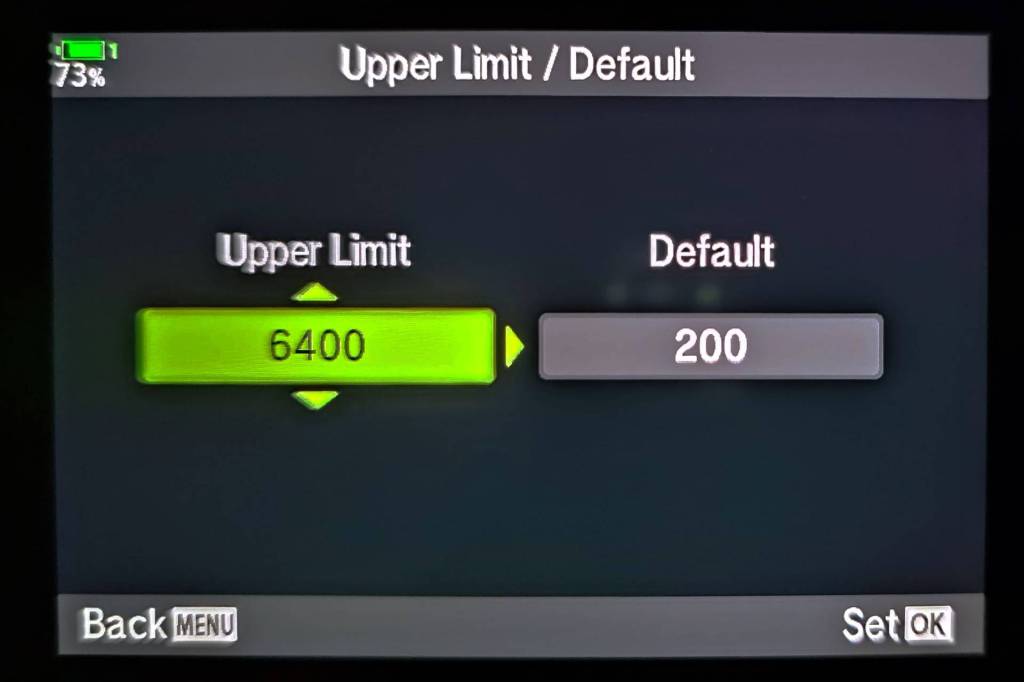
Tips for Mastering Auto ISO
- Set an ISO Range: Most cameras allow you to set a minimum and maximum ISO. Choose a range that balances image quality and noise levels (e.g., ISO 100–6400).
- Use Exposure Compensation: If your images are consistently too bright or dark, adjust the exposure compensation to guide the camera.
- Understand Light Behavior: Learn to anticipate how changes in light will impact your exposure and adjust your settings accordingly.
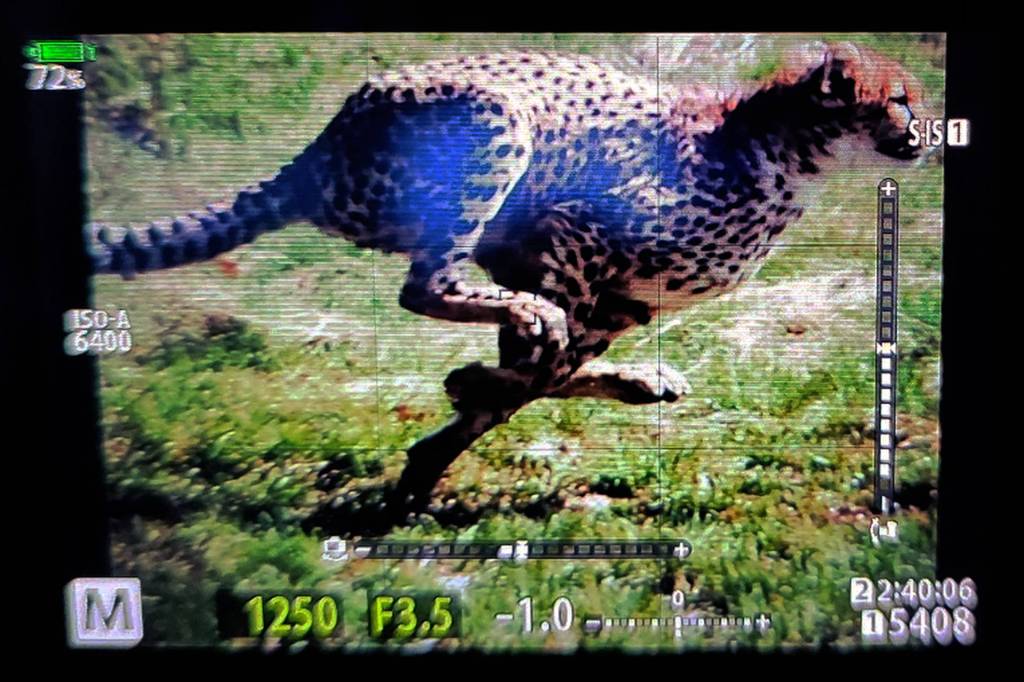
Embrace the Noise When Necessary
Don’t get too obsessed with keeping ISO low, especially in action photography. A sharp, well-exposed image at ISO 6400 or even higher, is far better than a blurry, underexposed one at ISO 800.
Remember, Auto ISO is a tool. When used correctly, it will let you focus on capturing the perfect shot while your camera handles the technical details.
Have questions or tips of your own? Share them below, and let’s keep the conversation going!
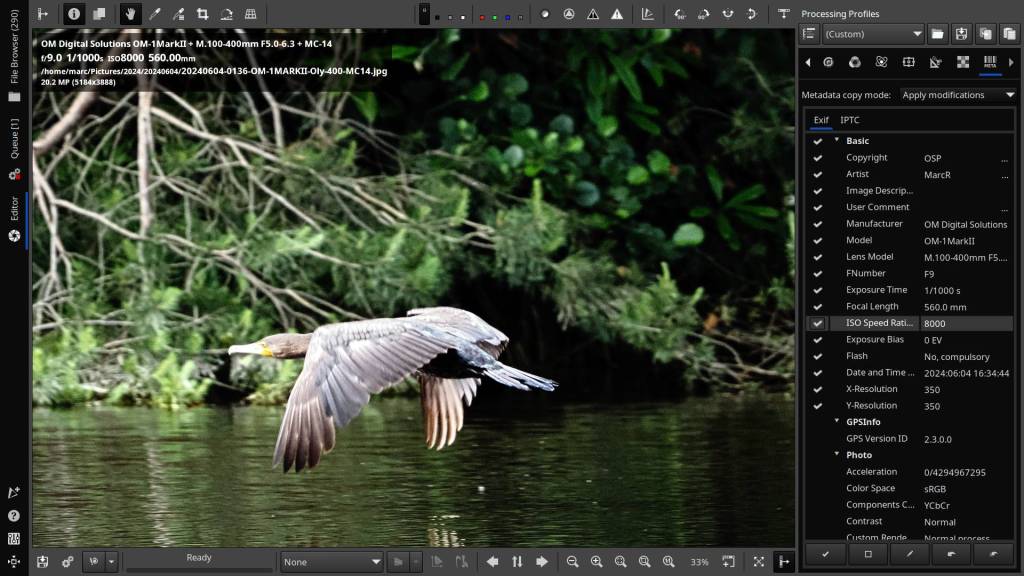
High ISO Shot
Discover more from Open Source Photography
Subscribe to get the latest posts sent to your email.


Thank you Marc for this excellent article. Using M mode (manual) with the Auto-ISO is certainly the best way to set a camera for action photography or photography in action/reaction contextes.
One other setting I usually program on the camera is to make sure that the configured exposure is realistically reflect (preview) into the viewfinder/liveview when I do rapid exposure corrections (like it use to be already in P/S/A modes).
Thanks again for all the very interactive insides you share to us and good day to you, Daniel M
LikeLiked by 1 person
Dear Daniel,
Thank you so much for your kind comment! It truly means a lot and motivates me to keep going. I really appreciate your support!
All the best !
Marc.
LikeLiked by 1 person
Excellent article, and advice. You know the style of photography I shoot, so you can imagine the ISO conversations I have had. Where I live photographers come from all over to shoot. People with pro photo backgrounds struggle, look at me confused, and then later agree… auto ISO actually works out in nature. High noise, just learn to deal with in camera, in software, or just in the image. That Alligator you spotted is not going do what you expect 😂😂😂
LikeLiked by 1 person
Thank you so much, Ted! Your comment is truly appreciated and means a lot to me. It motivates me to keep going, as my only goal is to help someone here and there. Comments like yours are exactly why I do this. Thanks again!
LikeLiked by 1 person