
This will be the final Deep Dive in the RawTherapee series — at least for now. If you have any questions about RT or ideas for another Deep Dive, feel free to drop them in the comments. I’ll gladly take a look and see what I can do!
A Practical Tool-by-Tool Editing Workflow in RawTherapee
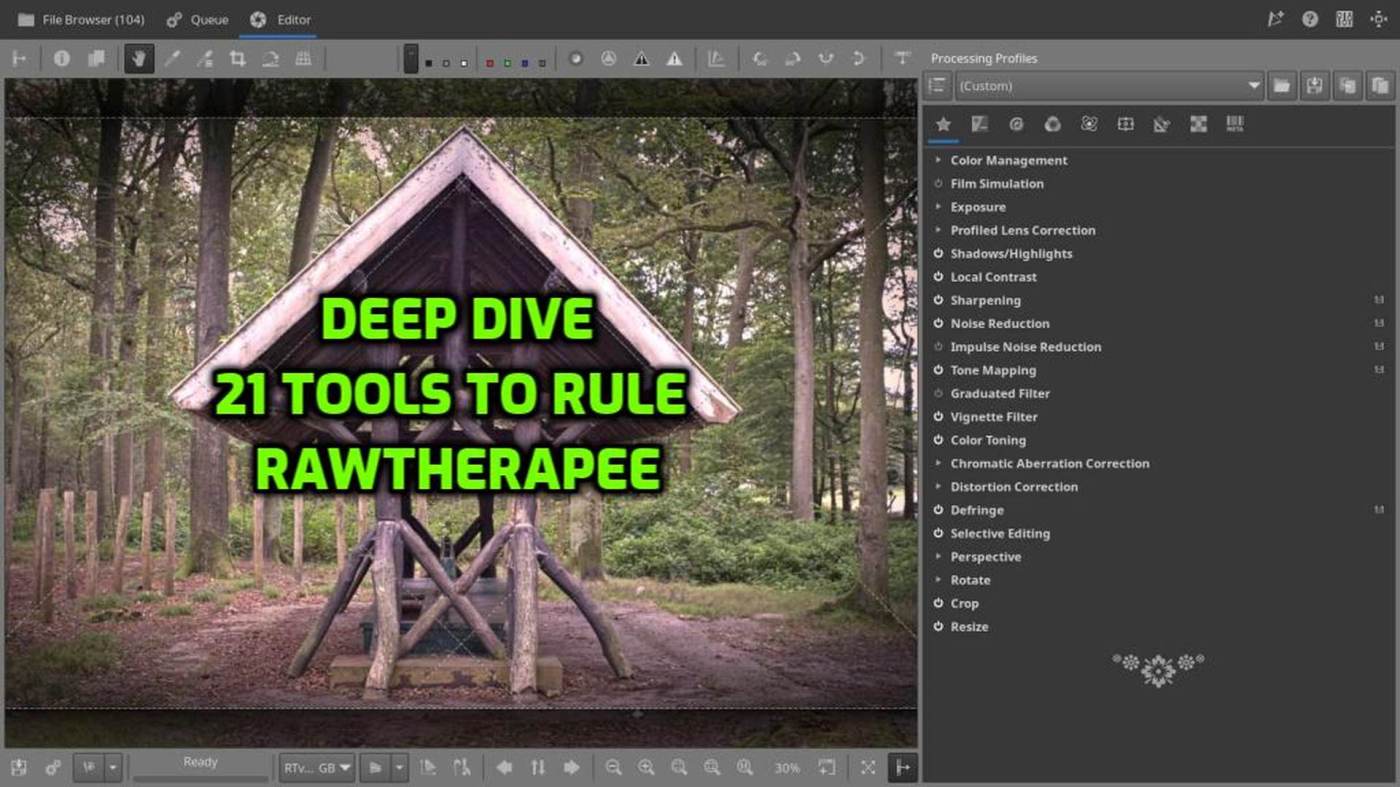
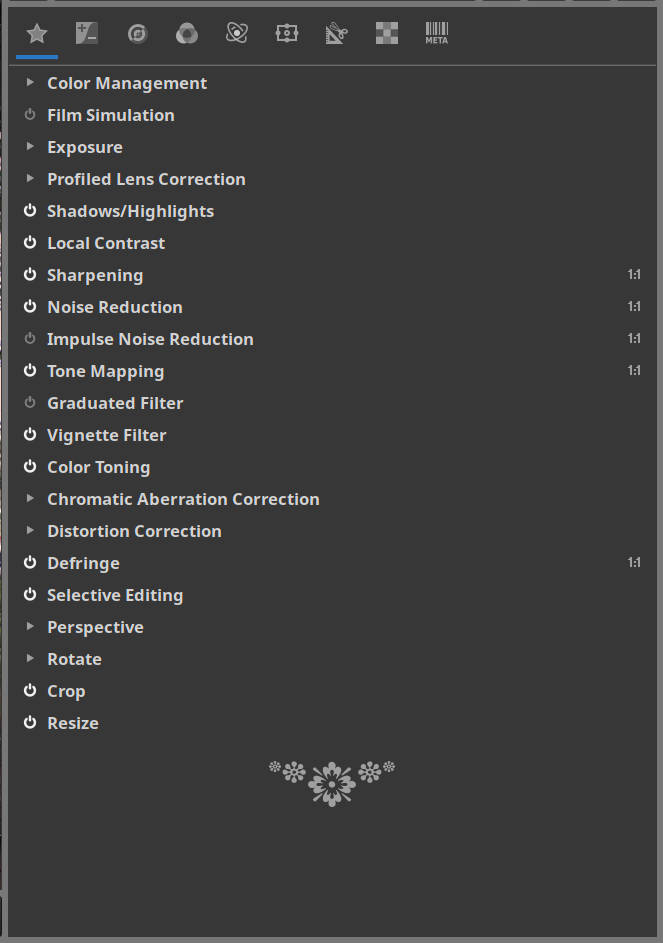
RawTherapee offers a vast number of tools — powerful, flexible, and sometimes overwhelming. To help bring order to the chaos, here’s a practical overview of 21 essential tools arranged in a logical top-to-bottom editing workflow. This list reflects a real-world setup based on personal favorites, but it’s flexible enough to adapt to your own needs. From color profiling and exposure to sharpening, geometry correction, and final export — everything has its place.
Use this as a reference or a starting point for building your own consistent RawTherapee workflow.
Oh, do you not remember how to add or remove tools in RawTherapee? Well, it’s all explained in detail in the very first Deep Dive. Click here to go to the article: /2025/03/24/deep-dive-into-rawtherapee-and-open-source-editing-part-1/
1. Color Management
(See the dedicated Deep Dive tutorial on Open Source Photography)
This module defines how colors are interpreted from input to output. You can load DCP or ICC camera profiles, choose a working color space, and define the output profile. It’s a crucial foundation — get this right before doing any other color-related edits.
2. Profiled Lens Correction
Automatically corrects lens-specific issues such as distortion, vignetting, and chromatic aberration, based on Lensfun data. It’s best to enable this early so you’re working with an optically “neutralized” image.
3. Exposure
Controls overall brightness, exposure compensation, black and white point, and highlight reconstruction. It’s your main tool for global light balancing. Start here before diving into localized tonal edits.
4. Shadows/Highlights
Lets you recover details from very dark or very bright areas. It’s a great way to even out contrasty scenes without flattening your image too much.
5. Local Contrast
Enhances fine detail by increasing microcontrast. Ideal for giving images a subtle clarity boost. Use with care — overdoing it can create halos or accentuate noise.
6. Sharpness
Restores detail lost during demosaicing or from soft lenses. Use conservative settings and always apply after noise reduction and before exporting. RL Deconvolution offers more advanced sharpening than Unsharp Mask.
7. Noise Reduction
Reduces luminance and chrominance noise. Useful in high-ISO or underexposed shots. Use modest values and inspect at 100% zoom to avoid plastic-looking textures.
8. Impulse Noise Reduction
Removes isolated pixels caused by sensor errors, long exposures, or cosmic rays. It’s most useful for night shots or astro work with hot/dead pixels.
9. Film Simulation
(See the dedicated Deep Dive tutorial on Open Source Photography)
Applies color grading via LUTs that emulate classic film looks. Best used as a creative step near the end of your edit — or as a starting point for a particular mood.
10. Tone Mapping
Compresses tonal range while preserving local contrast. Useful in high dynamic range scenes. Can give an HDR-like look but must be used sparingly to avoid unnatural results.
11. Graduated Filter
Simulates a soft-edge ND or color filter to balance light in different areas of the image, typically top to bottom. Excellent for landscapes with bright skies.
12. Vignette Filter
Adds or corrects darkening around the corners. Can be used to draw attention to the subject or compensate for lens vignetting. Subtlety is key here.
13. Color Toning
Adds a specific color cast to highlights and shadows, allowing you to create split-toning or cinematic color styles. Very useful for mood and storytelling.
14. Chromatic Aberration Correction
Corrects color fringing along edges, mostly caused by lens design. This is an automatic, must-have tool when using lenses prone to CA.
15. Distortion Correction
Manual or automatic correction for barrel or pincushion distortion. Useful if your lens doesn’t have a complete profile or if auto correction isn’t perfect.
16. Defringe
Targets and removes purple or green fringe artifacts (typically on edges of bright highlights). Use it in combination with CA correction if needed.
17. Selective Editing
Enables masks and local adjustments. You can target exposure, sharpness, color, etc., on specific areas using shapes, brushes, or color ranges. Very powerful for fine-tuning complex scenes.
18. Perspective
Fixes vertical or horizontal keystone distortion — for instance, when photographing buildings from below. A must for architecture and interior shots.
19. Rotate
Allows manual or automatic image rotation based on EXIF data. Great for leveling horizons or straightening handheld shots.
20. Crop
Defines your final framing and aspect ratio. Use after geometric corrections and tonal work. Consider composition guides like rule of thirds or golden ratio when cropping.
21. Resize
Changes output dimensions for web, print, or sharing. Always resize after sharpening and before export to maintain output quality. Choose an appropriate interpolation method like Lanczos or RCD.
My Workflow
To give you an idea of how my workflow goes when I get home after a photo shoot or trip, well, below is my personal step-by-step plan — along with the 21 Tools Workflow for RawTherapee. In Single Editor Tab Mode, editing in RT feels almost automatic:
- Download photos to the computer with clearly structured, retrievable file names
- Open RawTherapee in File Browser mode with the Inspect window enabled
- Go through the RAW files — delete the bad ones — tag the rest with colors or star ratings
- Open the first RAW file in the Editor
- Use my custom Favorite Tools list from top to bottom until the photo is fully finished
- Add the photo to the Queue
- Move to the next RAW photo in the File Browser
- Repeat steps 5, 6, and 7 for each new photo
- At the end of the photo series, all you have to do is go to the Queue and hit the start button.
Wrapping It Up
While no two edits are ever the same, having a structured approach helps you stay in control — and lets the creative part shine through. These tools aren’t just buttons and sliders; they’re your digital darkroom. Use them with intent, adjust them to your taste, and don’t be afraid to break the “order” if the image demands it. After all, it’s not about rules — it’s about results.
Hopefully this was helpful, and gave you a sense of how these tools can take your workflow to a more advanced level.
See you next time for another tutorial on OSP!
This article was written by Marc R.
While I primarily speak Dutch and have some knowledge of English and a little French, ChatGPT helps ensure my writing is grammatically correct. I often mix Dutch and English in my drafts, and ChatGPT steps in to translate and correct.
I don’t have any Sponsoring Companies, Patreon support, or Follower Donations.
I don’t drink Coffee, well, I do … but not the financial form you sometimes find on other websites, like ‘buy me a coffee’ 😊
However, what I truly need to keep going is Motivation, and the best part is, it won’t cost you a thing. You can offer it for free – just hit the Like button and Subscribe !
Discover more from Open Source Photography
Subscribe to get the latest posts sent to your email.

