
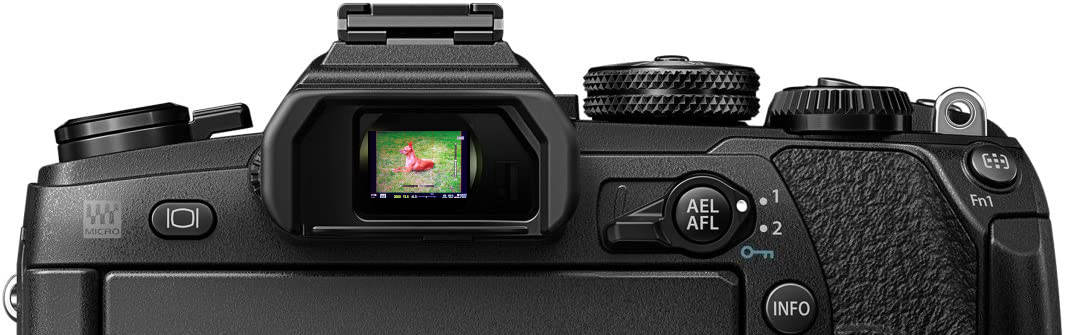
The viewfinder holds immense importance in your Olympus camera, serving as arguably its most critical component. However, some individuals prefer utilizing the LCD screen for capturing images, provided they have good eyesight. While glasses can be used, accurately assessing sharpness and effectively utilizing long telephoto lenses is better suited for the viewfinder or EVF (Electronic Viewfinder).
There are instances when the LCD proves advantageous, such as in macro photography or when faced with challenging viewing conditions. Nonetheless, in general, the LCD primarily serves the purpose of evaluating captured shots, while the task of shooting is better reserved for the EVF. Therefore, it becomes crucial to configure the EVF to display the necessary information and tools while avoiding unnecessary elements.
The settings provided below were tested on the E-M1 Mark II camera with Firmware 3.6. It’s important to note that menus may vary between different Olympus camera models and even firmware versions.
Please regard these Olympus viewfinder settings as an ongoing project that will receive future updates.
I have encountered cases where individuals faced difficulties updating their camera using OM Workspace. Fortunately, there is an alternative solution to update the camera firmware by utilizing an SD card. For more comprehensive instructions on this particular method, please consult the Blueprint menu. titled “Updating your Olympus Camera Firmware without Olympus Workspace.”
Magnify and Peaking
Two frequently used features that I often rely on, namely “magnify” and “peaking,” are not directly accessible as EVF settings. However, I prefer having them available in the Electronic Viewfinder (EVF), particularly for situations that require manual focus, such as when using vintage lenses or modern lenses with full manual control. There may even be rare occasions where manual focus is desired even with autofocus (AF) lenses.
To enable these features in the EVF, you need to assign them to a specific button. Here’s how you can do it using menu B on the E-M1 MKII camera:
- Access menu B.
- Navigate to “Button Function.”
- Choose a button from the list to assign either the “magnify” or “peaking” function to it.
- Personally, I prefer using the two vertically positioned buttons located on the front of the camera, right above each other. However, you can choose any button that suits your preference.
- Repeat the same process to assign the other feature, whether it’s “magnify” or “peaking.”
When using AF lenses for manual focus, it’s necessary to enable the MF (Manual Focus) setting in the camera menu. Follow these steps:
- Go to menu A1.
- Access “AF + MF” and set it to “On.”
- Additionally, you can activate it by selecting a suitable AF-Mode in menu A1, such as “S-AF + MF,” “C-AF + MF,” or “MF.”
By configuring these settings, you can conveniently access the “magnify” and “peaking” functions through a designated button in the EVF, enhancing your ability to achieve precise manual focus.
DOF or Depth of Field preview
The Depth of Field (DOF) preview setting has gained prominence as a modern equivalent to the “close aperture button” found on older SLR cameras. By default, this function is typically assigned to a button located on the front of the camera. However, if you, like me, utilize it for other functions like magnifying and peaking, it can be reassigned to a different button.
Personally, I have reassigned the DOF preview function to the red video button located on top of the camera, right next to the shutter button. To configure this setting, follow these steps:
- Access the camera menu.
- Navigate to option B.
- Select “Button Function” from the menu.
- Choose the desired button that you wish to reassign.
- Assign the DOF function to the selected button.
By customizing this setting, you can effectively use a button of your preference to activate the DOF preview, providing flexibility and convenience while capturing images.
EVF – LCD
As previously mentioned, I seldom use the LCD screen and prefer to keep my EVF (Electronic Viewfinder) active at all times. To achieve this setting, follow these steps:
- Navigate to the “I” menu.
- Access the “EVF auto switch” option.
- Set it to “Off” to disable the automatic switching between the EVF and LCD.
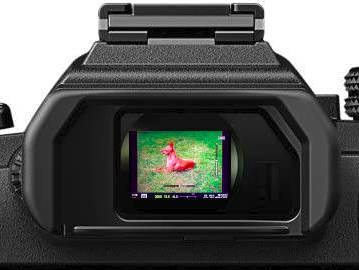
- On the left side of the viewfinder, locate the button shaped like an oval between two lines.
- Press this button to toggle between the EVF and LCD display.
- Choose the EVF option to ensure that the viewfinder remains active.
By implementing these adjustments, I have configured my camera to use the EVF without relying on the eye sensor for automatic switching.
Grid
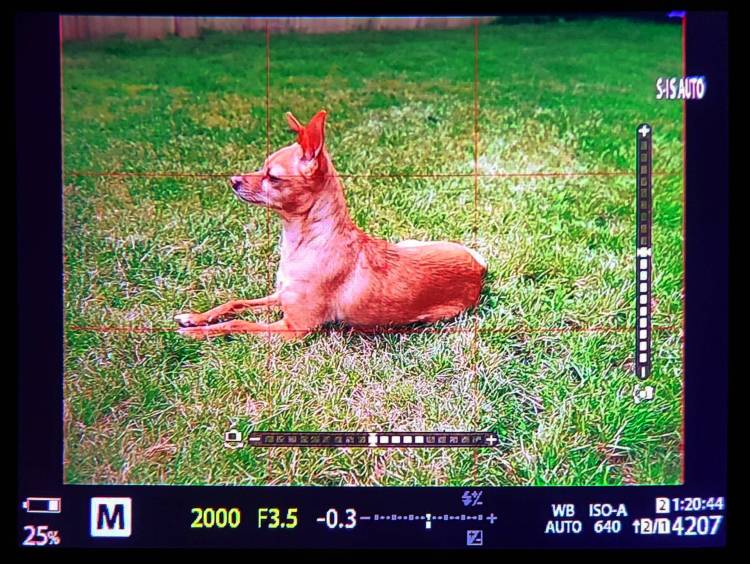
I find the Grid feature to be quite personal and helpful during my shooting sessions. When I’m immersed in capturing images, it’s easy for my subject to end up centered due to distractions. However, by activating the Grid, particularly version 3 which follows the rule of thirds, I’ve noticed a significant improvement in my composition.
To utilize this feature, I make use of two presets. Preset 1 displays a gray grid, while Preset 2 displays a red grid, which proves especially useful in low-light conditions or during twilight. To set up the Grid, follow these steps:
- Go to D3 in the camera menu.
- Access Grid settings.
- Enable the display grid option and choose grid number 3 for the rule of thirds composition.
- Additionally, ensure that the Grid is applied to the EVF by selecting “On” in the apply to EVF setting.
- To set the Grid color, continue in the Grid settings.
- Choose Preset 1 and set the color values to R60, G60, B60, and 50% opacity for a gray grid.
- For Preset 2, set the color values to R180, G-, B-, and 30% opacity for a red grid.
It’s worth noting that the percentage determines the intensity of the displayed grid. In tutorials, higher percentages, usually between 75 to 100, are commonly used. However, I personally prefer lower values as mentioned above. This allows the grid to remain subtly present yet usable without being overly distracting. I find the ideal settings for me to be 30% opacity for the red grid and 50% opacity for the gray grid. I tend to keep the red grid for both daylight and evening photography.
Histogram – Highlights and Shadows
In bird and wildlife photography, the use of Histogram may be limited due to its time-consuming analysis and screen occupancy. Instead, many photographers rely on the Highlights and Shadows (H&S) warning system for quick feedback on image exposure. Here’s a step-by-step guide to configuring these settings:
- Access the “I” menu and navigate to Info settings.
- Customize the display preferences according to your preference, such as basic info or no info.
- For Custom 1, disable the histogram, enable the H&S warning, and activate the Level Gauge.
- To set up Custom 2, you can either enable all settings or replicate the configuration of Custom 1.
To replicate these settings on your LCD screen, follow these steps:
- Go to the D1 menu in your camera’s settings.
- Access the LV Info option within the Info settings.
- Choose the desired display mode, such as image-only, custom 1, or custom 2.
To ensure the H&S warning triggers at an earlier stage, adjust the following settings:
- Navigate to the D3 menu in your camera’s menu.
- Access the Histogram settings.
- Set the Highlight value to 250 and the Shadows value to 5.
(Note: These values can be adjusted based on personal preference.)
By configuring these settings, you can effectively utilize the H&S warning system and customize the display preferences for a more efficient shooting experience in bird and wildlife photography.
That’s it.
Remember this is all very personal,
but maybe you didn’t know certain settings,
or maybe you want to try something different.
Anyway, this is just a guideline.
The EVF settings above are mainly based on the settings and ideas of the following photographers:
Joseph Ellis, Espen Helland, Gavin Hoey and Simon d’Entremont.
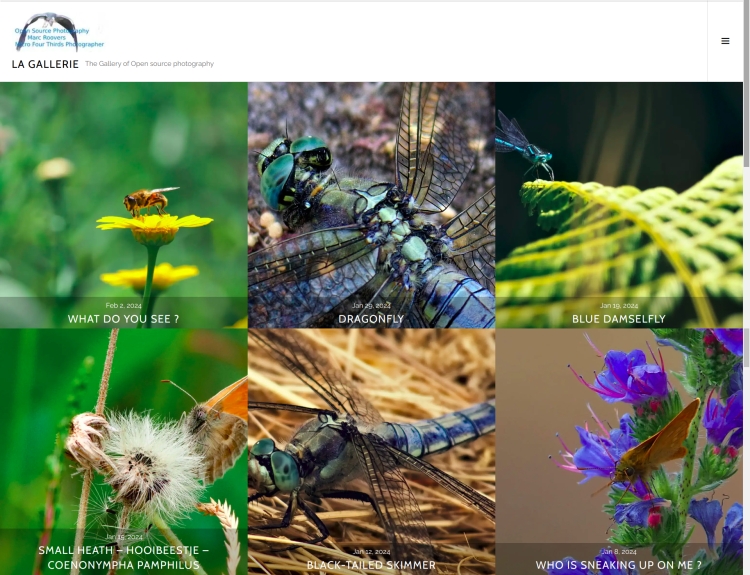
The photo gallery of Open Source Photography, Olympus micro 4/3 system, Vintage Lens Photograpy, Film Simulation, PictureFX, HDR – Photographer : Marc R.
Discover more from Open Source Photography
Subscribe to get the latest posts sent to your email.


Hello, when I tried to publish this new article there was a problem.
There was a small hiccup during sending that caused some people to have multiple subscription alerts, sorry in advance for the inconvenience.
LikeLike
interessante weetjes Marc
prettige avond
LikeLiked by 1 person
Dankjewel Willy, Fijne avond !
LikeLike